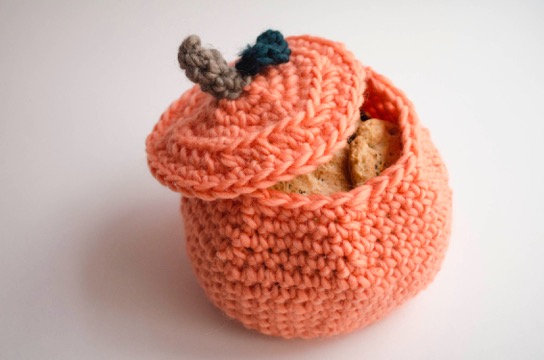
There comes a time in every knitter’s life that the number of needles and crochet hooks they own starts to get out of hand, and they have to find somewhere to store them all!
Your hooks and needles should be somewhere that is convenient, safe, and well protected – and don’t forget pretty!
If you can identify with the previous statement, don’t worry, we have a solution for you: use a couple of balls of our cotton to knit this original needle case.

You can make it bigger or smaller depending upon your needs (and the number of needles you own), and it’s a quick and easy project.
It’s fastened by two lengths of chain stitch tied closed, and on the inside you’ll find two cabled panels that serve to hold your needles and hooks securely. Slip your needles inside as you wish, and then roll the case closed so you can take them wherever you want to.

YOU WILL NEED
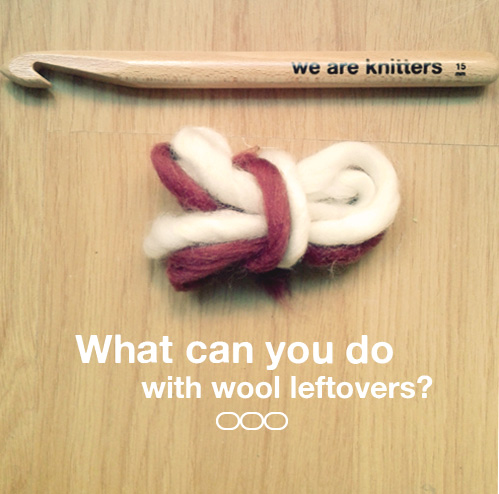
- Cotton in two different colors A and B (less than one ball for each part of the needle case).
- Size 11 beechwood knitting needles.
- Size 8 beechwood crochet hook.
- Tapestry needle.
- Needle and thread.
- A pencil or pen (or a cable needle).
PATTERN
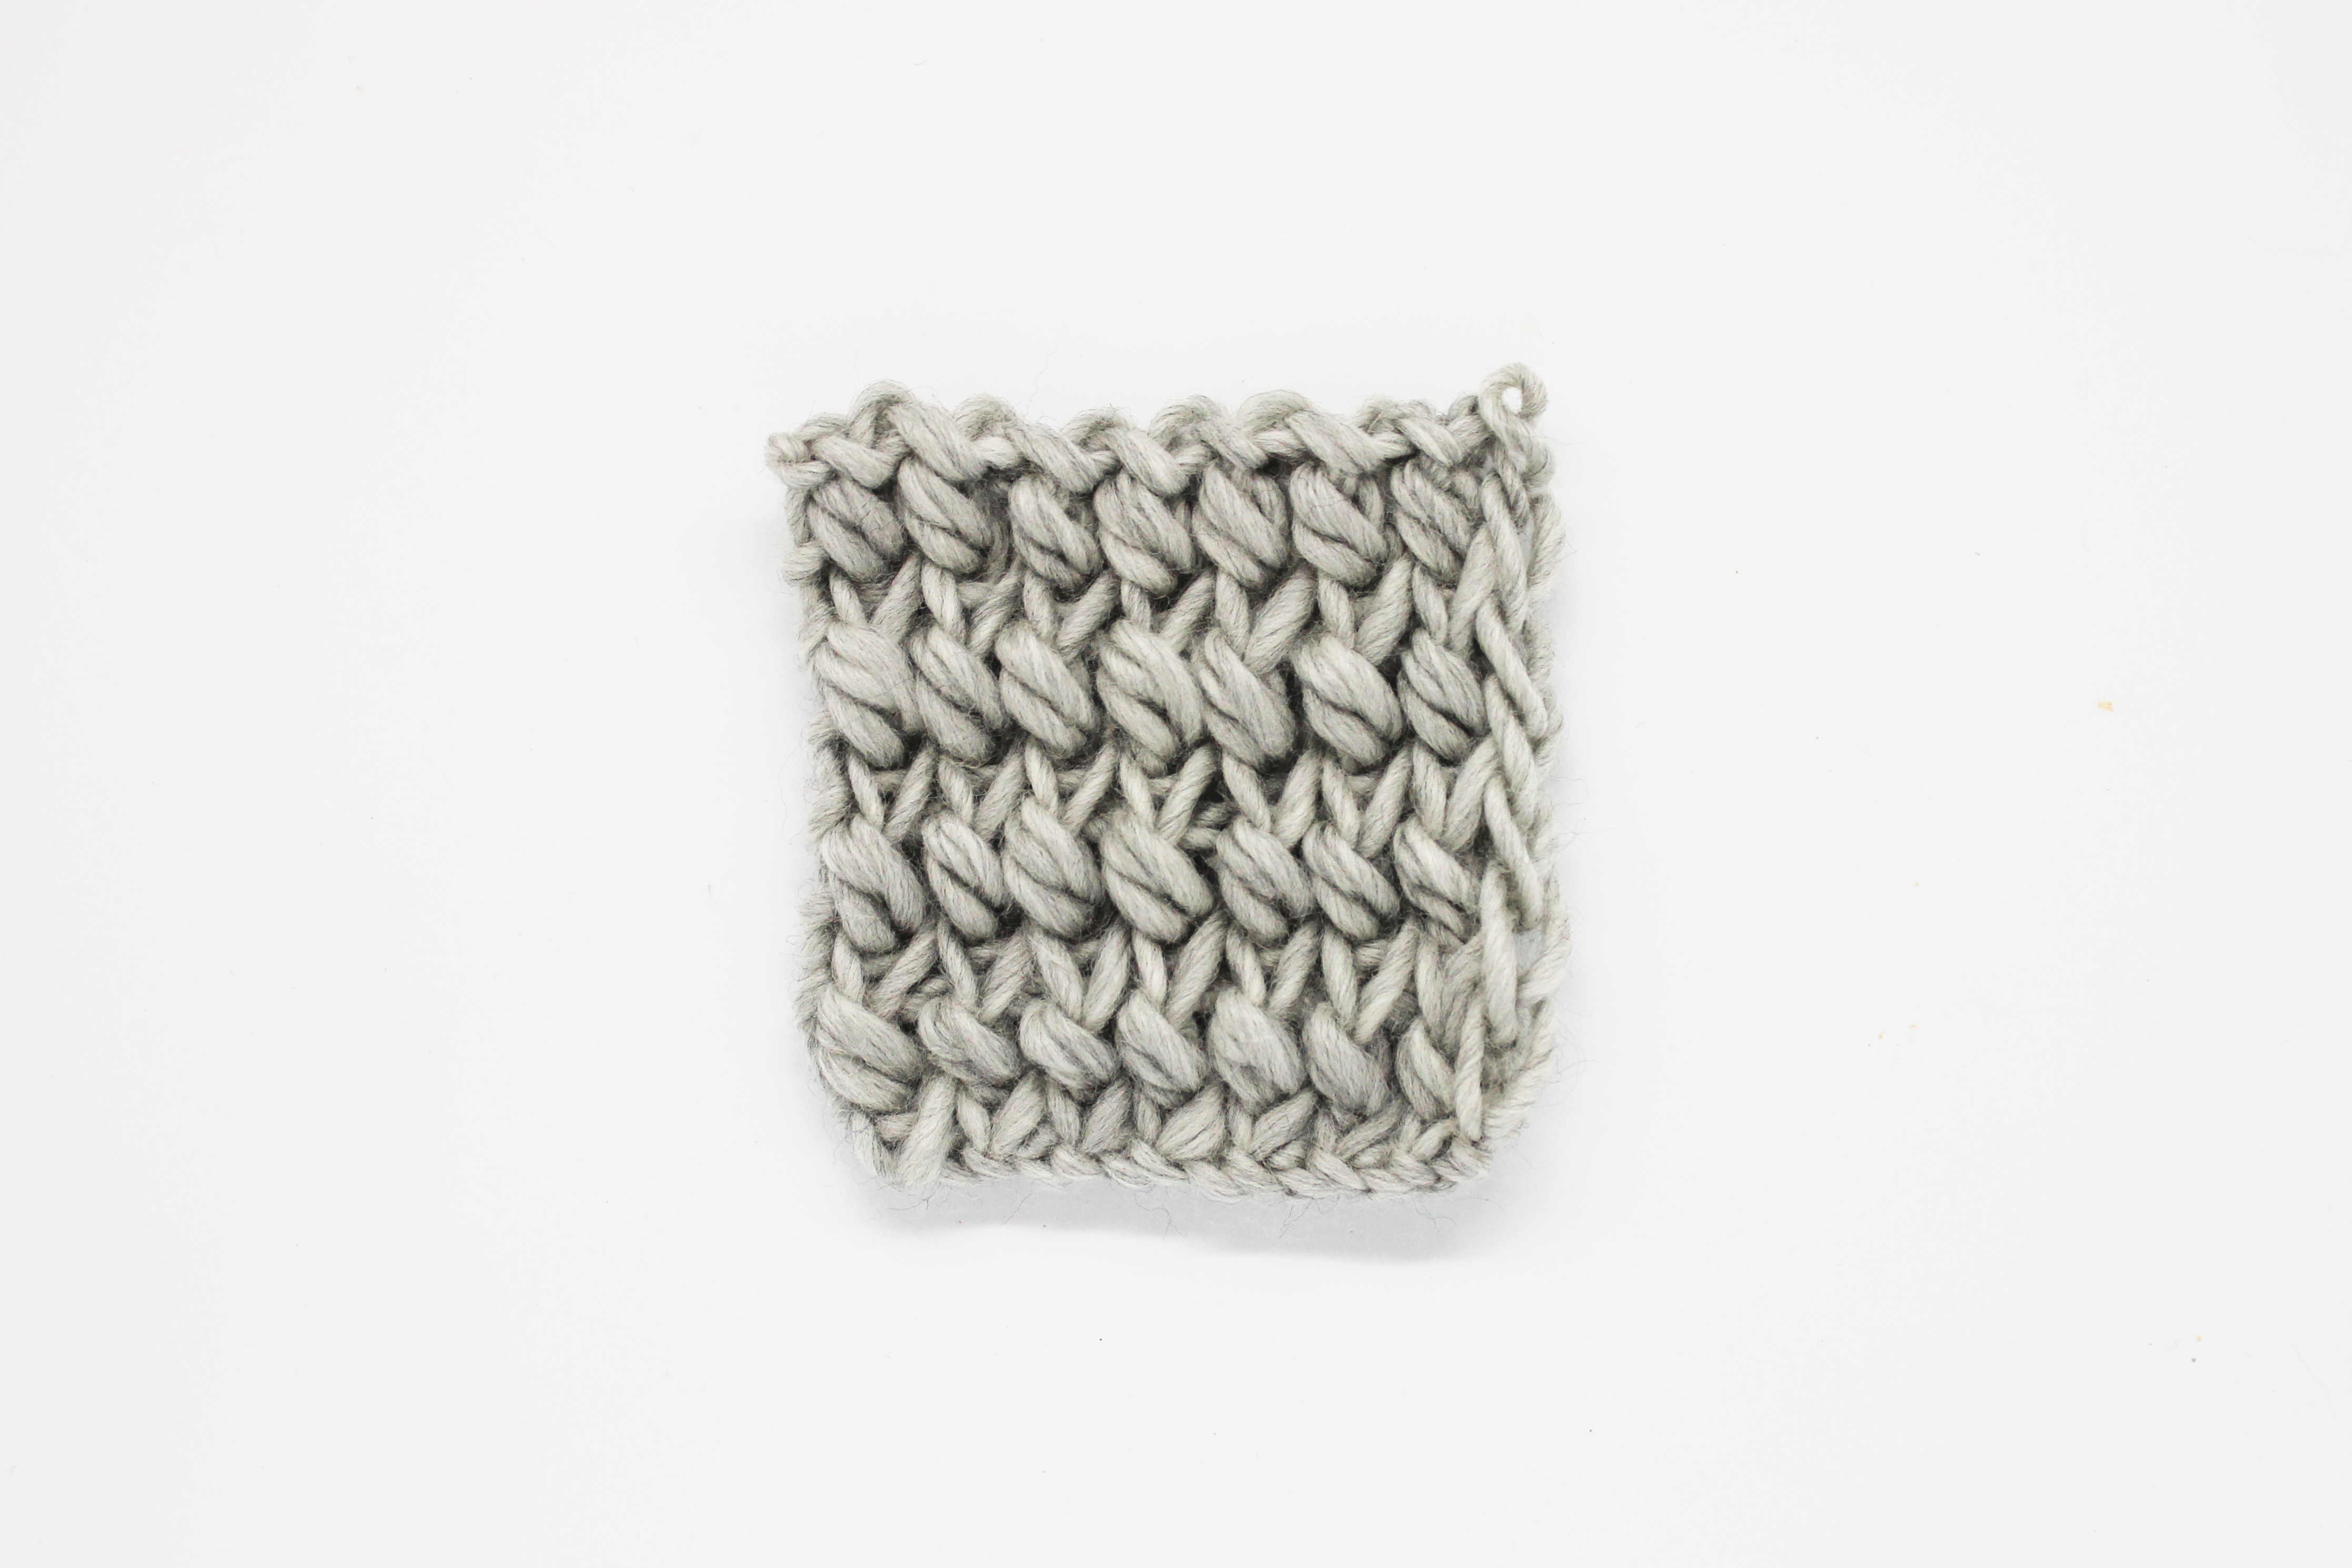
To make the base of the needle case:
1. Cast on 60 stitches onto one of the needles with color A.
2. Work rows 1 to 3 in garter stitch, which means, knit all stitches and all rows.
3. Work rows 4 and on until you reach a length of 9 inches as follows:
Even rows: knit one stitch, purl all stitches until the last stitch. Knit the last stitch.
Odd rows: knit all stitches.
Continue alternating these two rows until the piece measures approximately 9 inches.
4. Work 3 rows in garter stitch.
5. Cast off all stitches.
You will have finished the base of your needle case.
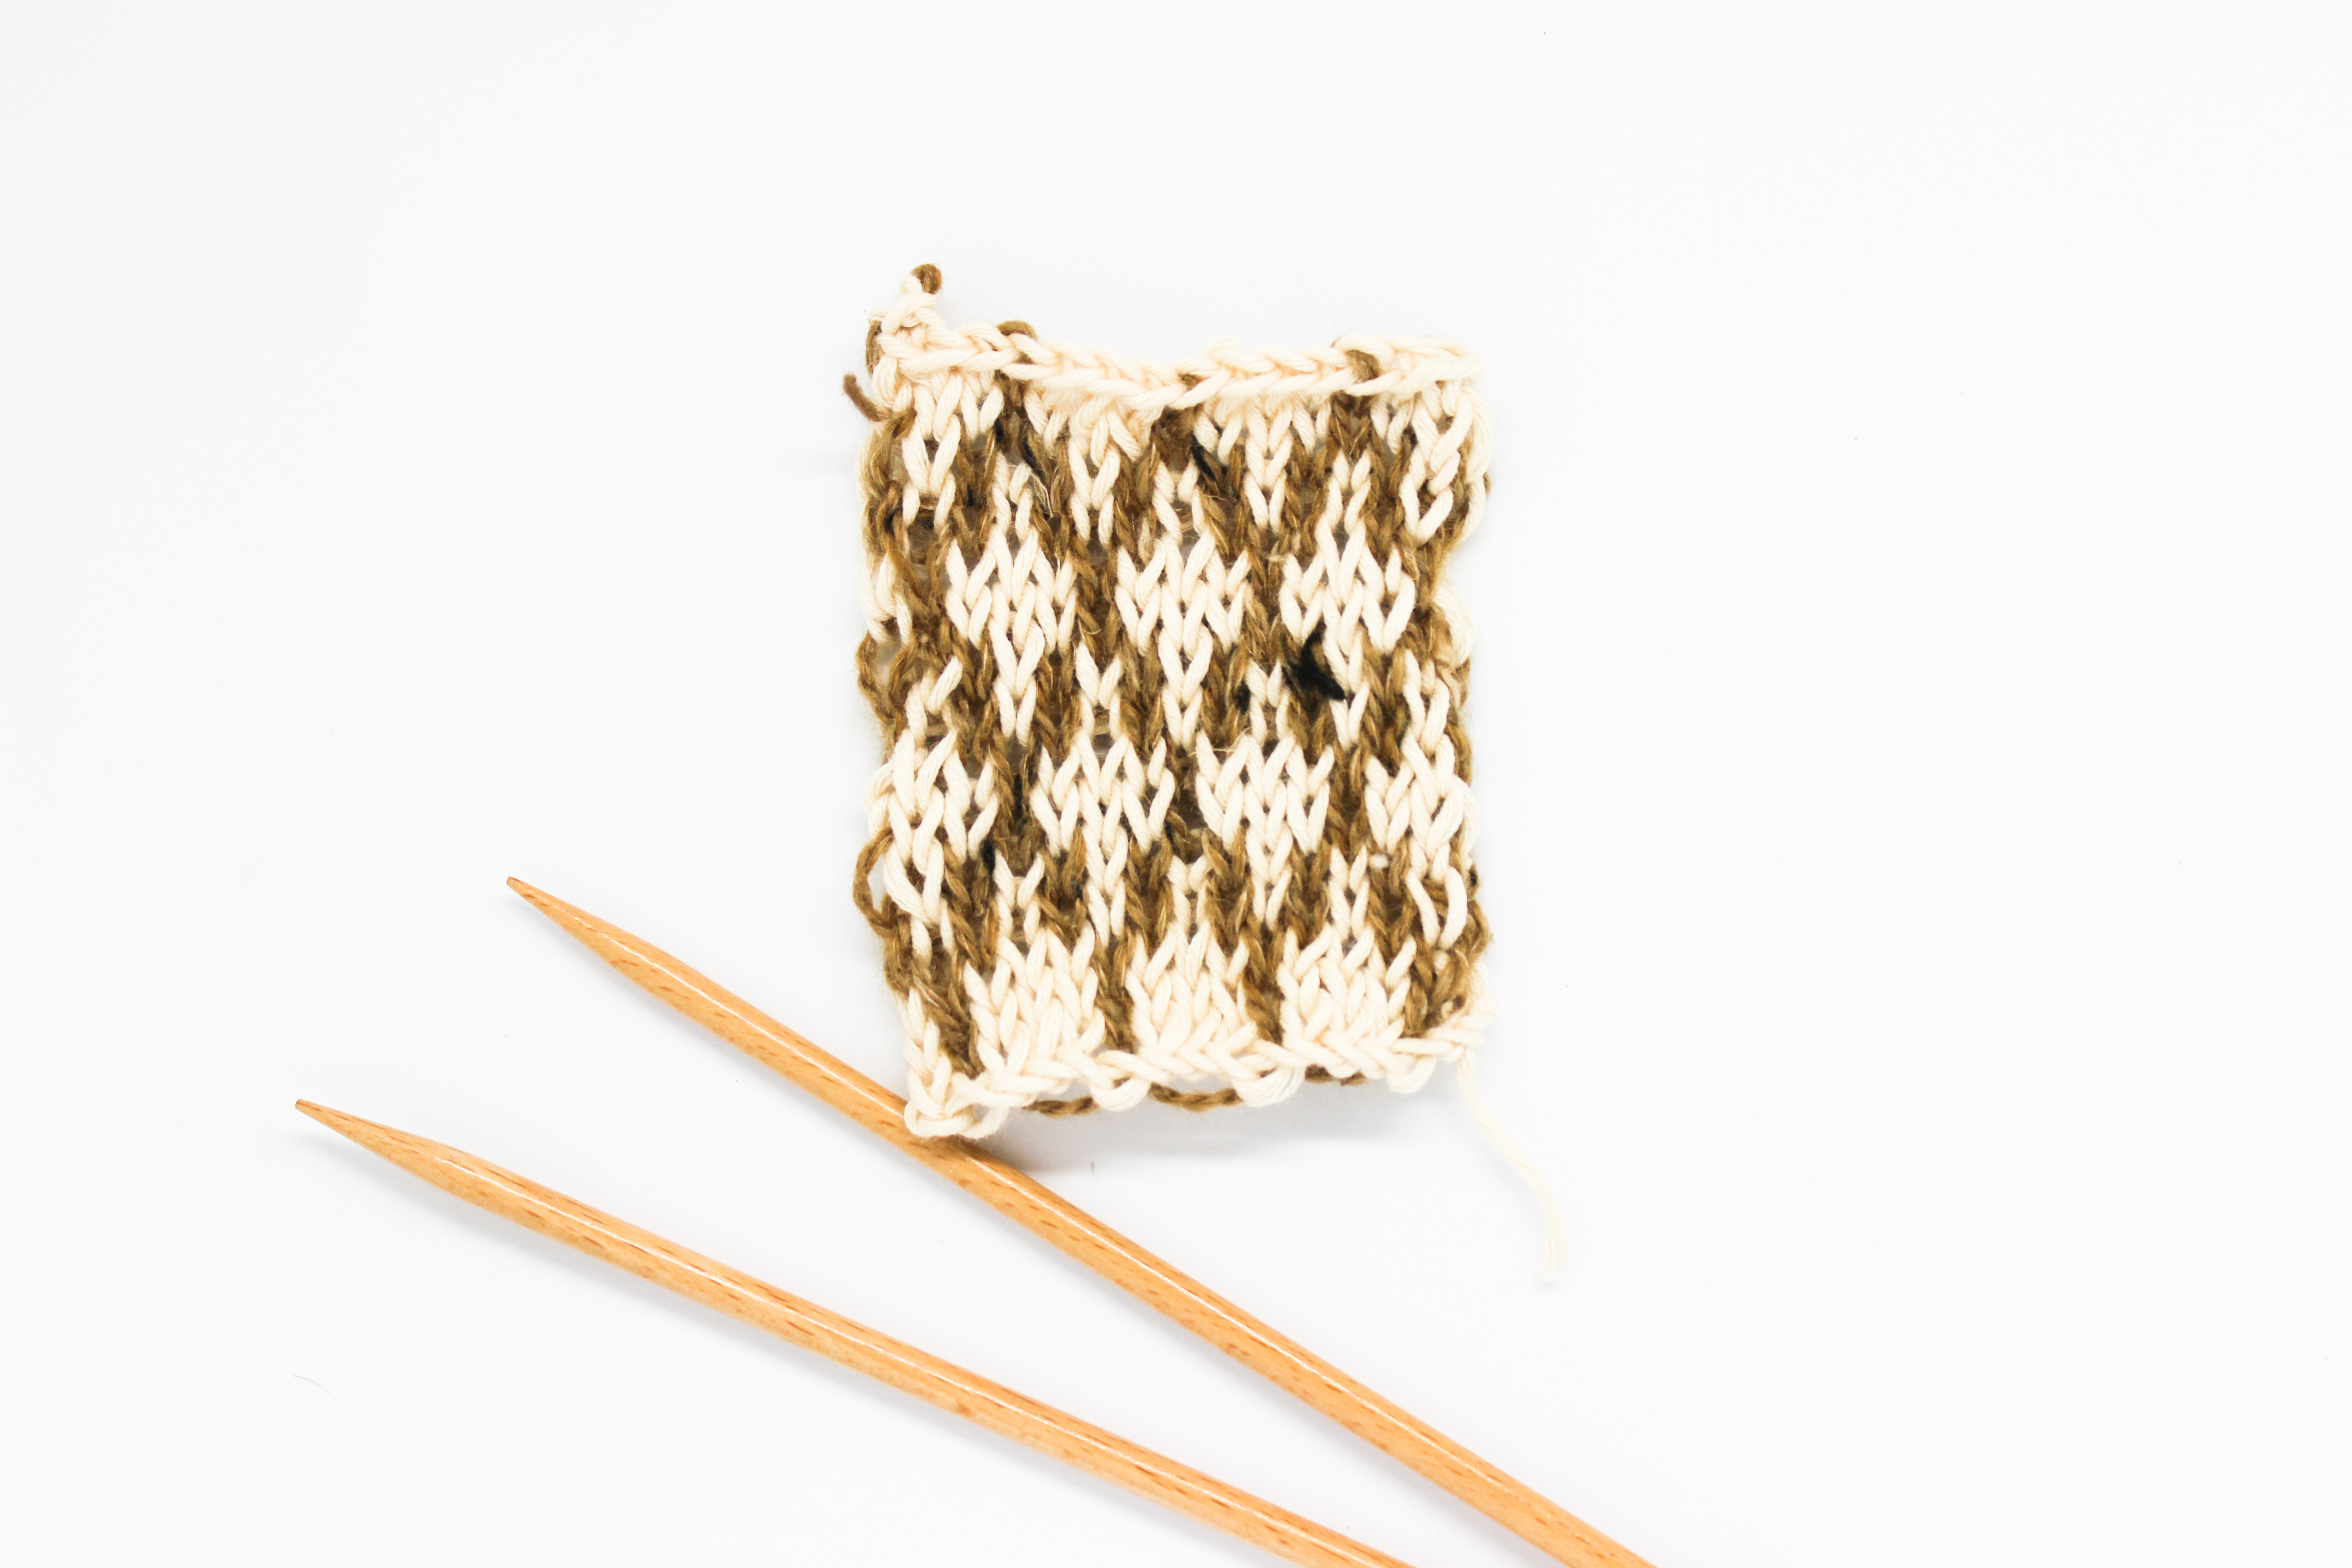
Cables
Follow these instructions twice to make the two panels that hold the needles.

1. With color B, cast on 16 stitches onto one the wooden needles.
2. Work rows 1 to 48 as follows:
Row 1, 3, 5, 9, 11: knit all stitches.
Row 2 and all even rows: knit 2 stitches, purl the remaining stitches until there 2 stitches left, knit the last 2 stitches.
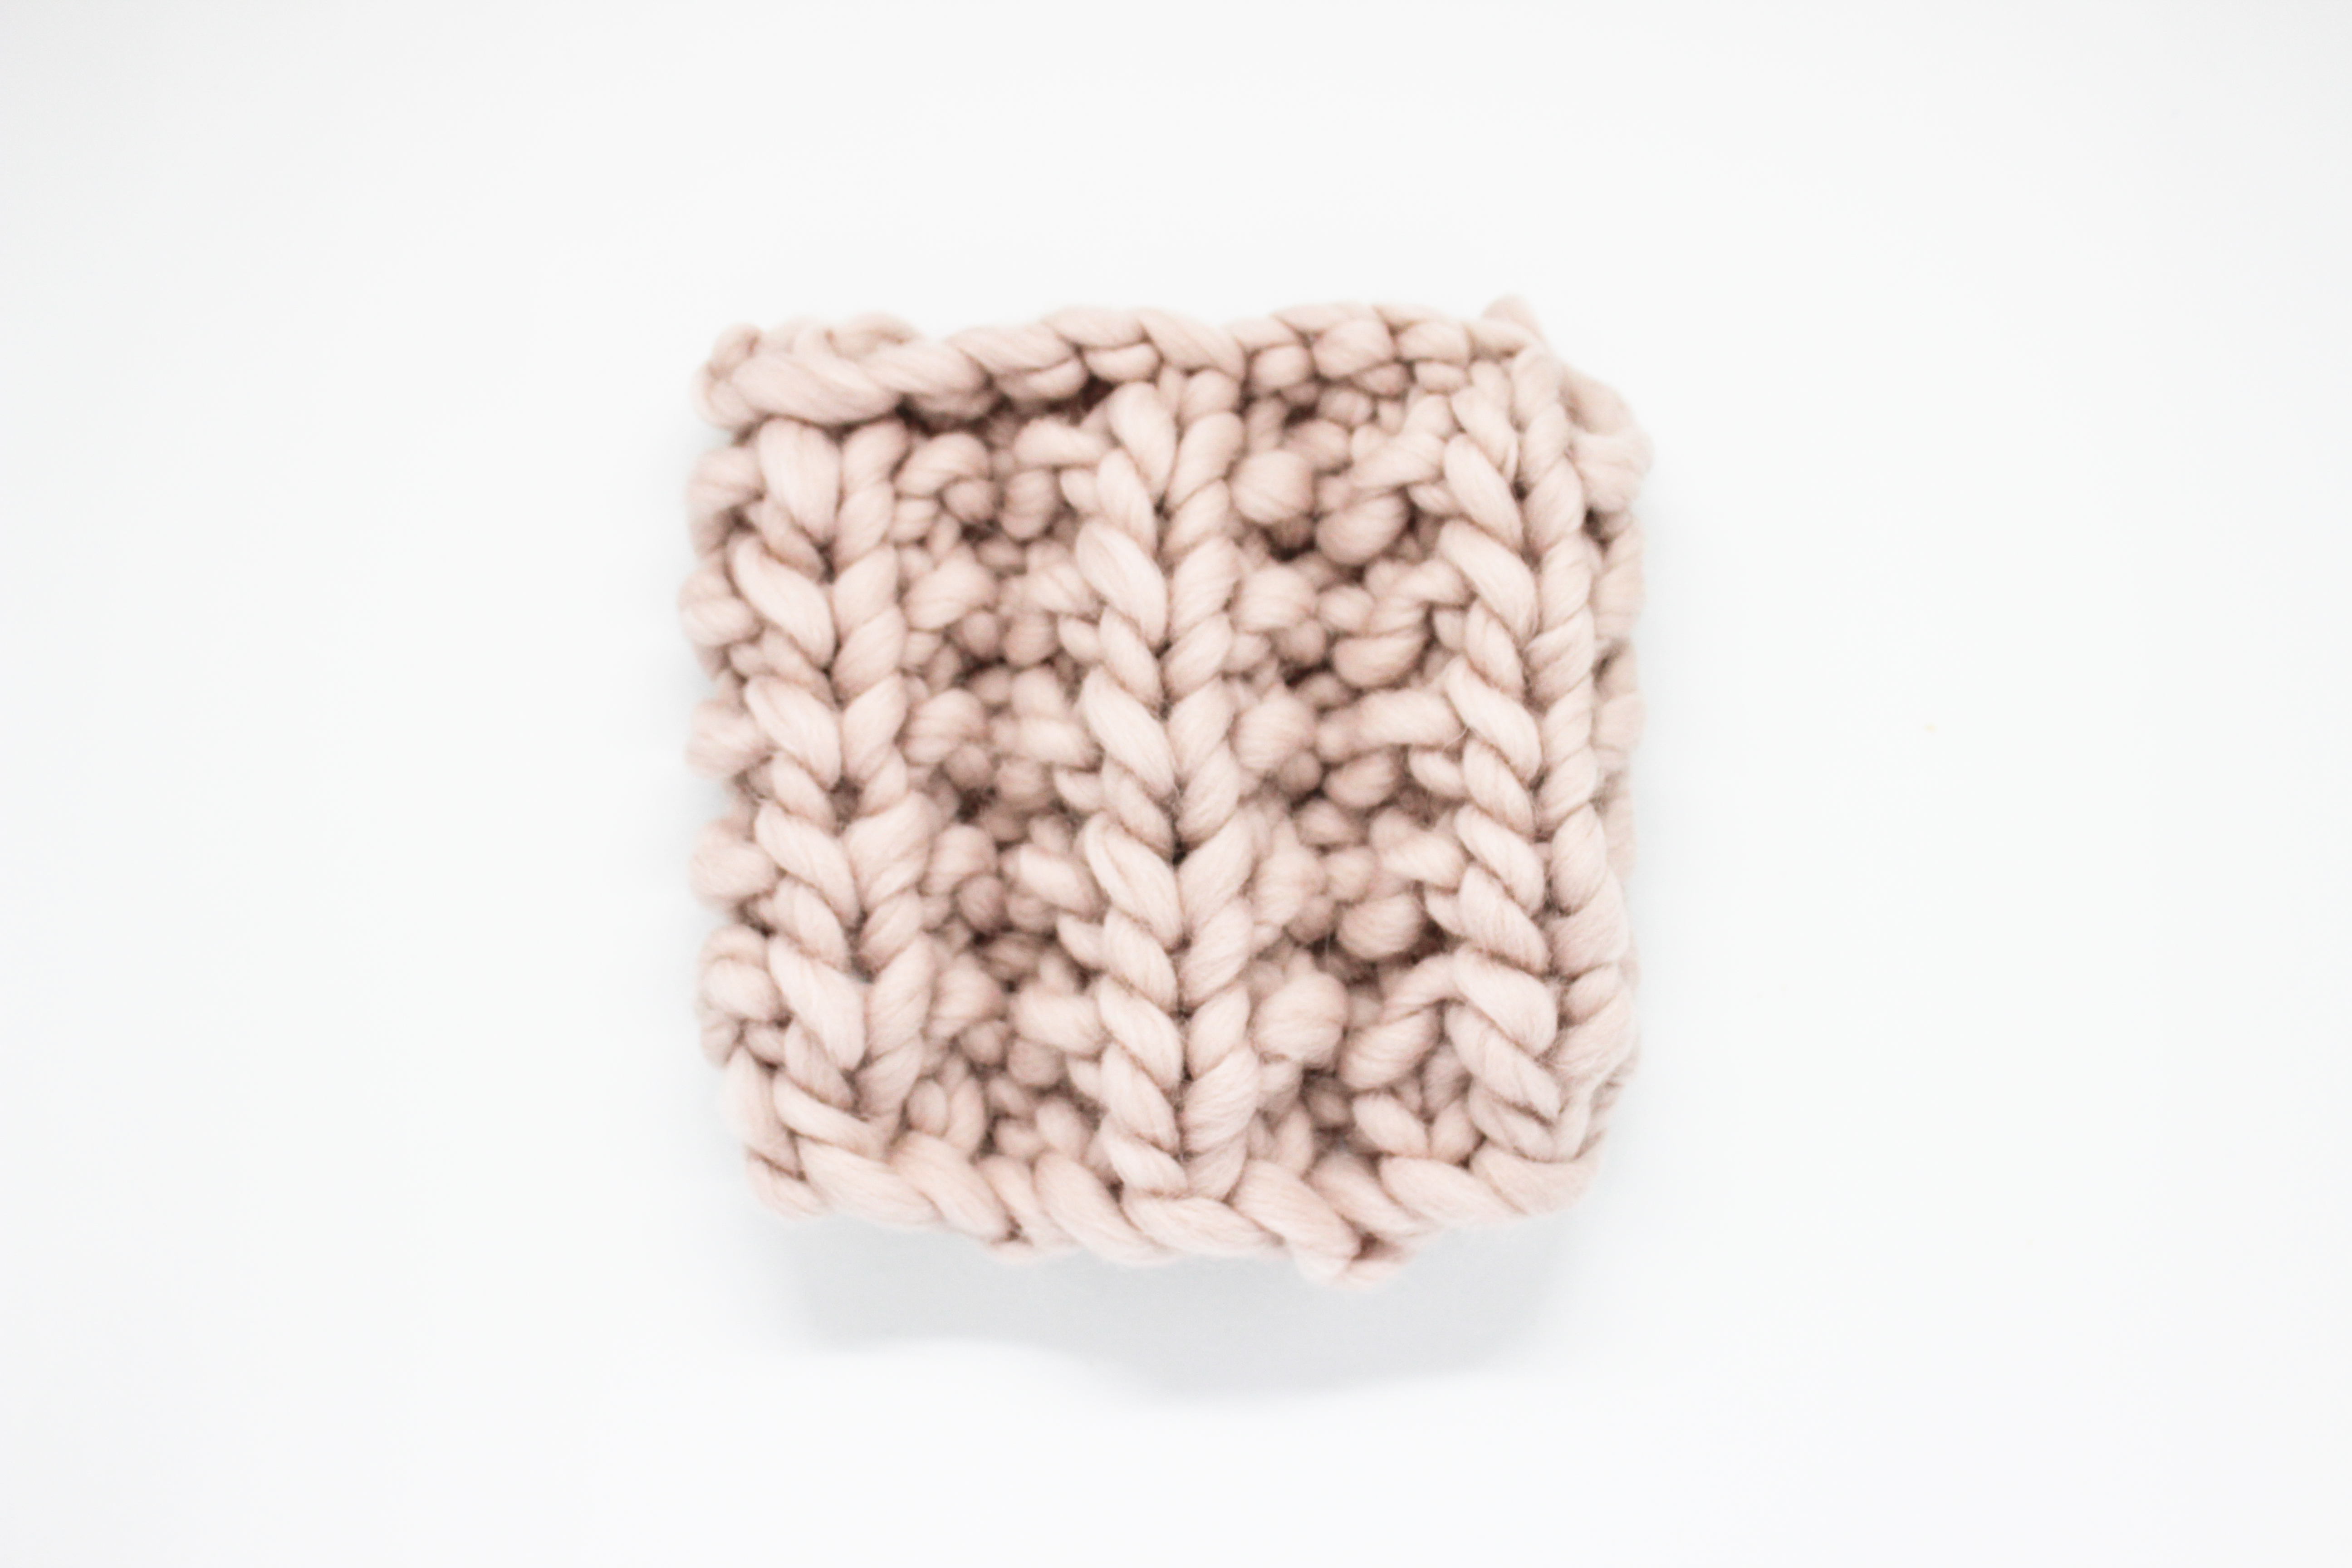
Row 7: knit 2 stitches, slip the next 6 stitches onto a pencil or a cable needle and leave them in front of your work, knit the next 6 stitches, slip the stitches that you have on the pencil or cable needle back to the left-hand needle and knit them, knit 2 stitches.
Repeat these 12 rows a total of 4 times.
3. Cast off all stitches knitwise.
ASSEMBLY
Weave in any loose ends with the tapestry needle. Sew the cable panels to the rectangular base using needle and thread.
You can look at the images to see where best to place them.

Finally, using color B and the wooden crochet hook, make two cords with 60 chains each. You will have two long cords that are used to tie the needle case closed. Sew the crocheted cords securely between the cable panel and the base.
The best part of this pattern is that it is completely adaptable. Try substituting the two crocheted cords for two loops of chain stitches and two buttons, or make your needle case larger or smaller depending upon what you want to keep in it.

What about knitting the base in a different pattern instead of stockinette stitch? There are lots of options!
Have you already made your own needle case? Have one that you prefer? Tell us about it in the comments!
Are you following us on Instagram? Don’t forget to tag your pics with #weareknitters and @weareknitters for your chance to be reposted on our feed. ?


2 comments
Do you have tutorials for begginer knitting.
Hi Marianne,
You can find our tutorials here: youtube.com/user/WeAreKnittersEN
Happy knitting!