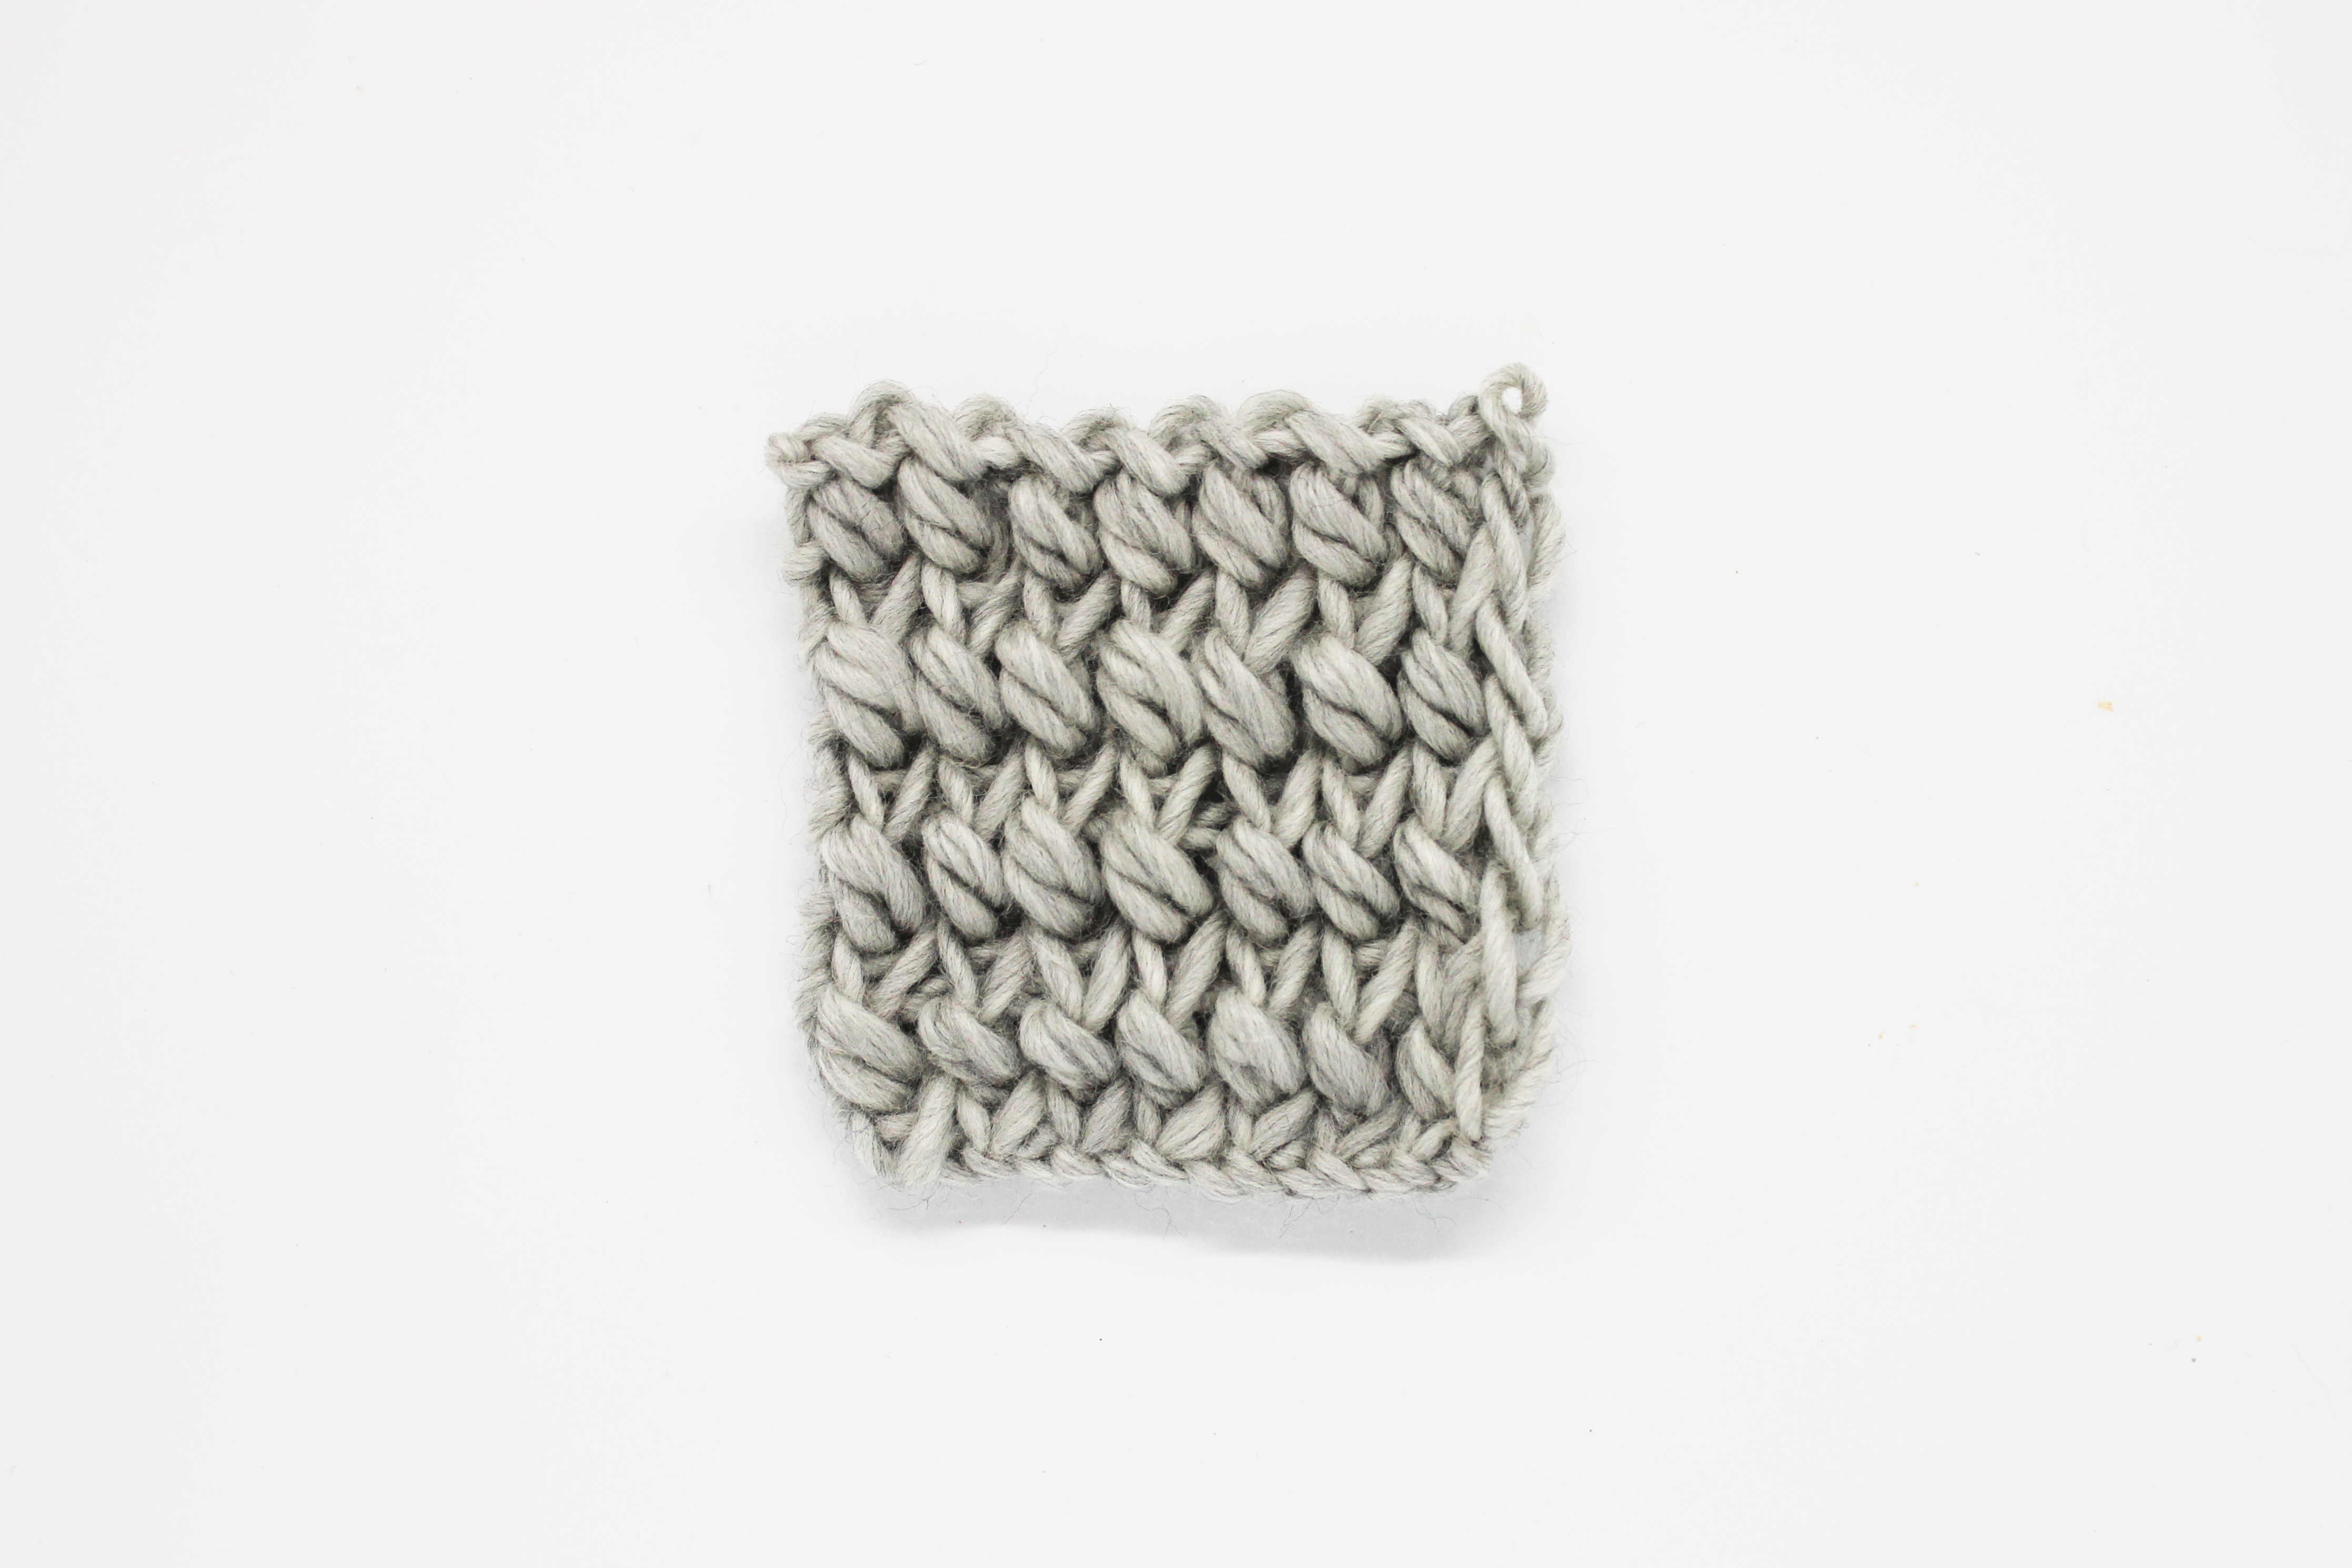
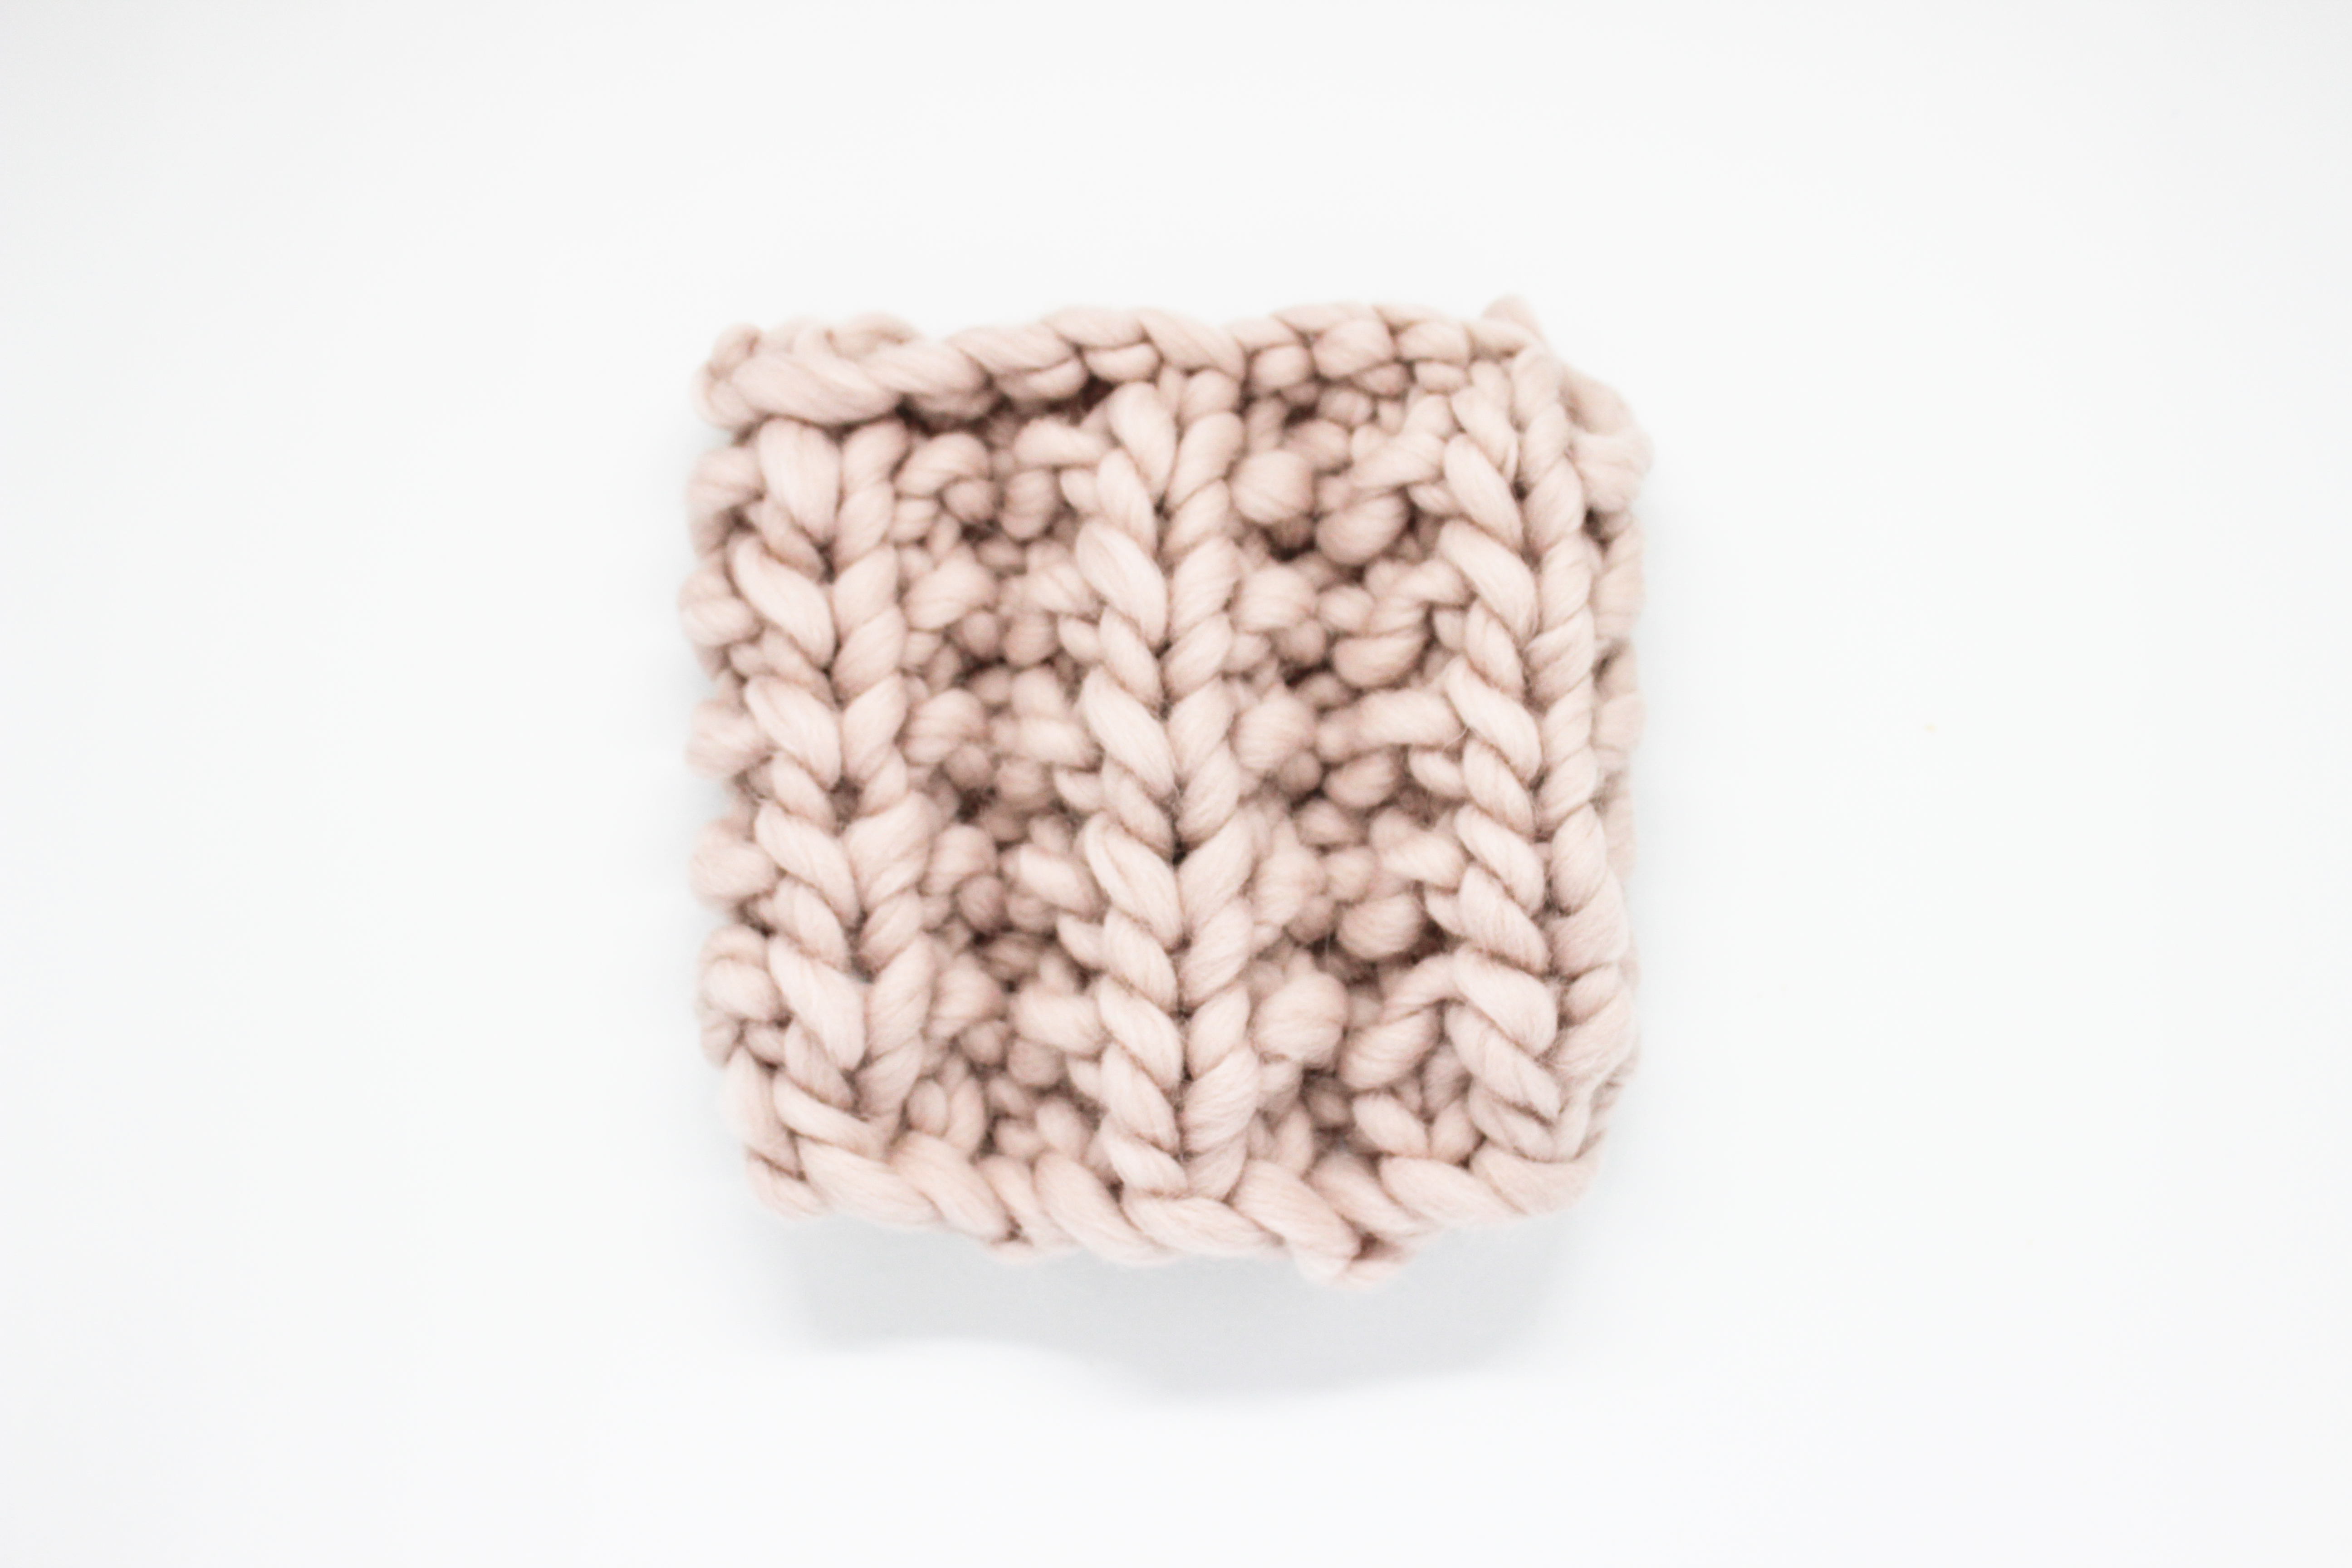
Winter does not officially begin for any self-respecting knitter without having knit a scarf. We have to make a new, fun scarf every winter. Today we bring you a very simple stitch that we are sure you will love, it has a cozy and soft texture that combined with a ball of warm wool will be your best friend on the winter coldest days ahead.

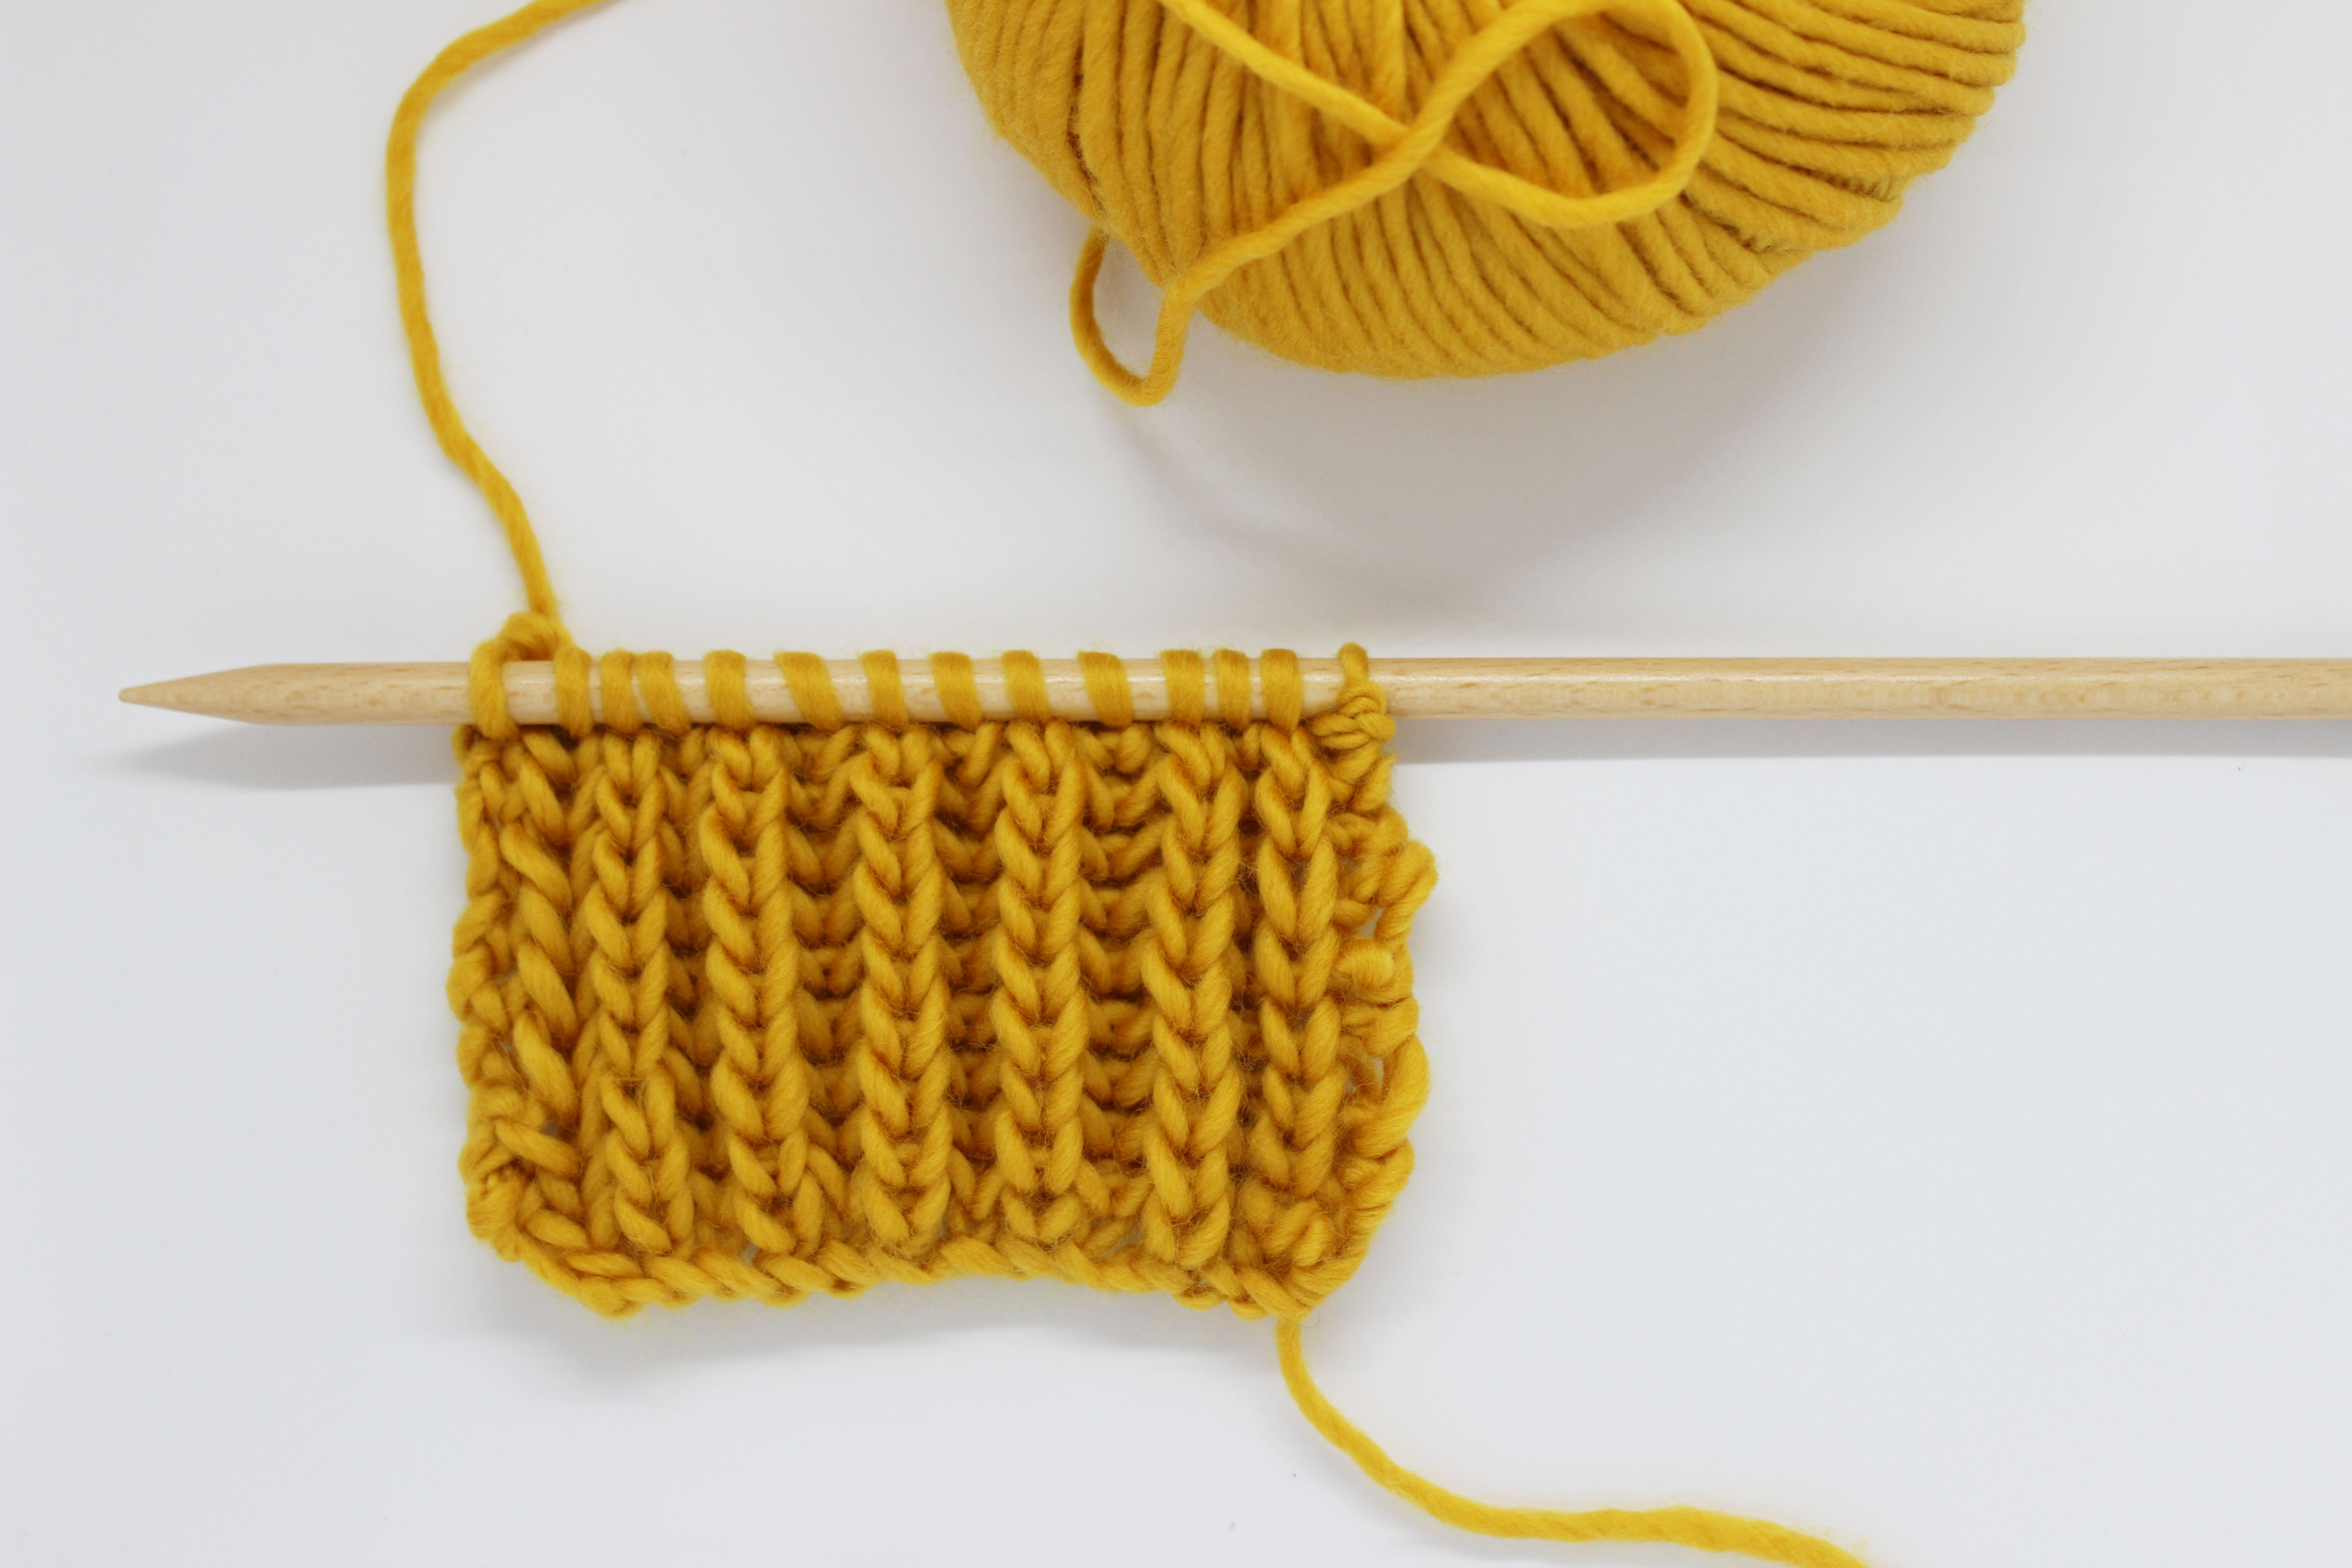
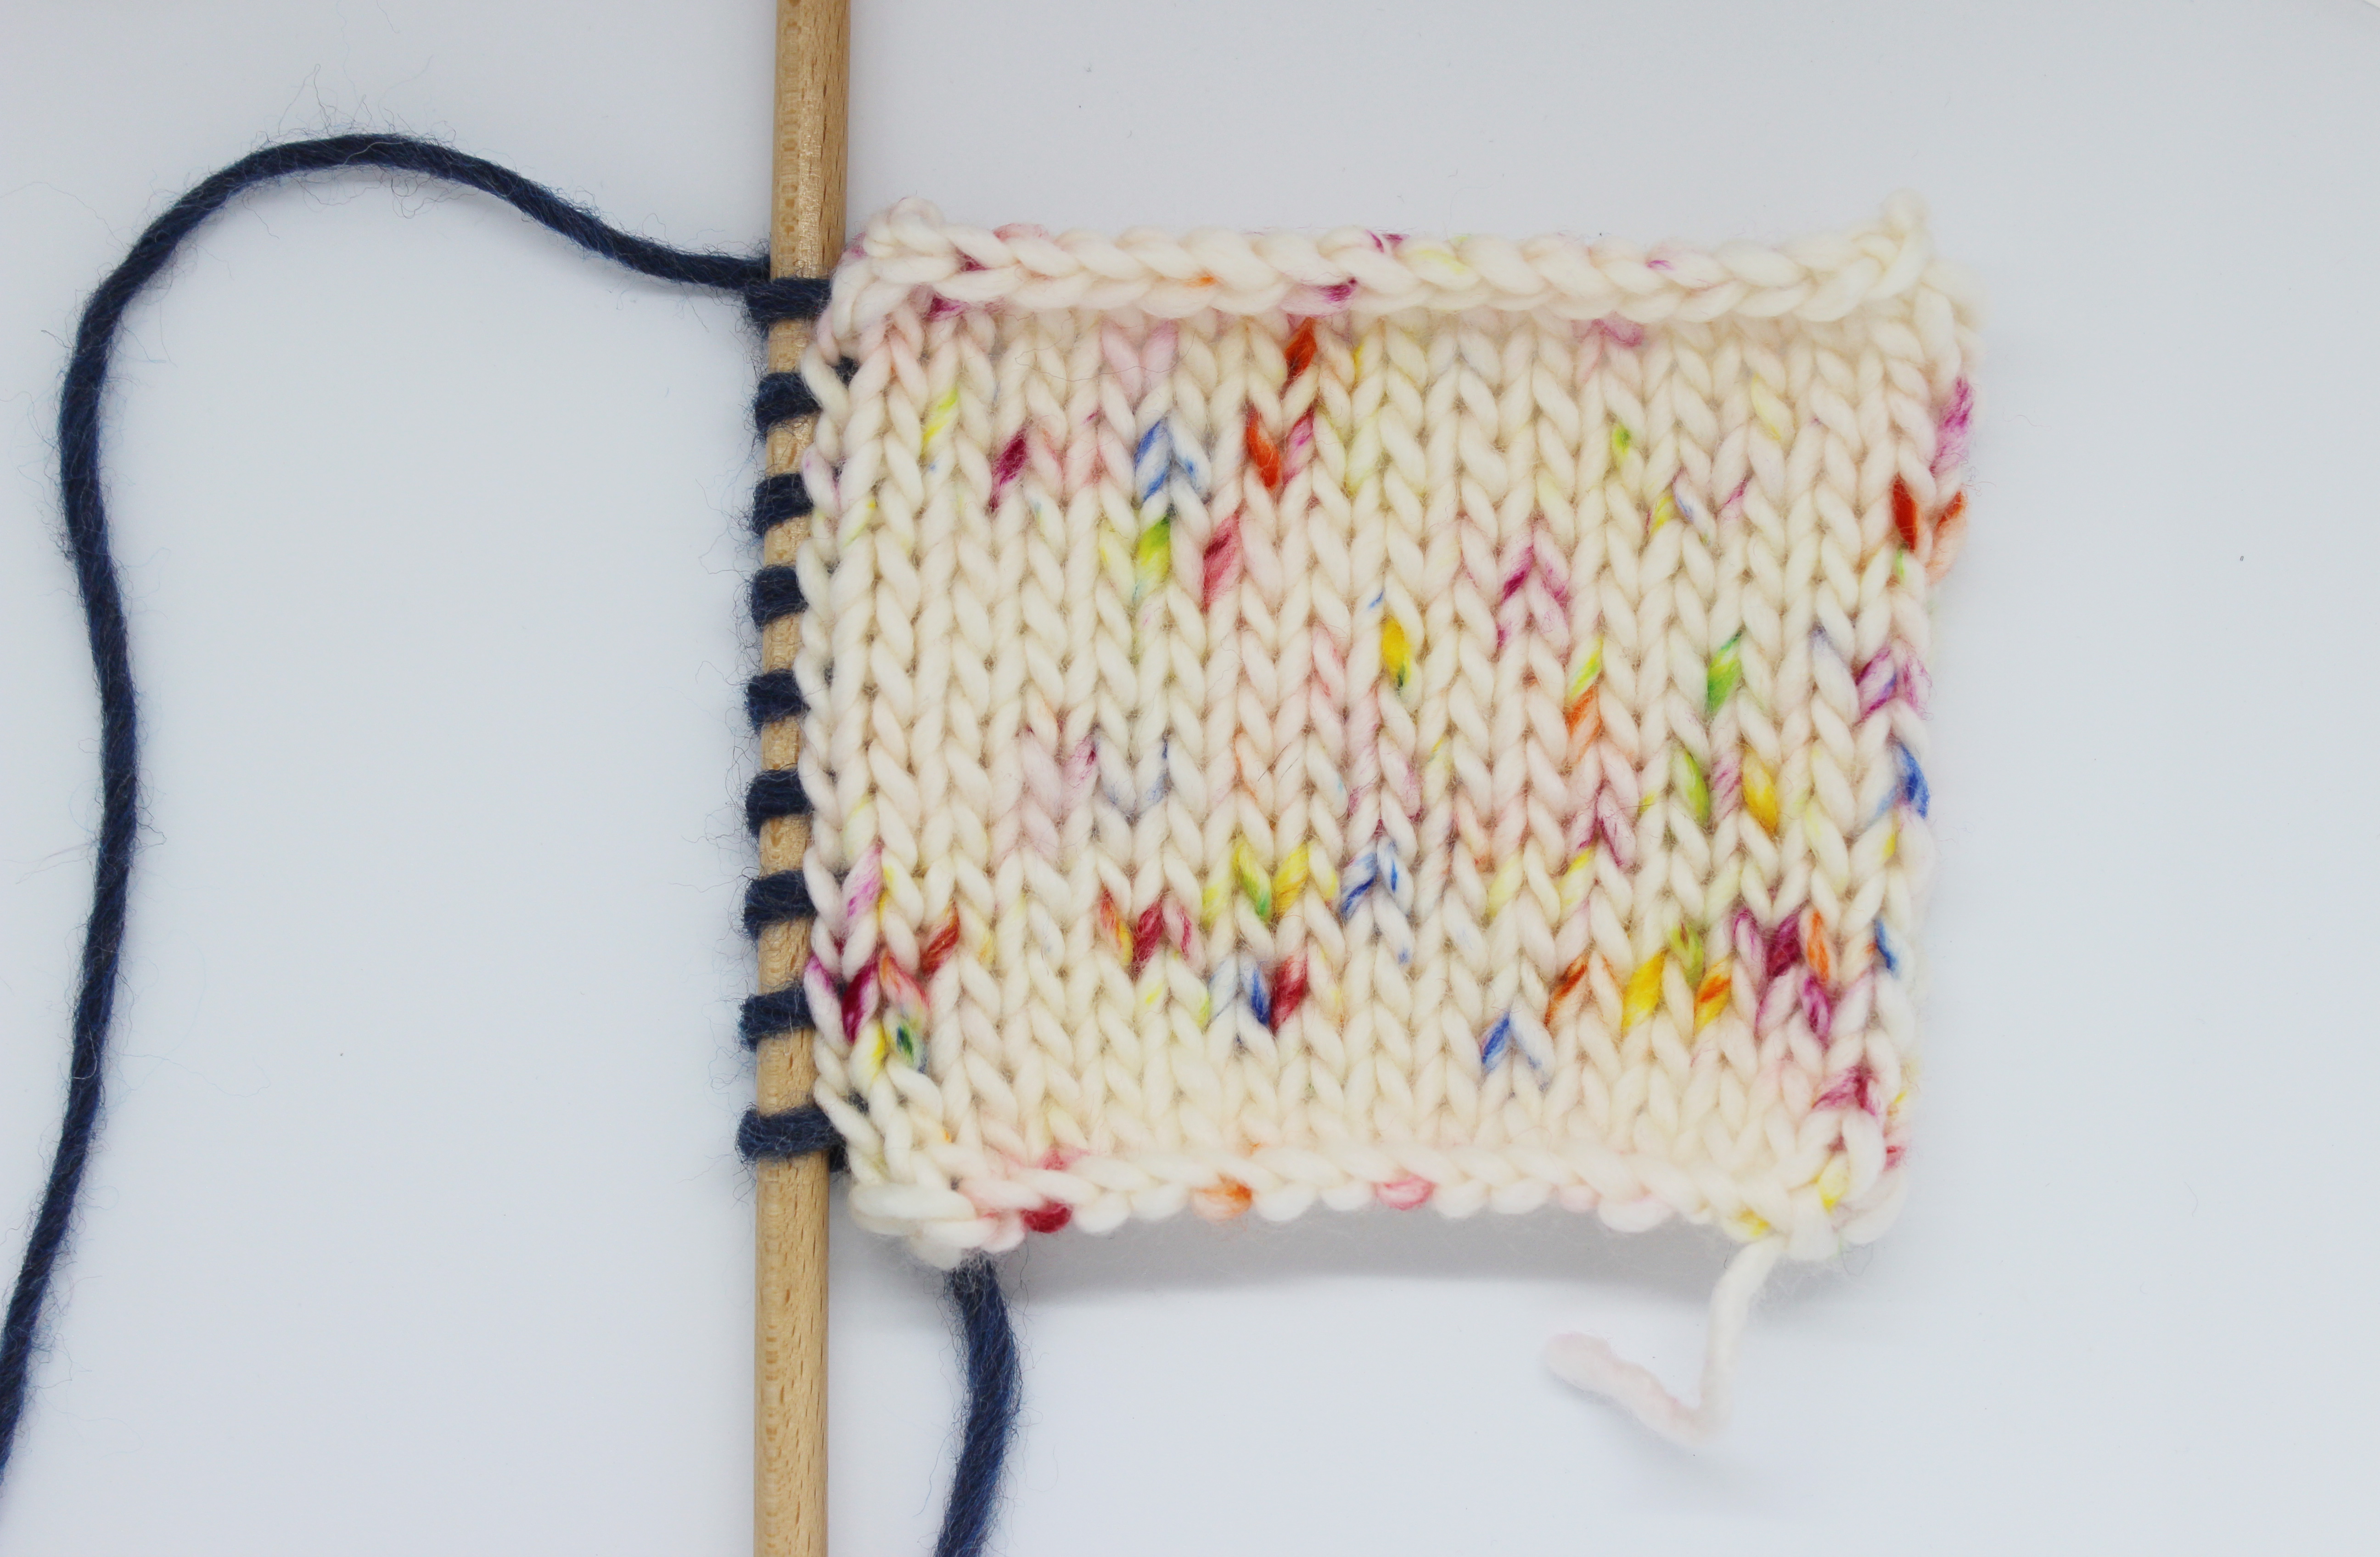
For this step-by-step tutorial we used a skein of our Merifine wool in the color mustard and a pair of our size 8 (5 mm) beechwood knitting needles.
Before starting, as usual, we give you a list and explanations of each of the stitches we will use below:
- How to cast on
- How to knit
- How to purl
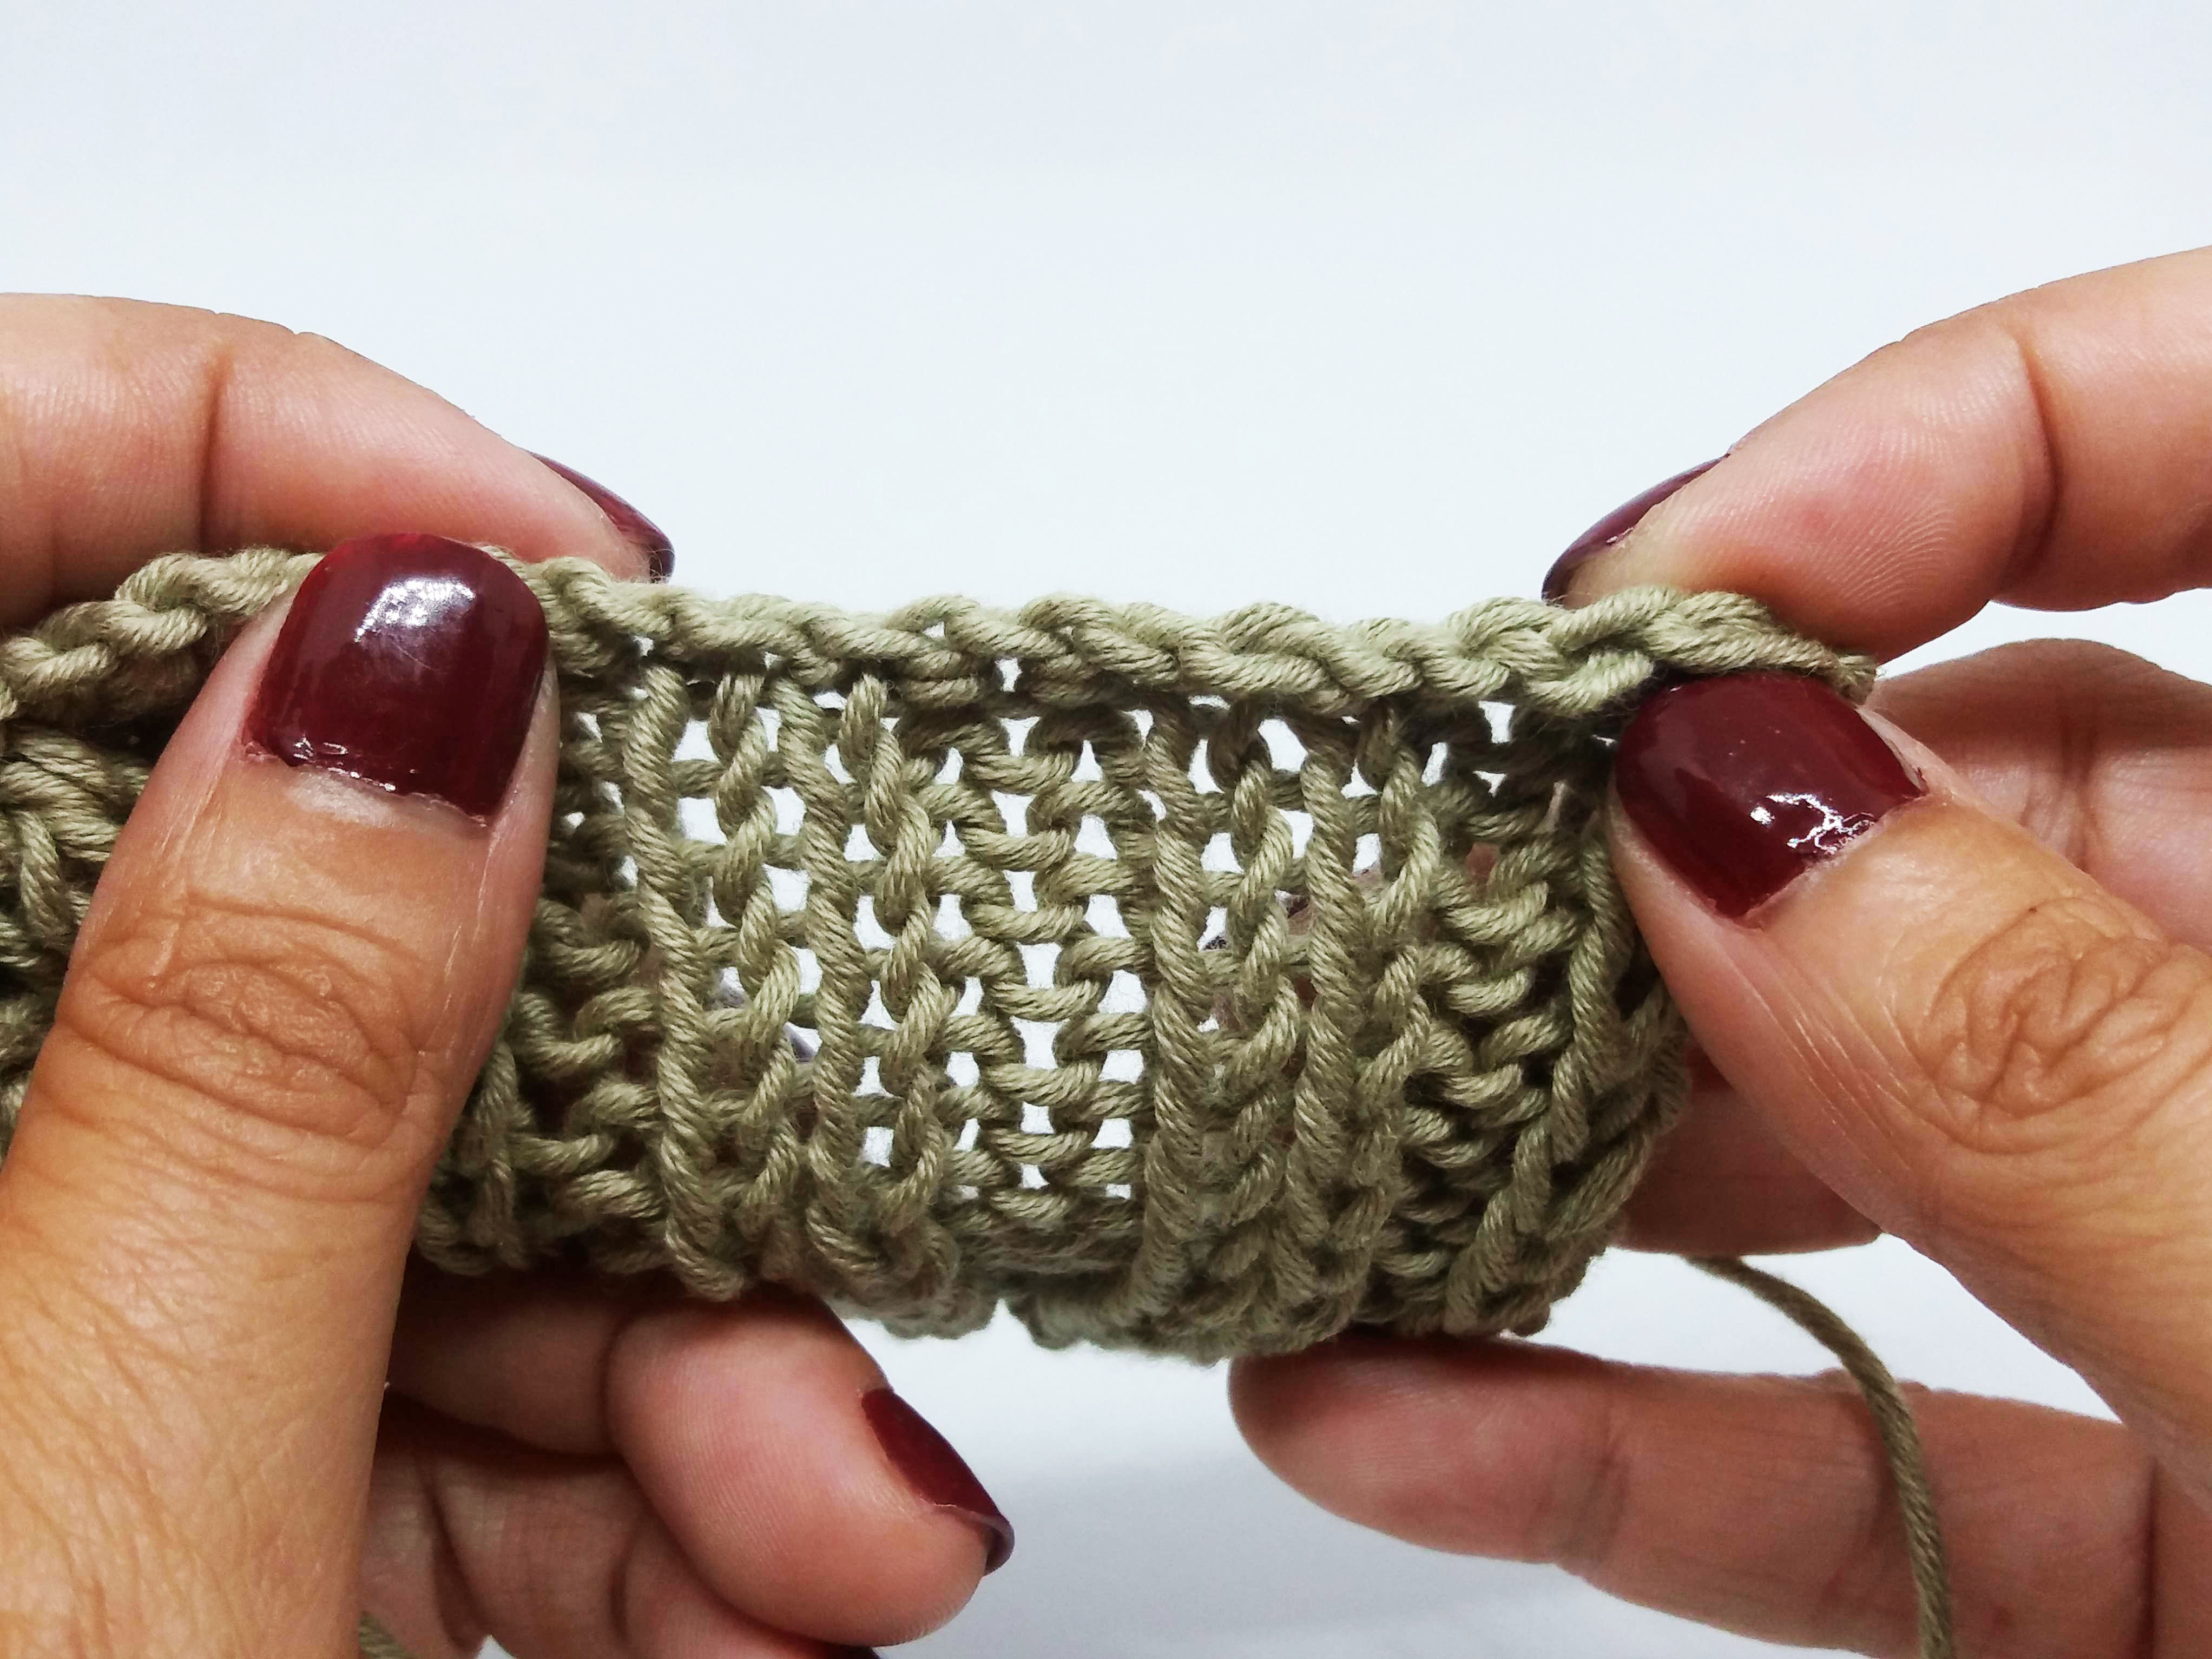
- Work 1 stitch 5 times: knit 1 without dropping it off of the needle, yarn over, knit the same stitch without dropping it off the needle, yarn over, knit the same stitch. Now you can drop the stitch off the tip of your needle, you will have 5 stitches coming out of the same stitch.
- Slip 4, knit 1, pass over 4 stitches: slip the next 4 stitches, one at a time, as if you were going to knit them, knit the next stitch, then pass the 4 slipped stitches over the knit stitch, as if you were binding off the stitch.
Let’s get started!

We’ll start by casting on a multiple of 4 stitches + 1.

Row 1: knit all stitches.

Row 2: purl 1. *Work 1 stitch 5 times, purl 1, knit 1, purl 1*. Repeat from * to * until the end of the row.

Row 3: *knit 1, purl 1, knit 1, purl 5 *. Repeat from * to * until there is 1 stitch left, knit 1.

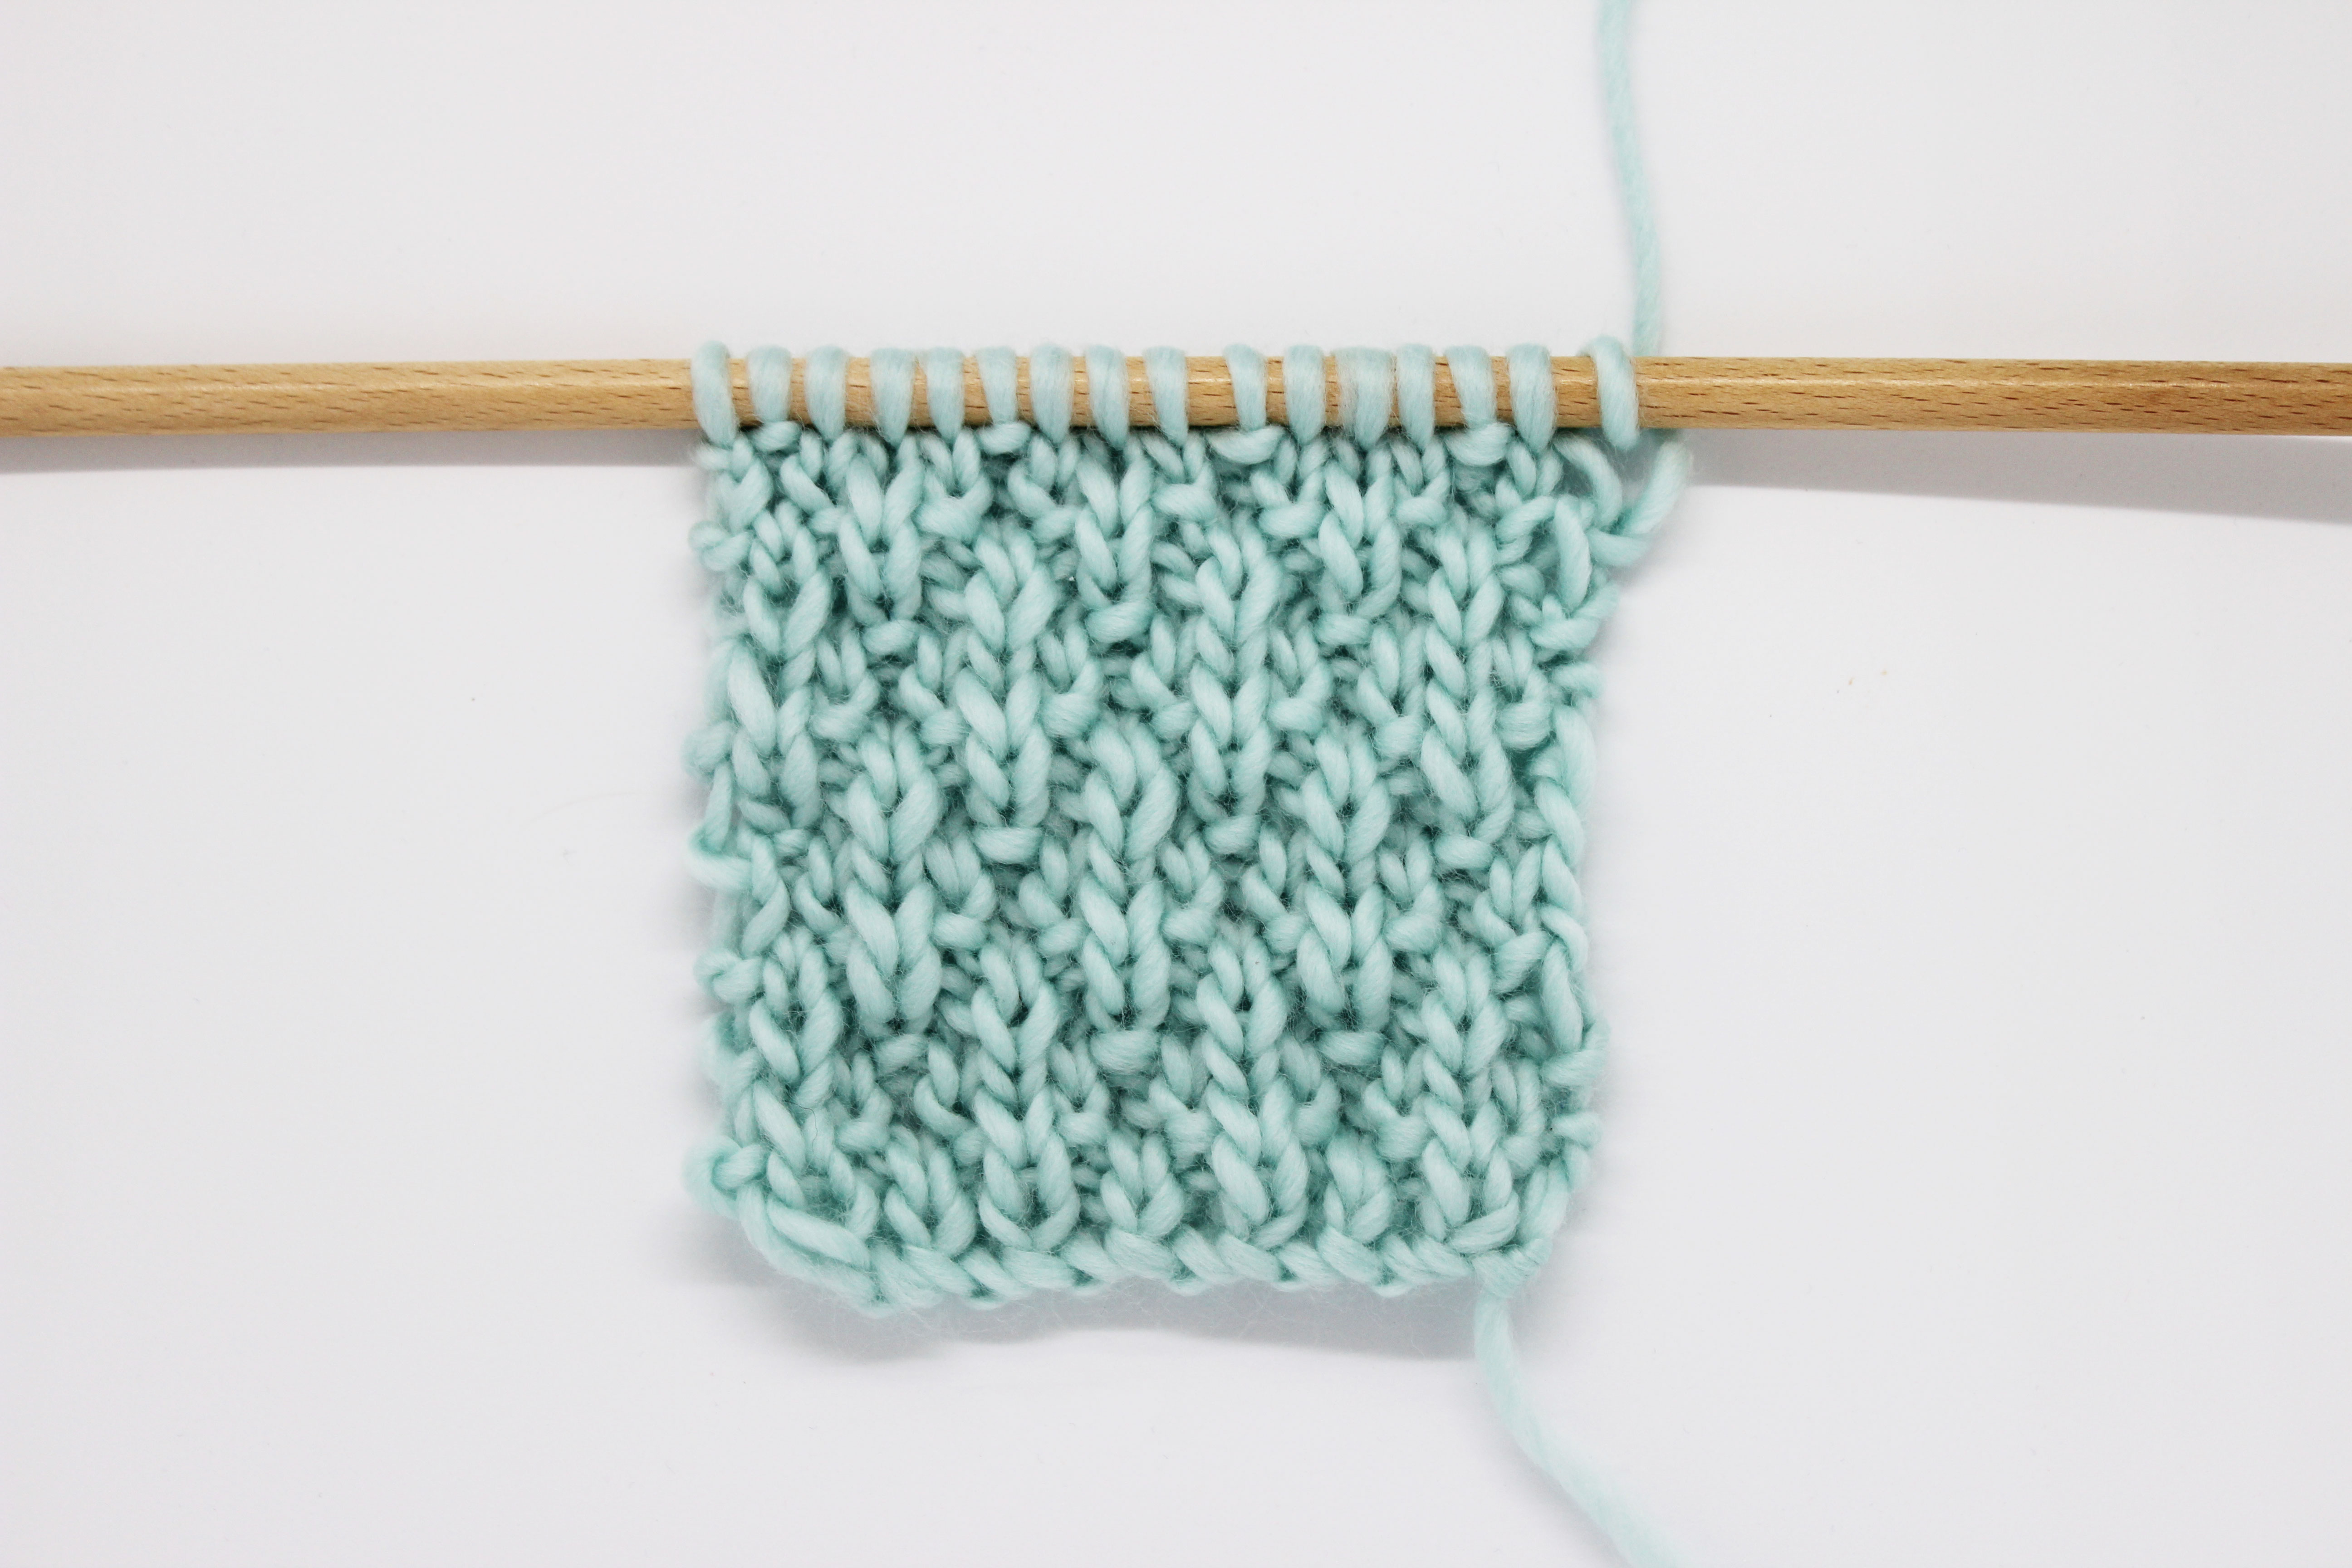
Rows 4 to 7: work all stitches as they appear, this means: knit the knit stitches and purl the purl stitches.

Row 8: purl 1. *Slip 4, knit 1, pass over 4 stitches 1, purl 1, work 1 stitch 5 times, purl 1*. Repeat from * to * until the end of the row.

Row 9: knit 1. *Purl 5, knit 1, purl 1, knit 1*. Repeat from * to * until the end of the row.

Rows 10 to 13: work all stitches as they appear.

Row 14: purl 1. * Work 1 stitch 5 times, purl 1, slip 4, knit 1, pass over 4 stitches, purl 1*. Repeat from * to * until the end of the row.

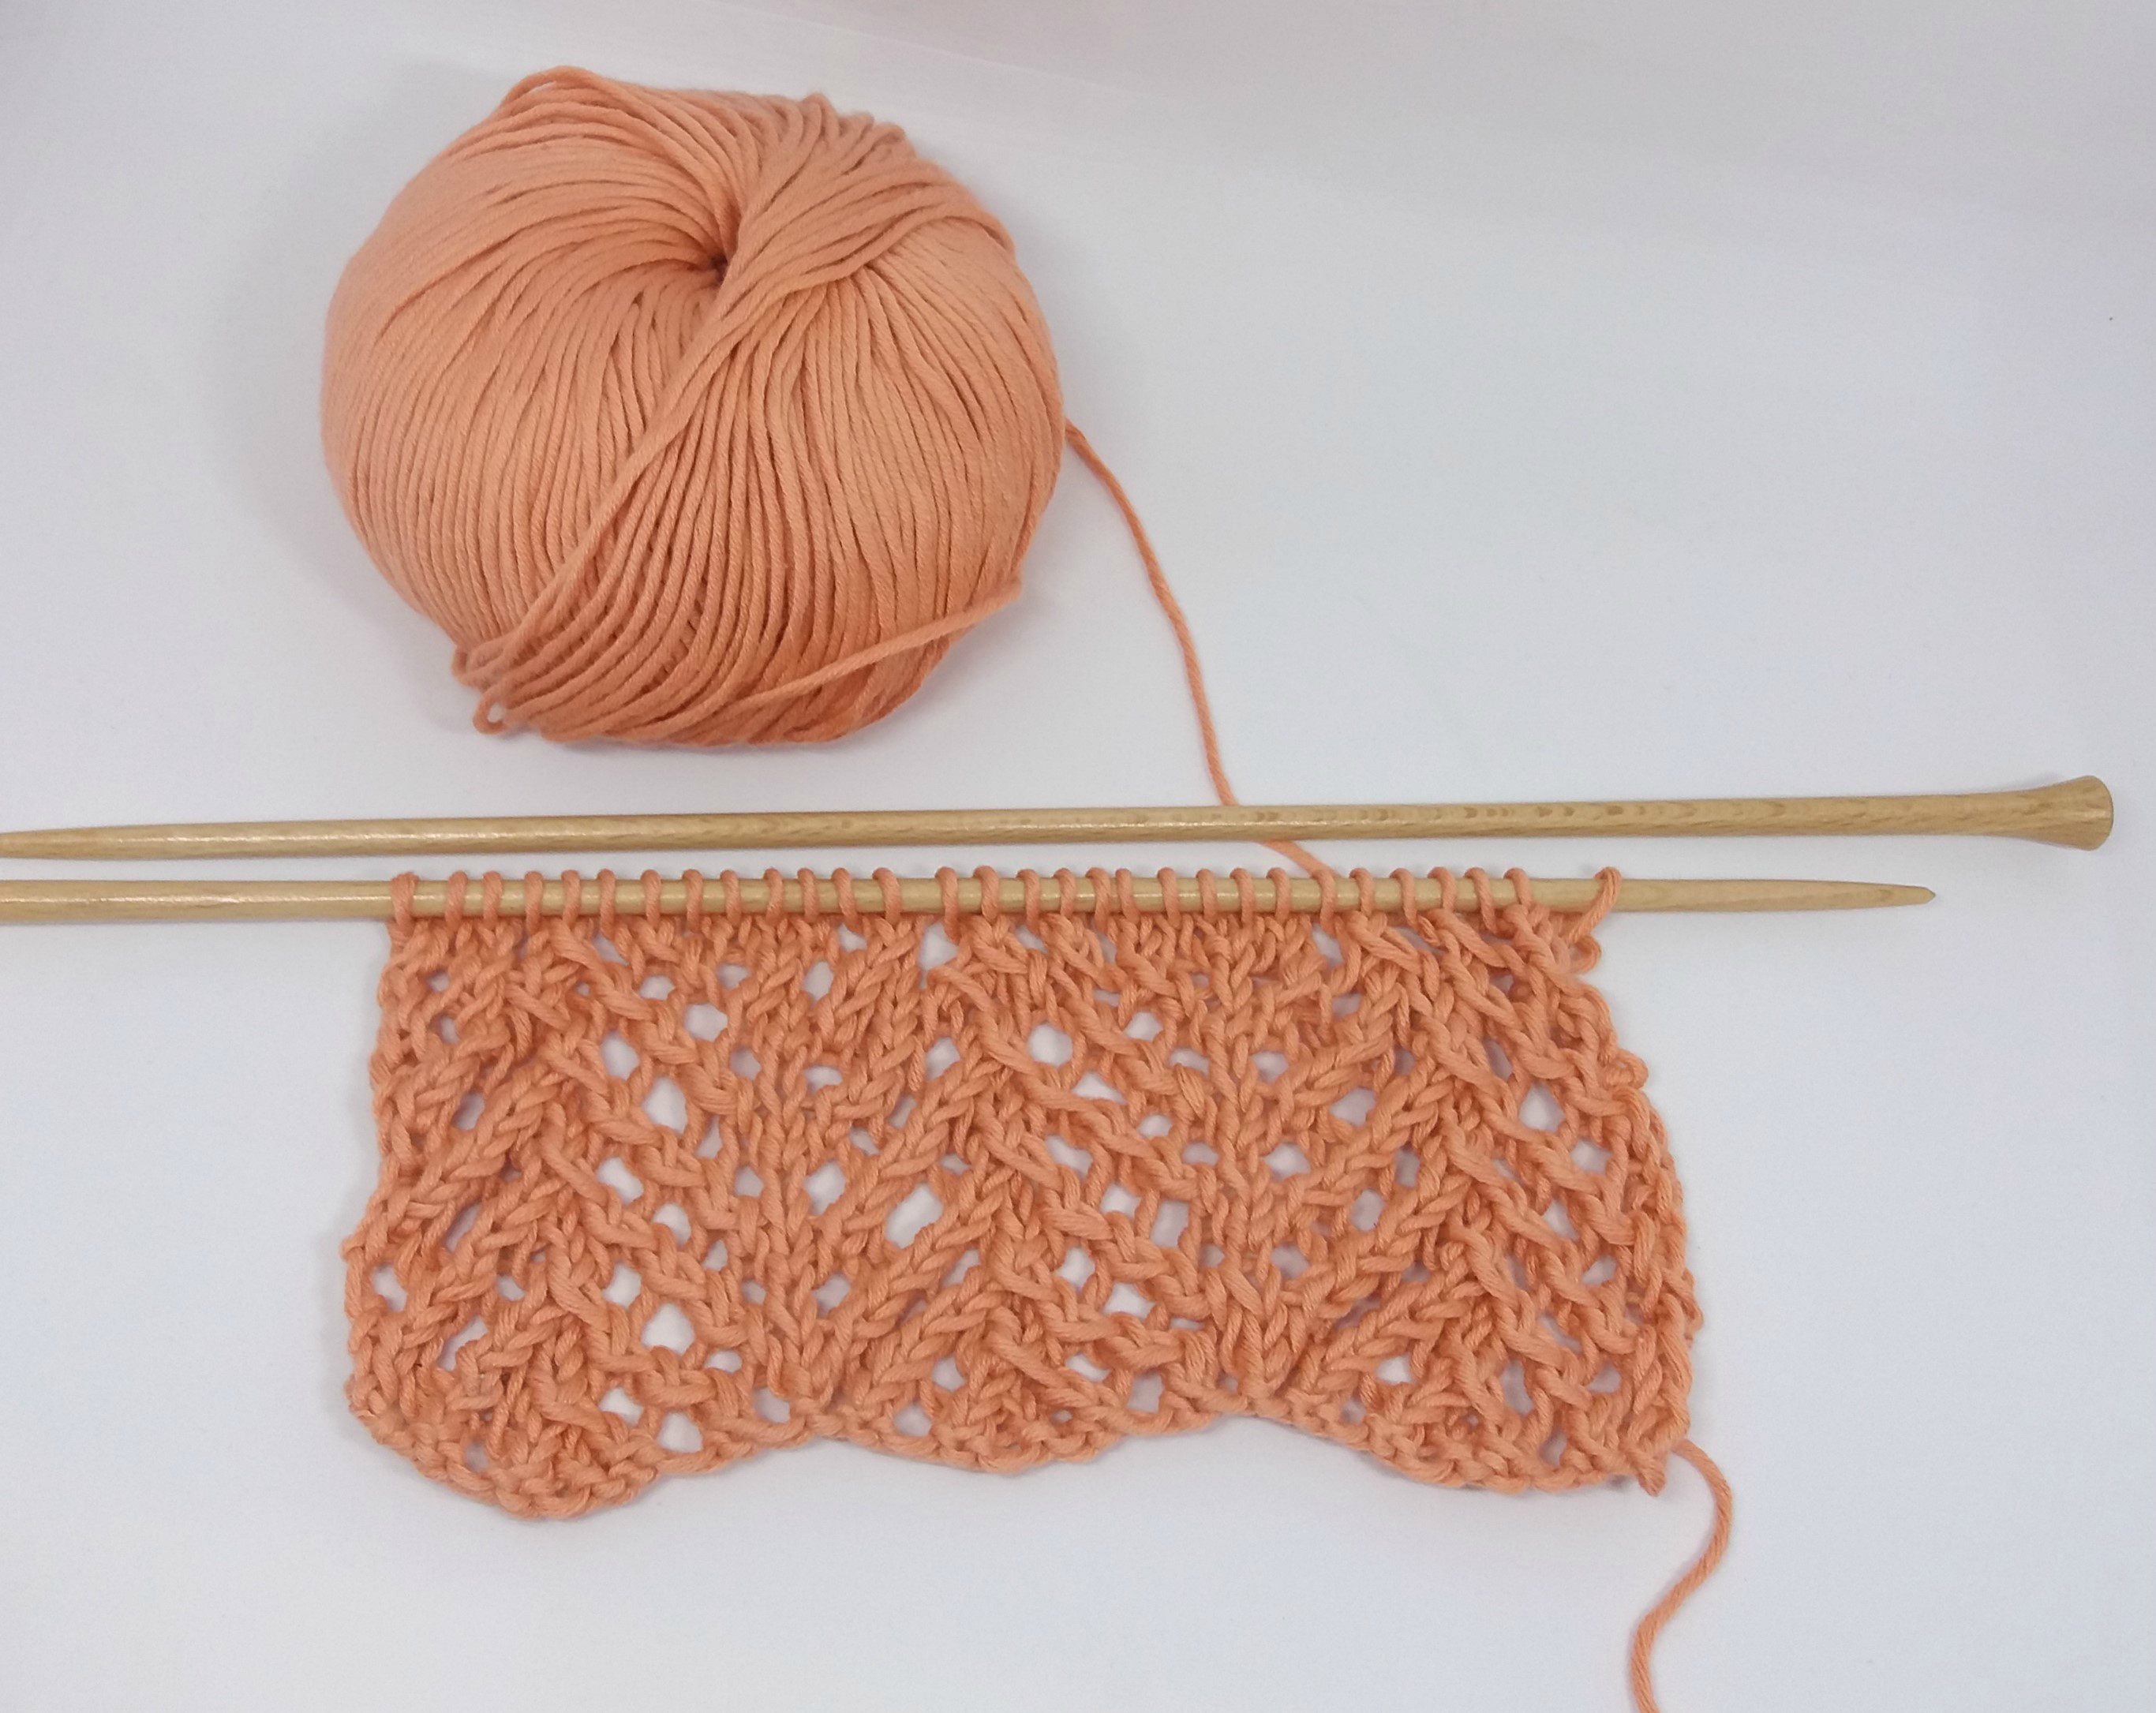
Repeat rows 3 to 14 until you reach the desired length.

Will you take on this stitch? Once you get the hang of it, you won’t want to stop knitting 🙂
As always, we would love for you to share your future projects on social networks using the hashtag #weareknitters Until next time!