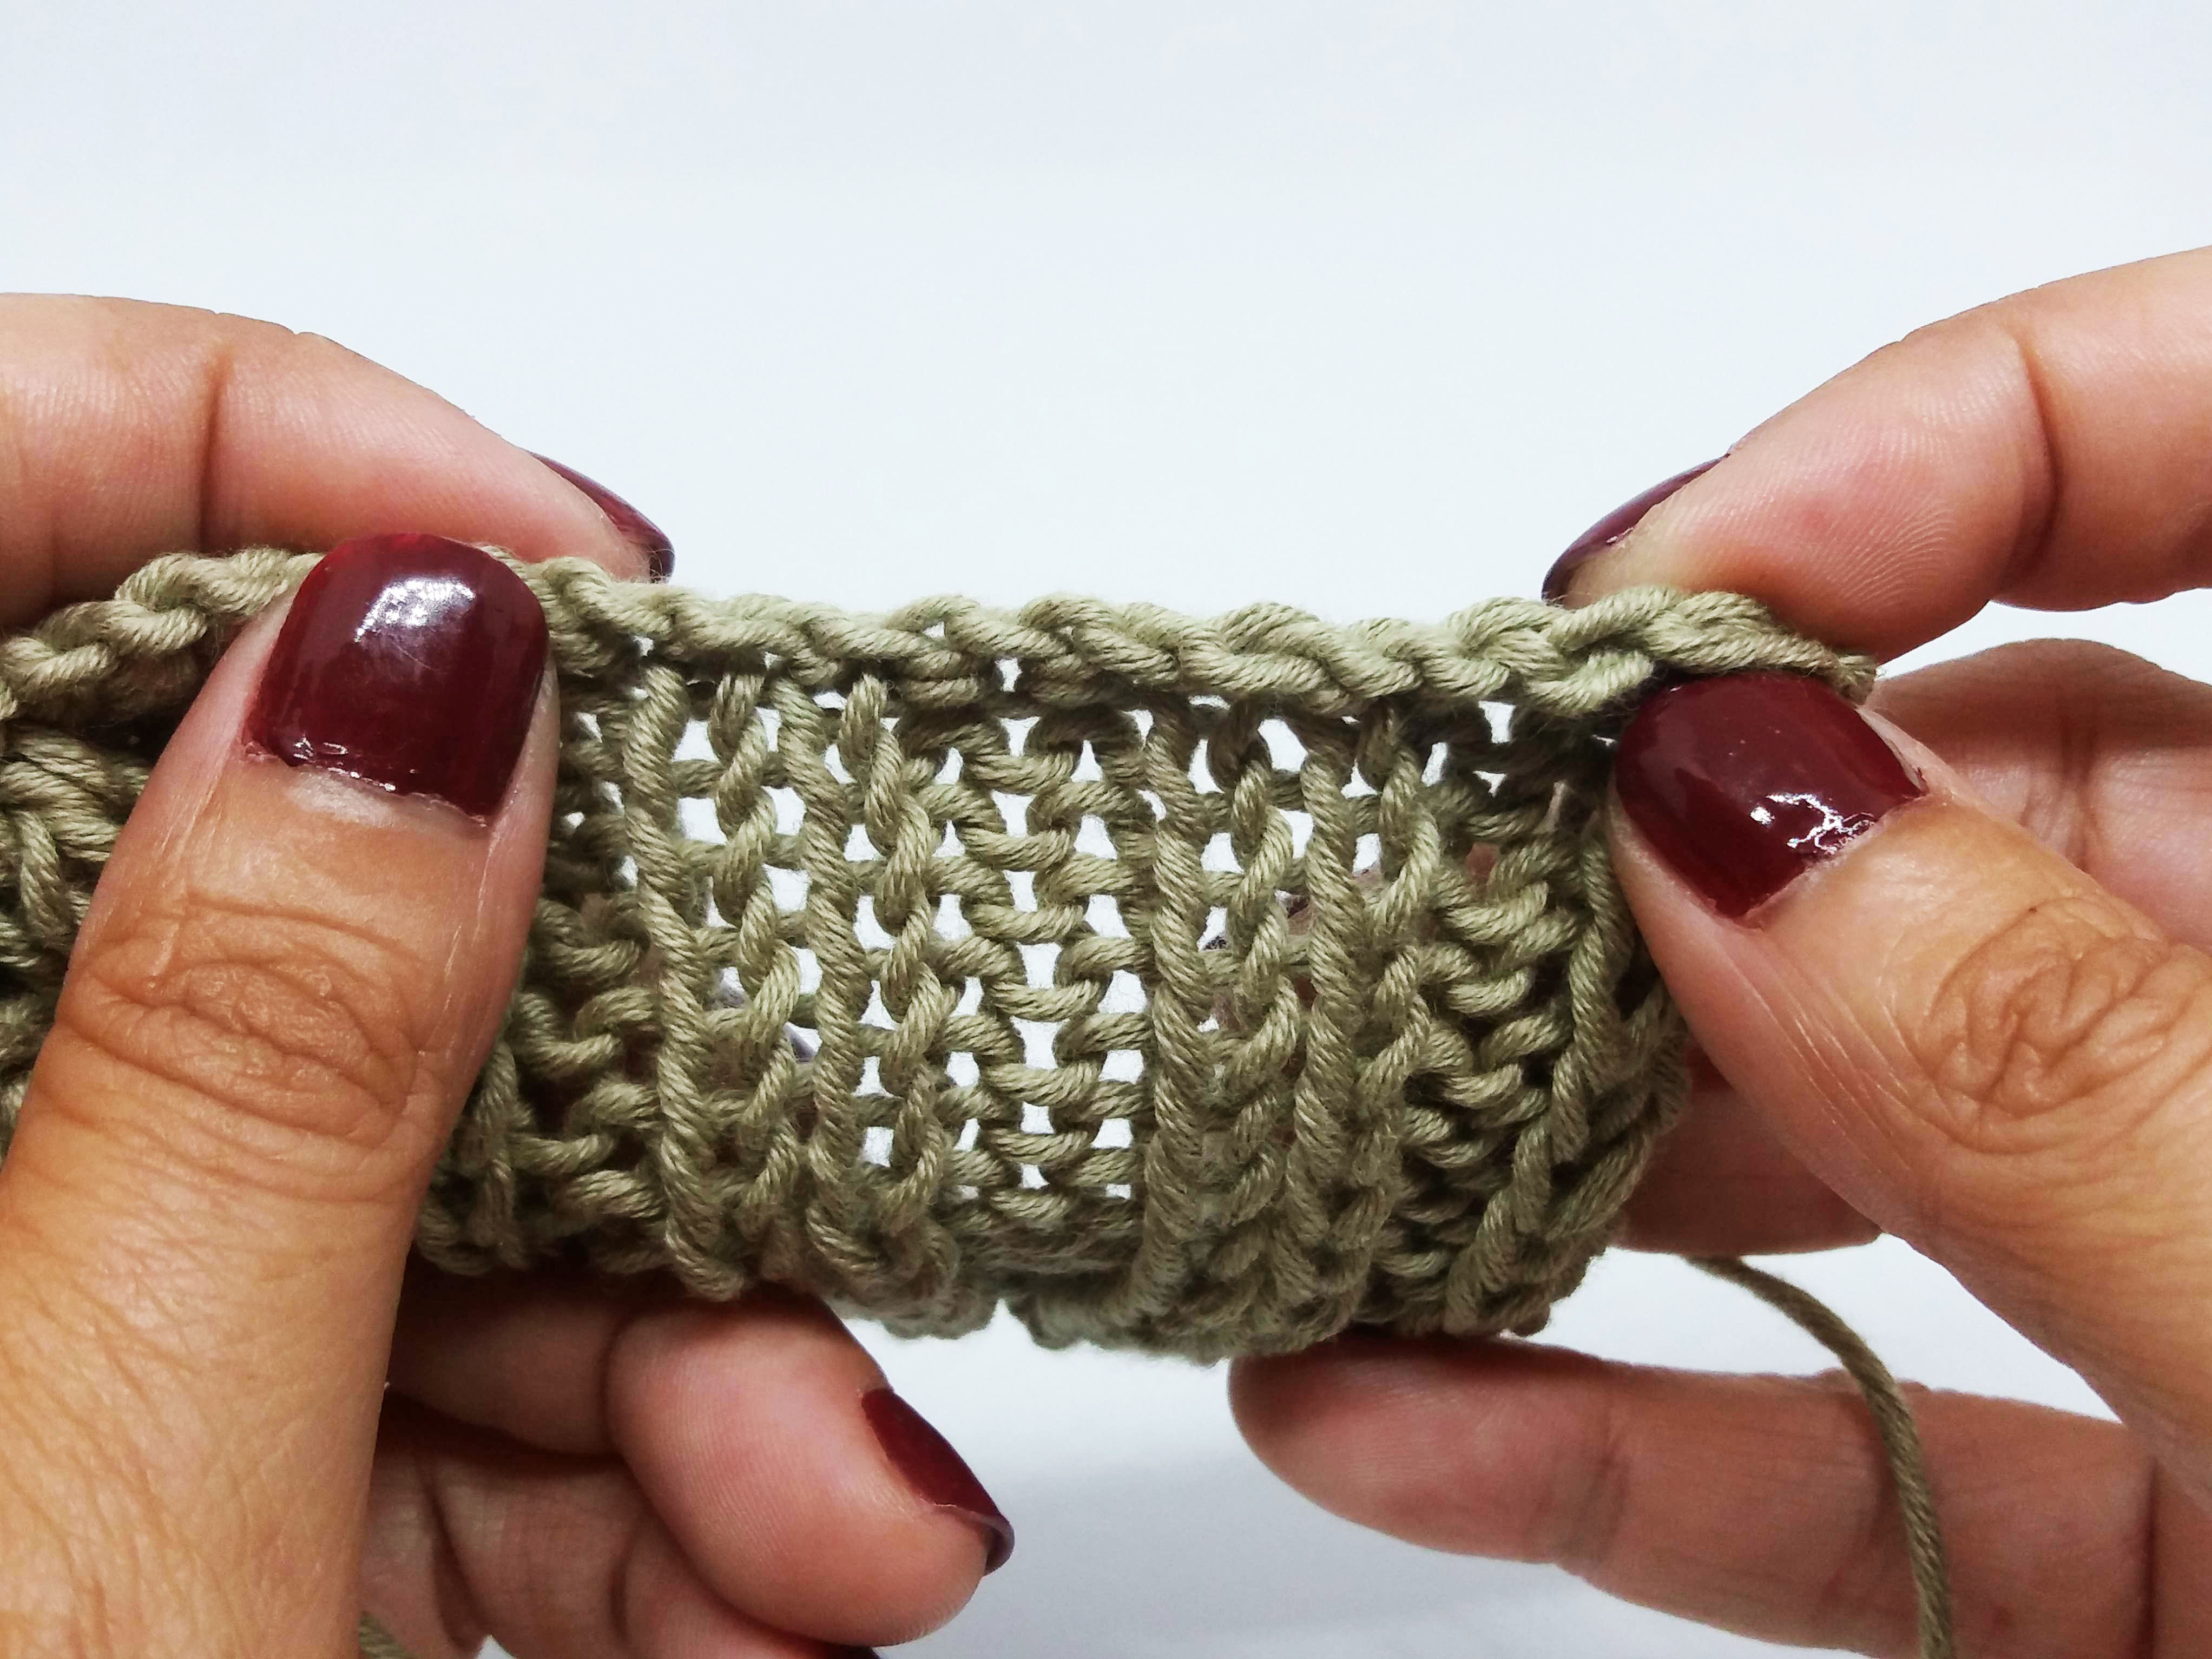
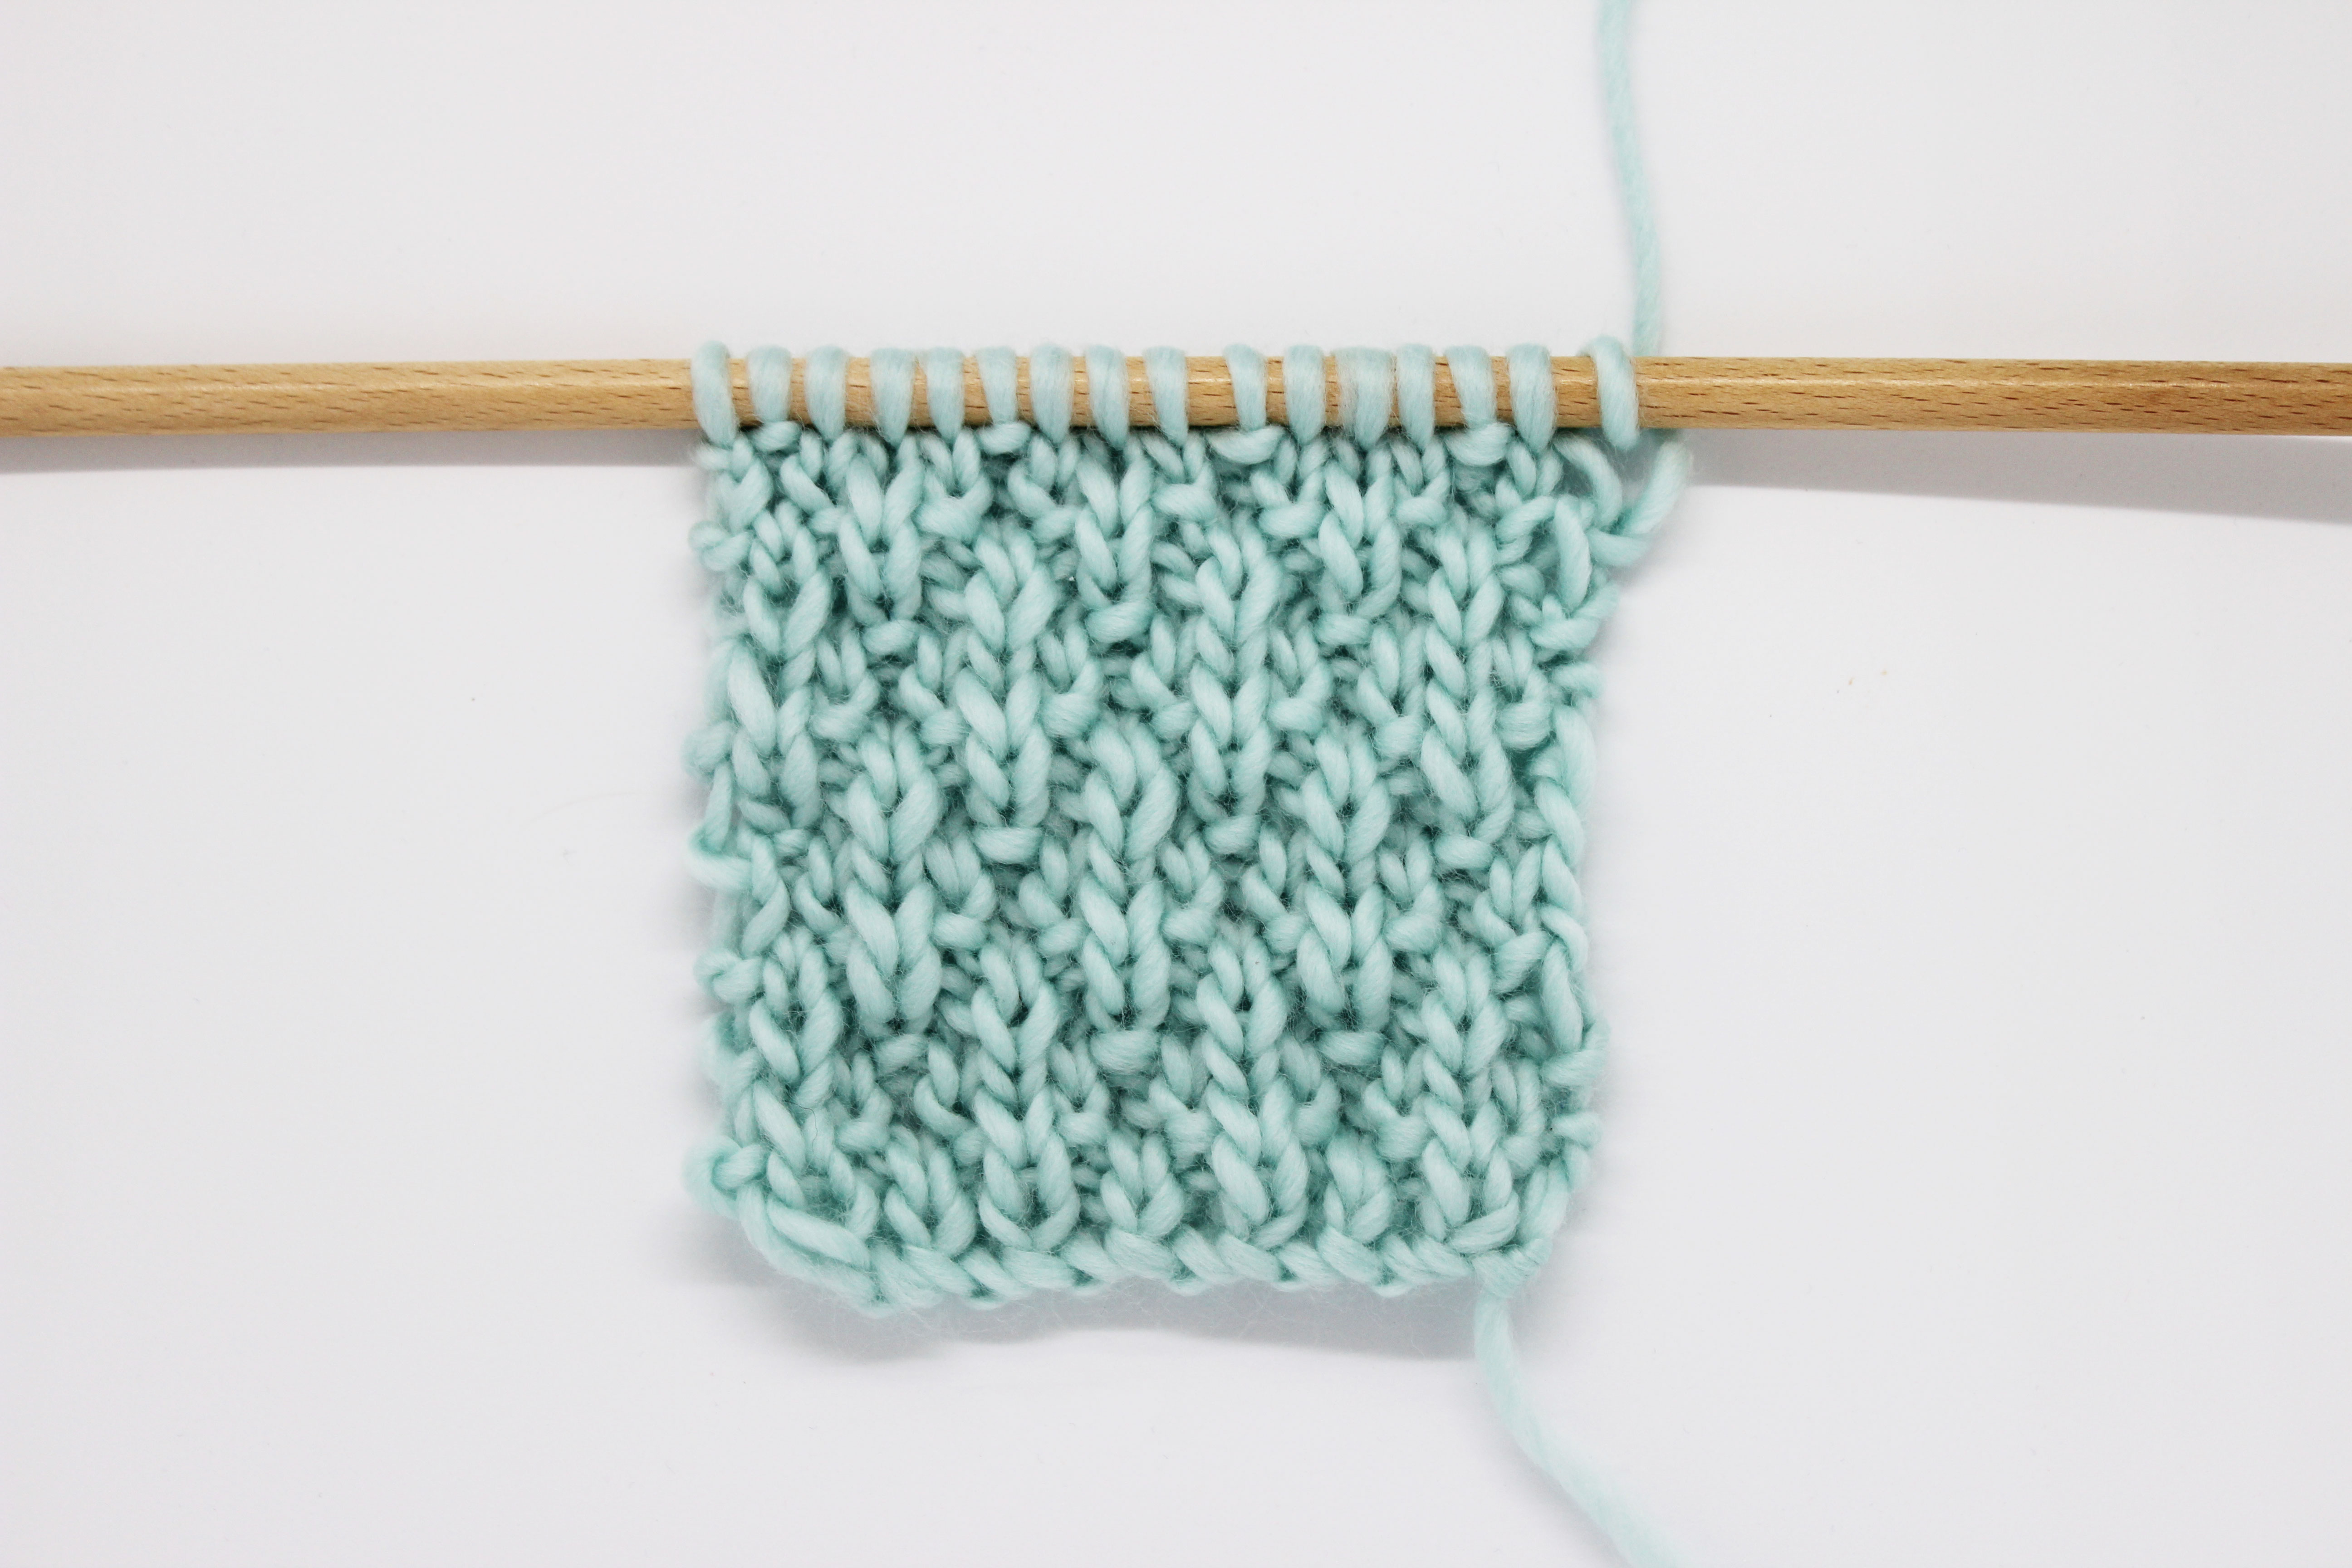
The stitch we are going to teach you today is inspired by the dwellings that some Native American tribes use known as teepees. It’s because this stitch forms a texture similar to those cloth tents, and that’s why it’s a great stitch to add a special touch to any project you choose to knit.
Remember, if you are looking for more inspiration for your next project we have lots more video tutorials to learn new types of stitches.
Multiple of 16 stitches. This stitch is not reversible.
Row 1: knit all stitches.
Row 2: *knit 4 stitches, purl 8 stitches, knit 4 stitches*. Repeat from * to * until the end of the row.
Row 3: *purl 3 stitches, knit 2 stitches together, knit 3 stitches. Pick up the horizontal strand that’s between the stitch you just knit and the one on the left-hand needle by inserting the left-hand needle from back to front. Knit it through the back loop, and without it dropping it from the needle knit it again through the front loop. Knit 3 stitches, slip the next 2 stitches to the right-hand needle and then knit them, purl 3 stitches*. Repeat from * to * until the end of the row.
Row 4: *knit 3 stitches, purl 10 stitches, knit 3 stitches*. Repeat from * to * until the end of the row.
Row 5: *purl 2 stitches, knit 2 stitches together, knit 3 stitches. Increase 1 stitch by by picking up the horizontal strand between the stitch you just knit and the one on the left-hand needle by inserting your left-hand needle from front to back. Knit it through the back loop. Knit 2 stitches. Increase 1 stitch by picking up the horizontal strand between the stitch you just knit and the one on the left-hand needle by inserting your left-hand needle from front to back. Knit it through the back loop. Knit 3 stitches, slip the next 2 stitches to the right-hand needle and then knit them, purl 2 stitches*. Repeat from * to * until the end of the row.
Row 6: *knit 2 stitches, purl 12 stitches, knit 2 stitches*. Repeat from * to * until the end of the row.
Row 7: * purl 1 stitch, knit 2 stitches together, knit 3 stitches. Increase 1 stitch by picking up the horizontal strand between the stitch you just knit and the one on the left-hand needle by inserting your left-hand needle from front to back. Knit it through the back loop. Knit 4 stitches. Increase 1 stitch by picking up the horizontal strand between the stitch you just knit and the one on the left-hand needle by inserting your left-hand needle from front to back. Knit it through the back loop. Knit 3 stitches, slip the next 2 stitches to the right-hand needle and then knit them, purl 1 stitch*. Repeat from * to * until the end of the row.
Row 8: *knit 1 stitch, purl 14 stitches, knit 1 stitch*. Repeat from * to * until the end of the row.
Row 9: *knit 2 stitches together, knit 3 stitches. Increase 1 stitch by picking up the horizontal strand between the stitch you just knit and the one on the left-hand needle by inserting your left-hand needle from front to back. Knit it through the back loop. Knit 6 stitches. Increase 1 stitch by picking up the horizontal strand between the stitch you just knit and the one on the left-hand needle by inserting your left-hand needle from front to back. Knit it through the back loop. Knit 3 stitches, slip the next 2 stitches to the right-hand needle and then knit them*. Repeat from * to * until the end of the row.
Row 10: purl all stitches.
Repeat rows 1 to 10 until you reach the desired length.
We’d love to this how you incorporate this stitch into one of your projects, so don’t forget to show us your pictures with pattern and wool WAK using the hashtag #weareknitters on social networks.


