If you have ever wondered if you should sew a hem on a knitting project, the answer is yes, sometimes you should. If you don’t know how, WeAreKnitters can help you with this and many other things. Hang with us and see how simple it is.
To make it happen you will need:
- Tapestry needle
- Thread in the same color as your project
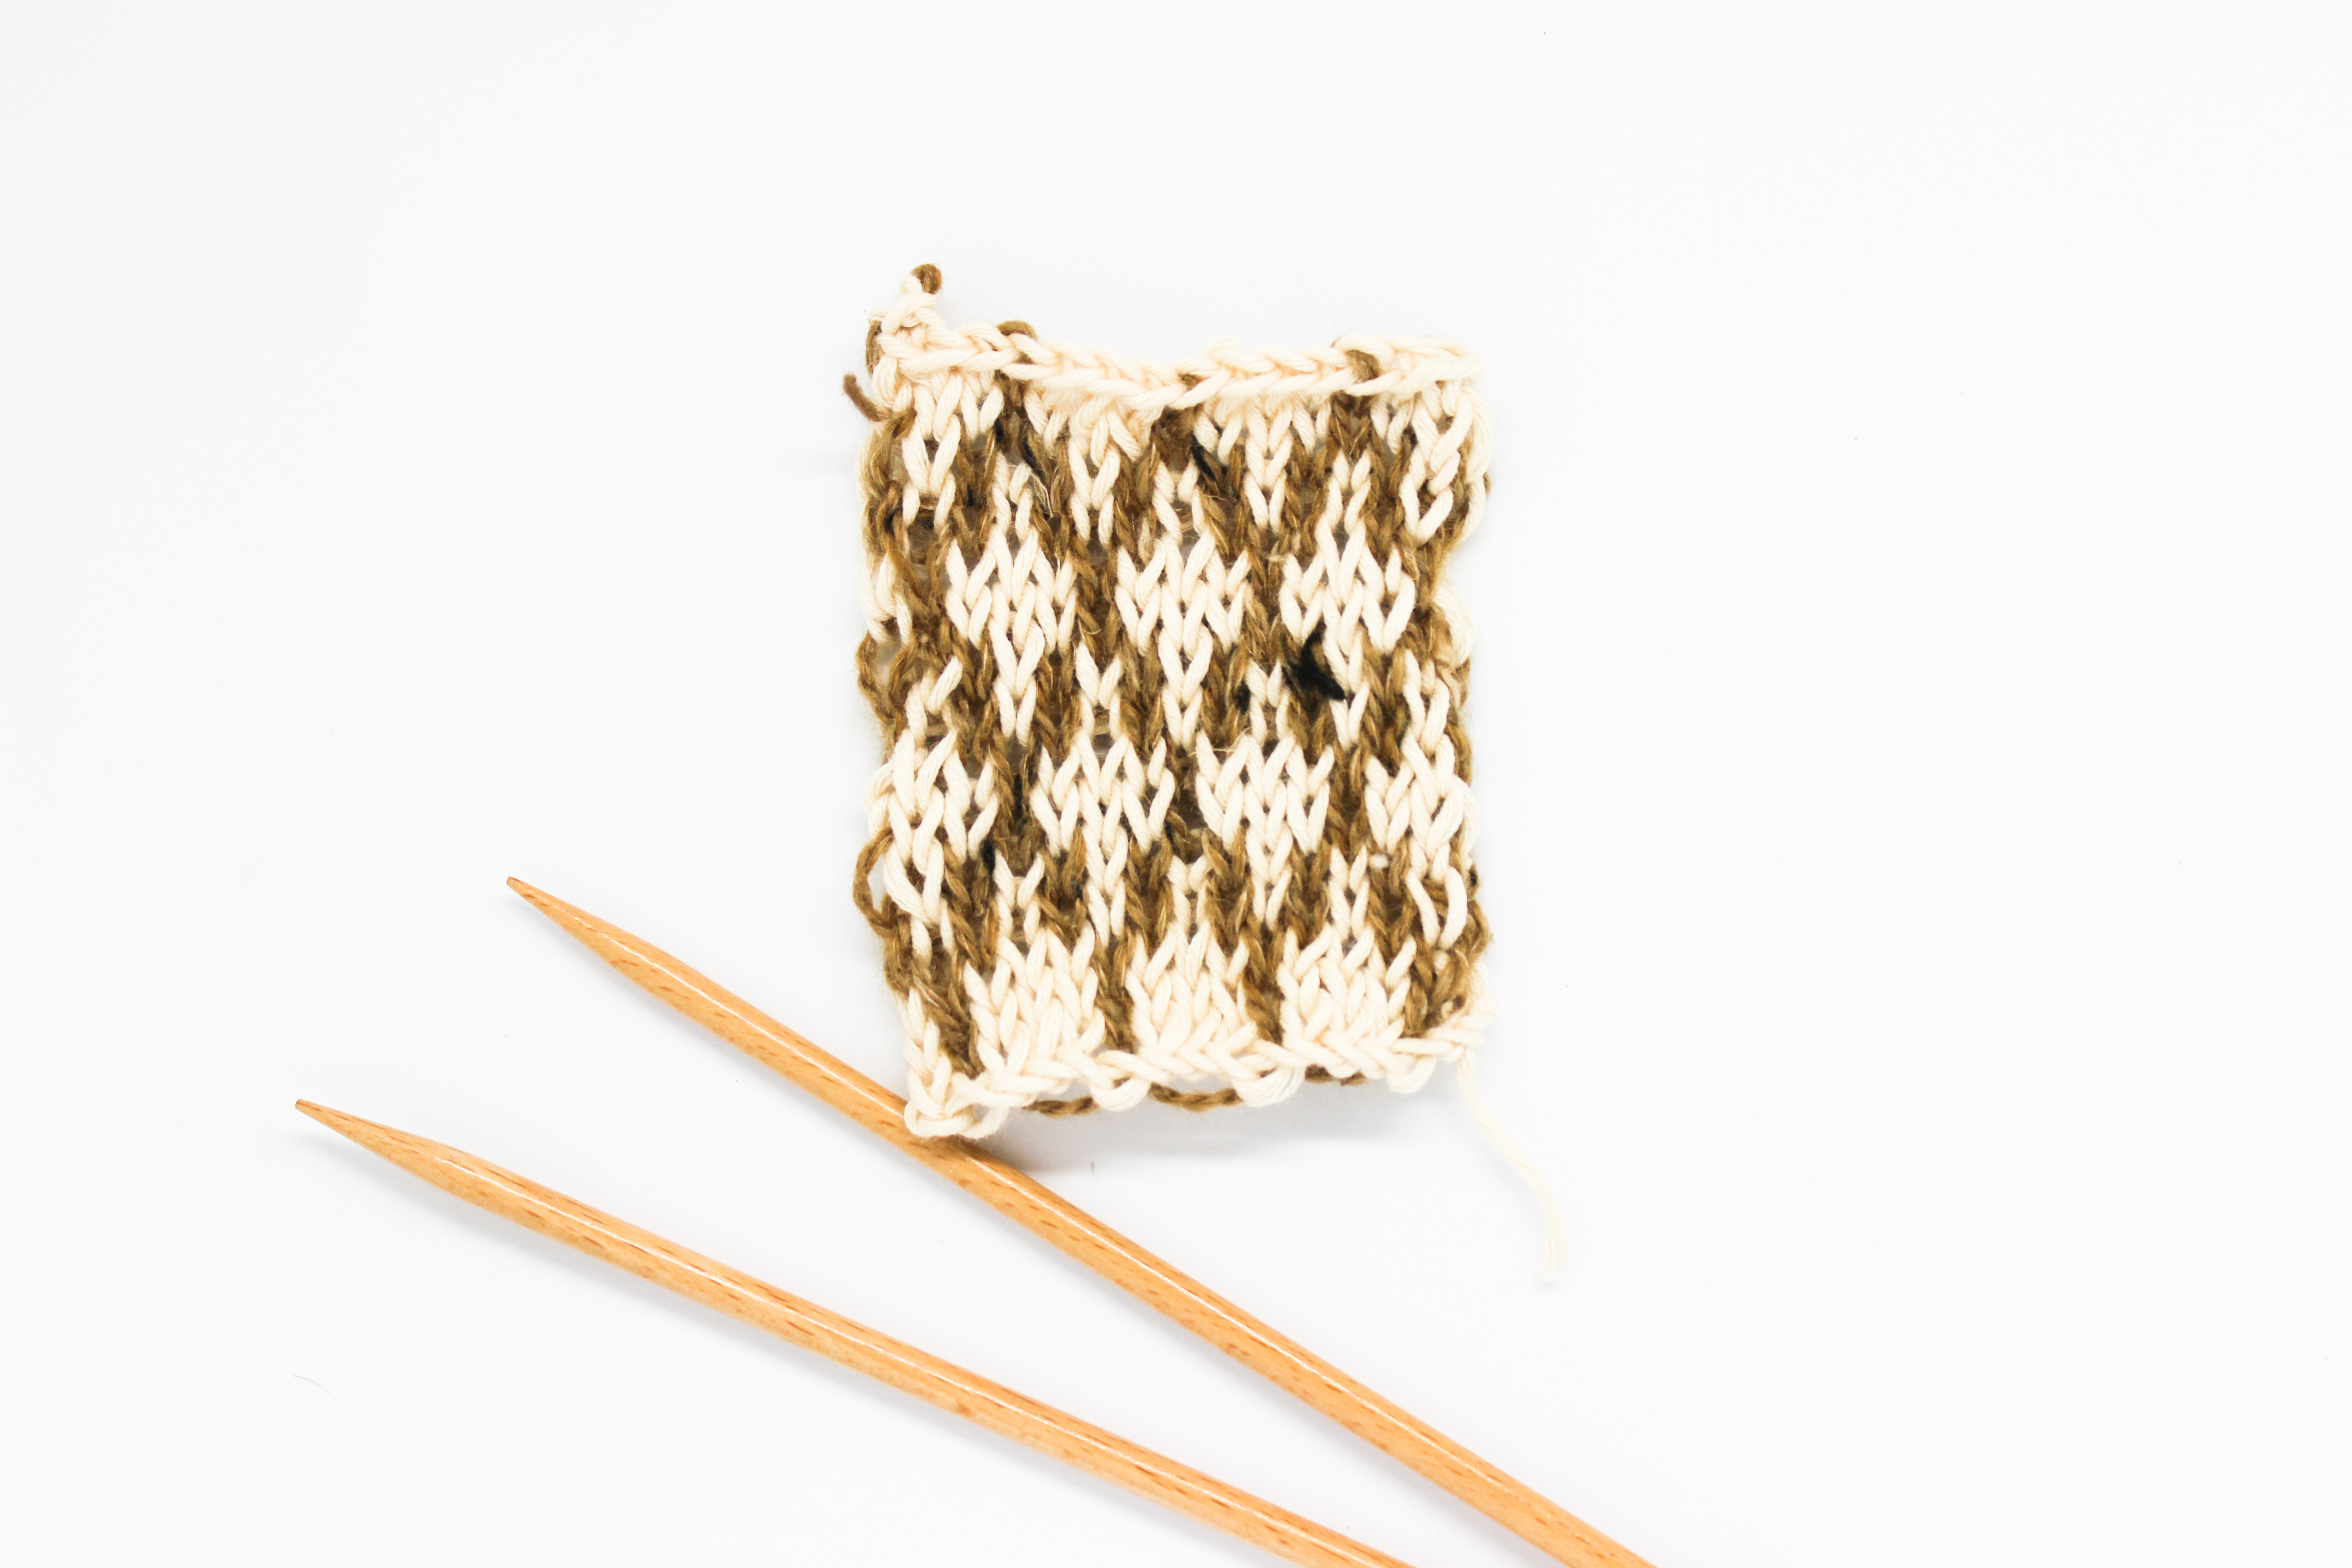
In the tutorial video, you’ll see that we’re using a contrasting color of thread so you can more easily see how it’s done.
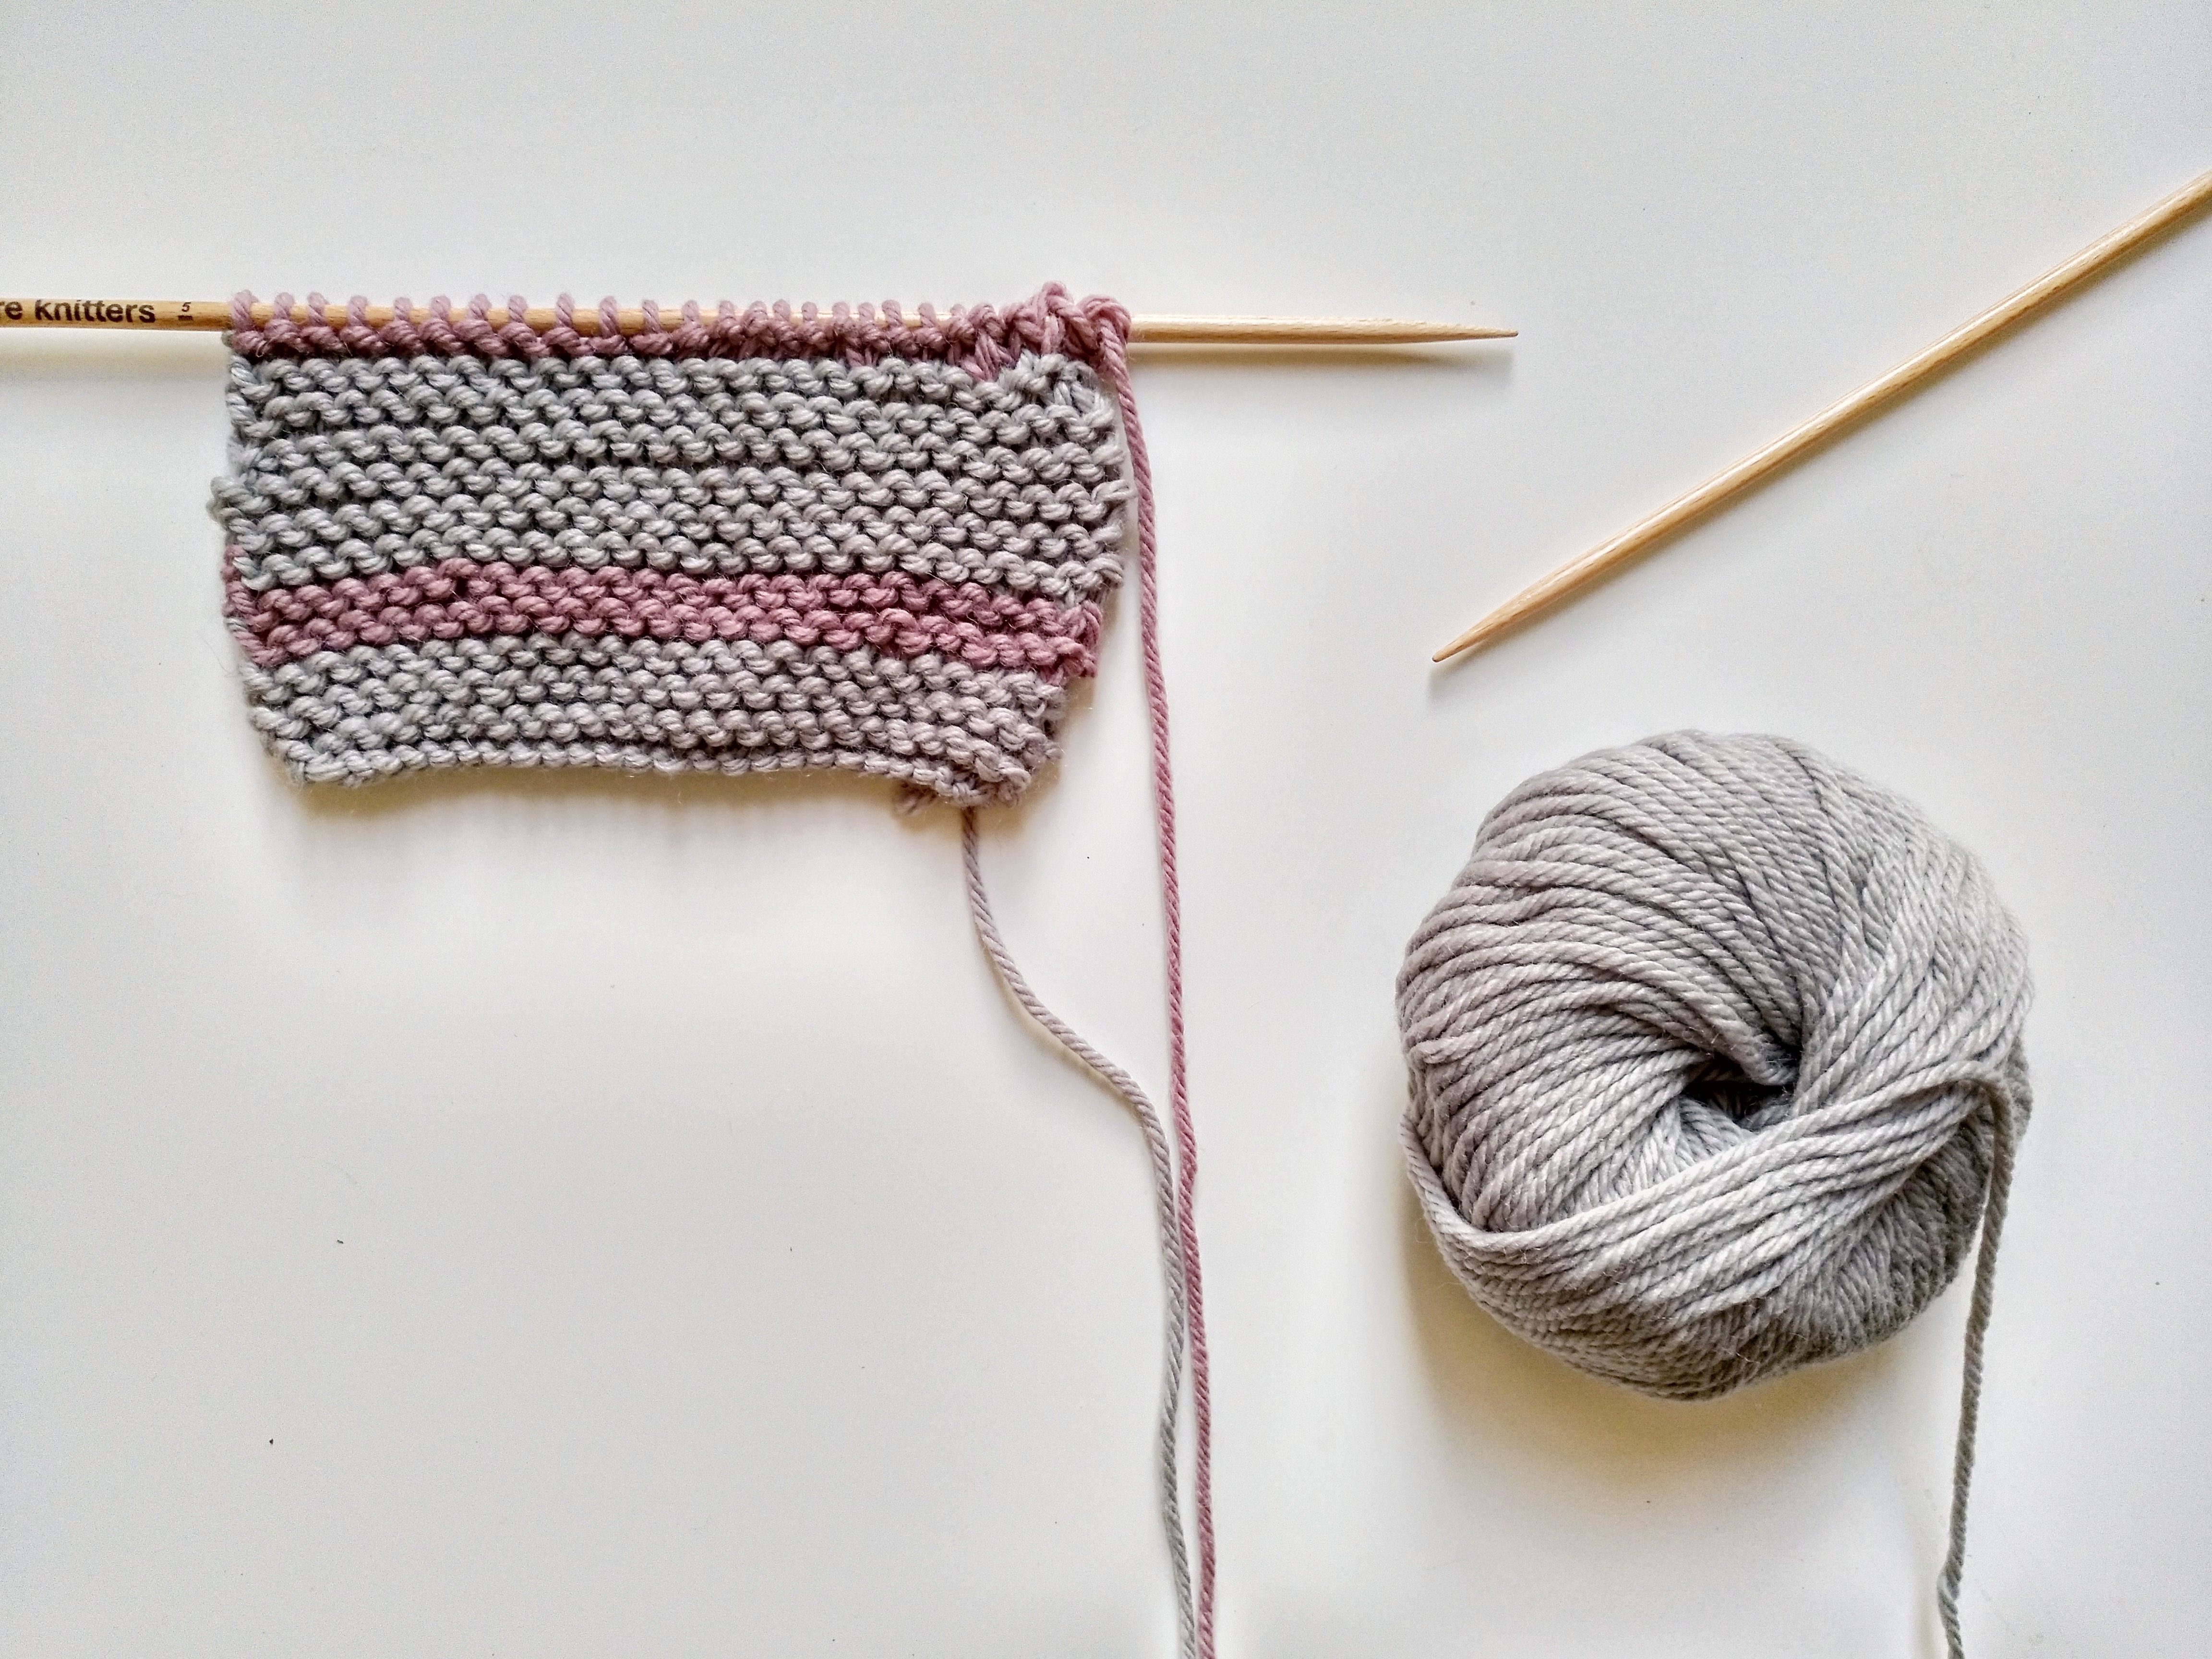
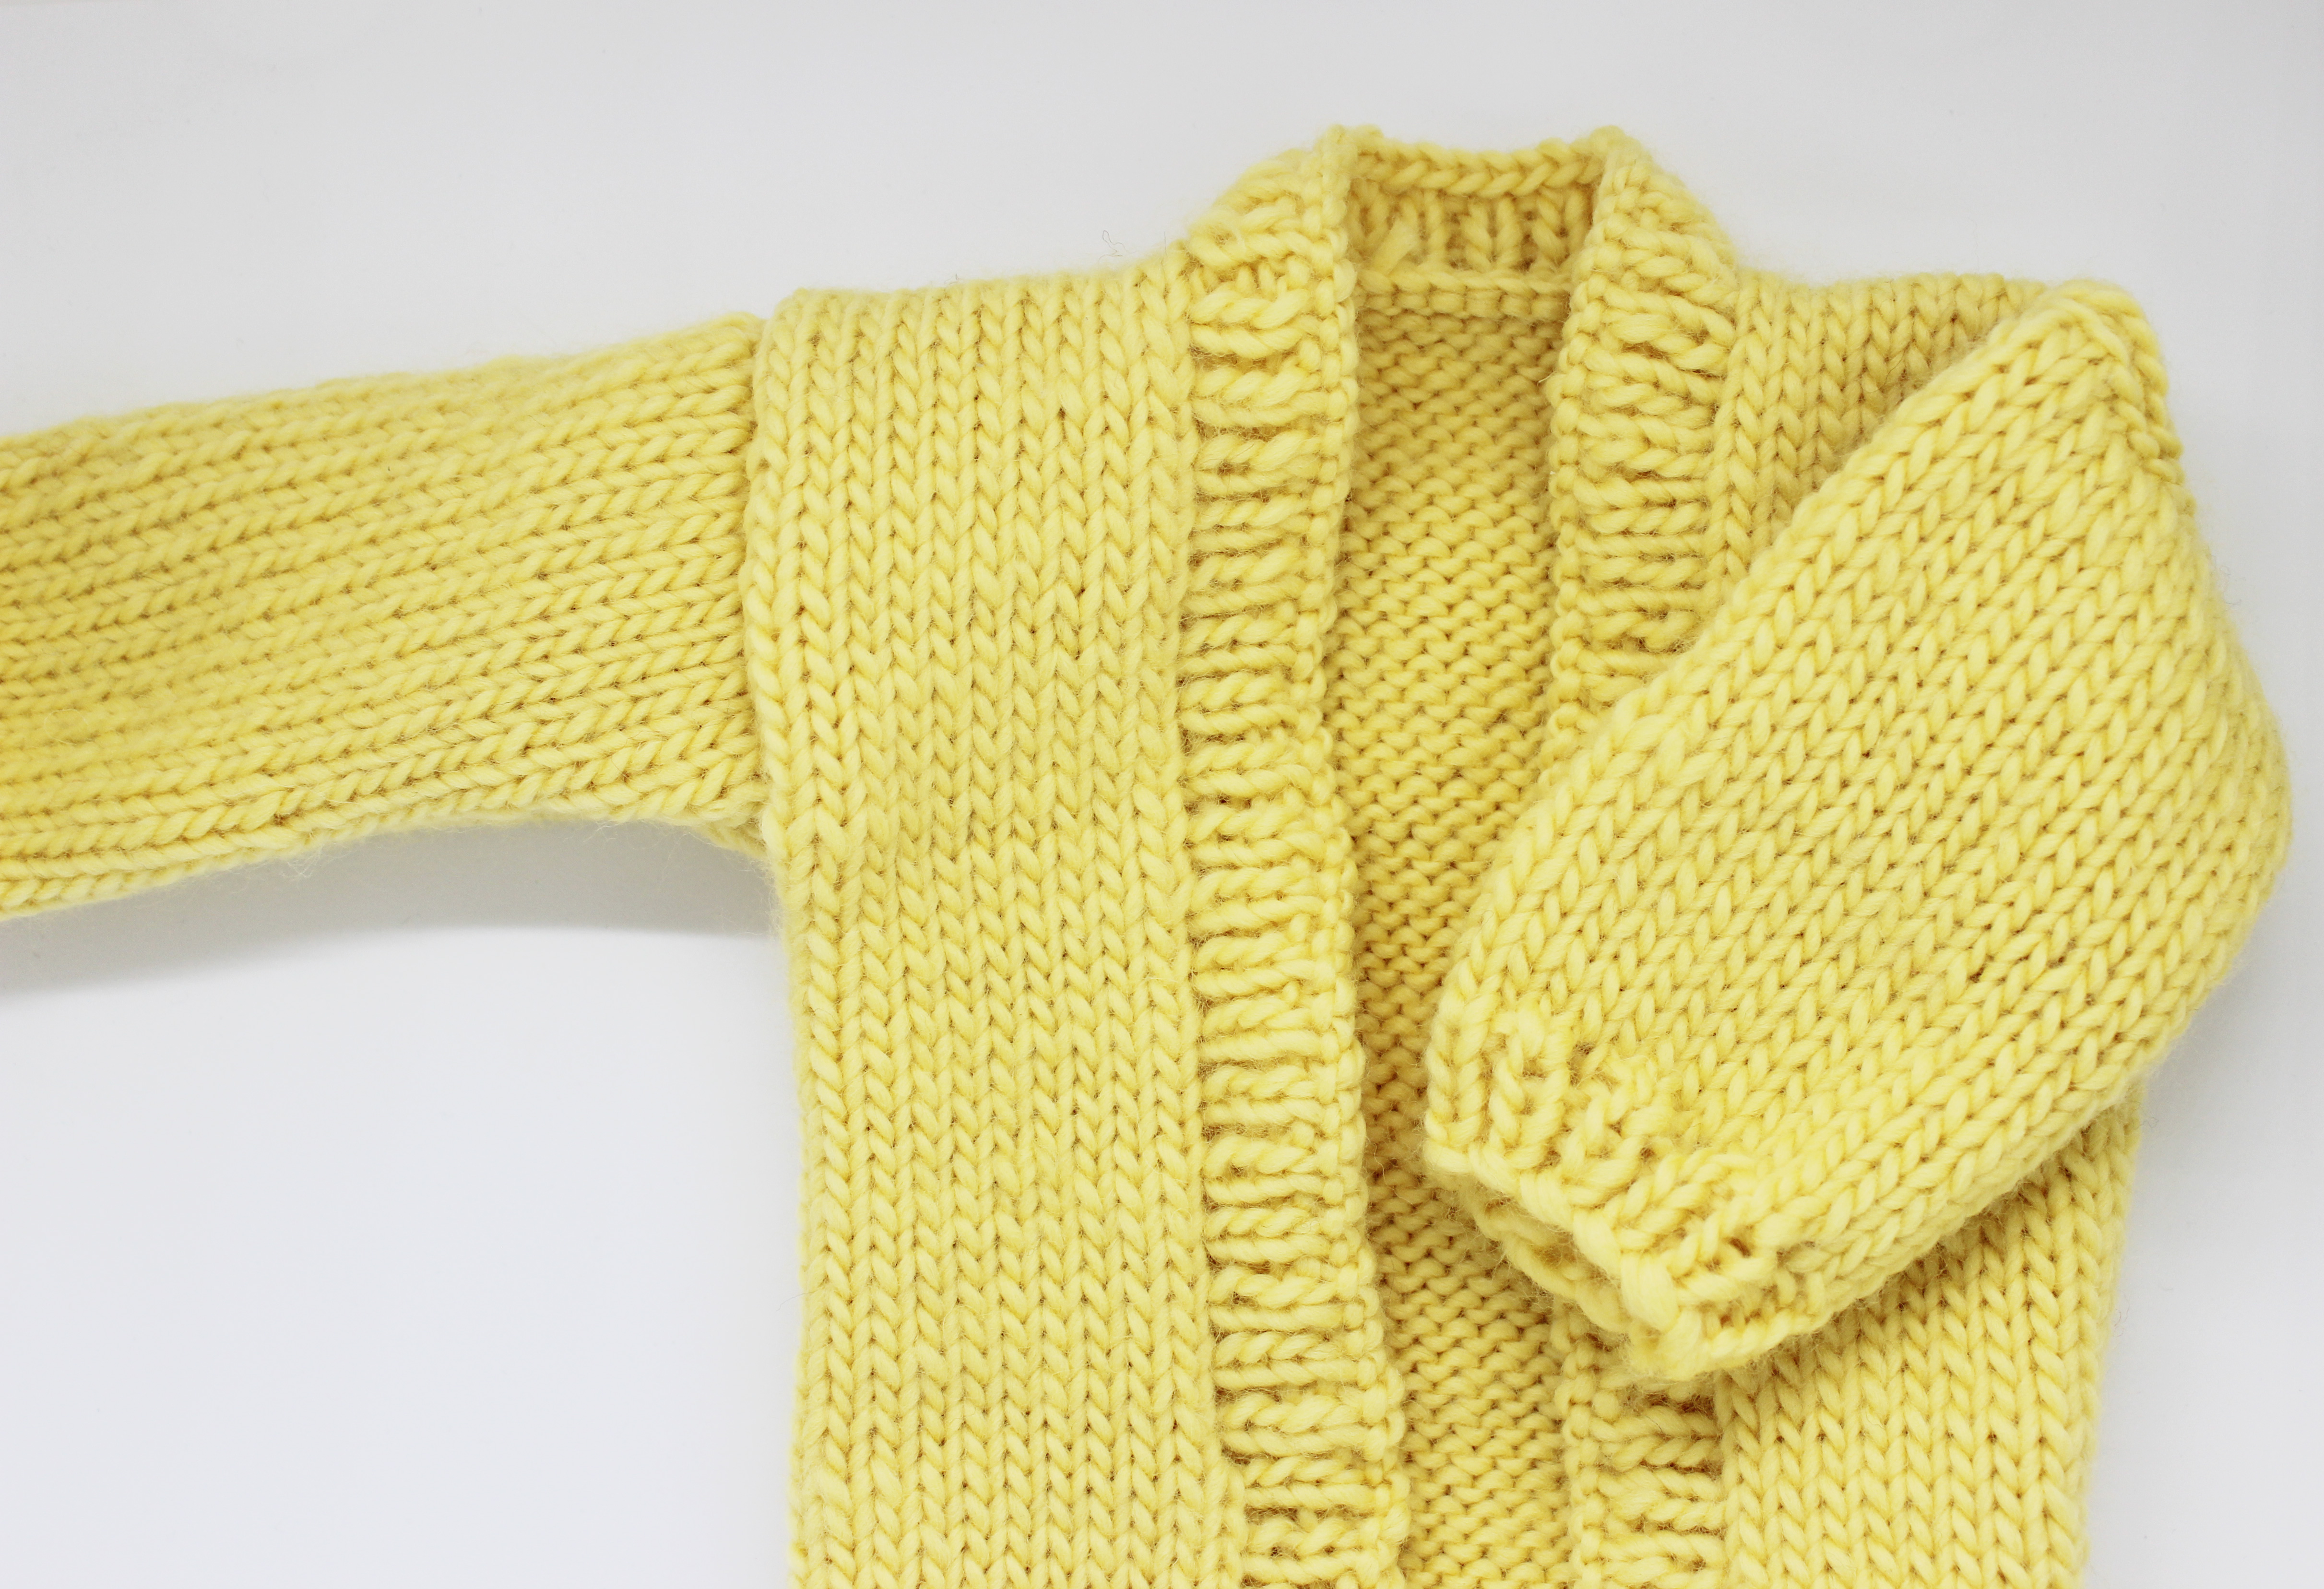
First, fold the side of the work to your preferred width. Once you’ve got that ready, start sewing.
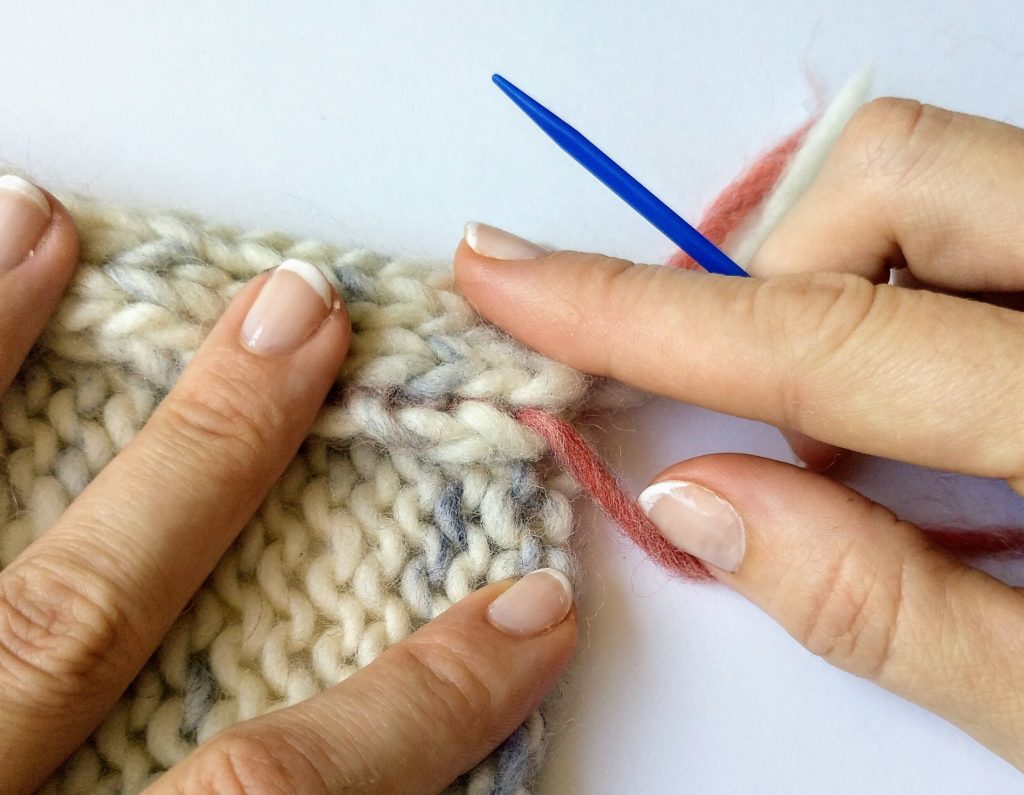
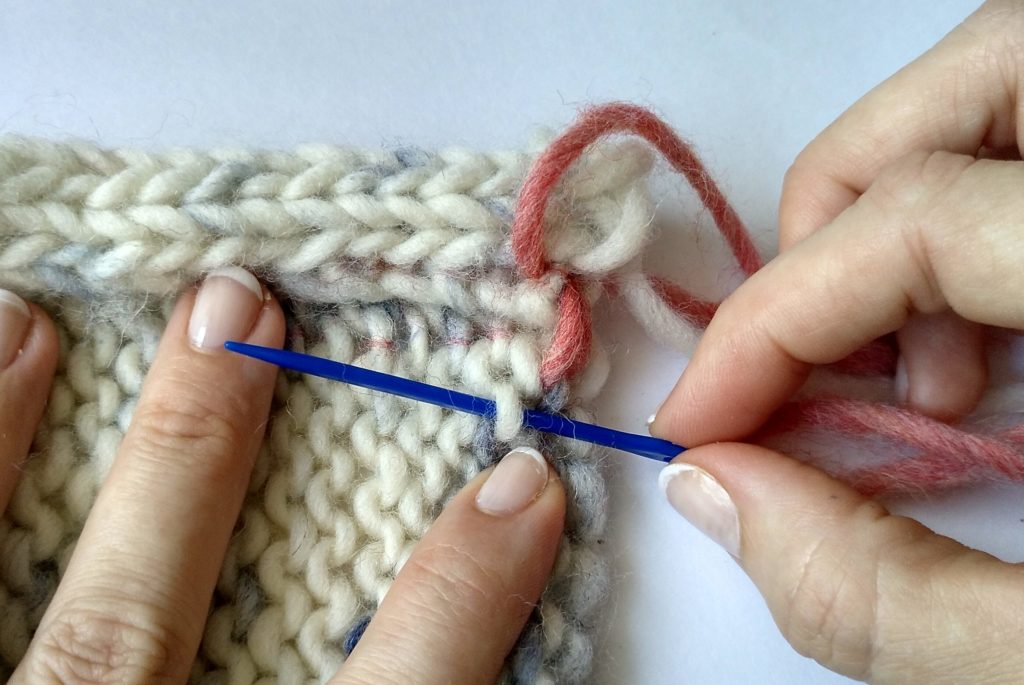
Step 1. Insert the needle into the first stitch, leaving a small tail of yarn as in the photo
Step 2. Insert the needle into the first stitch on the wrong side.
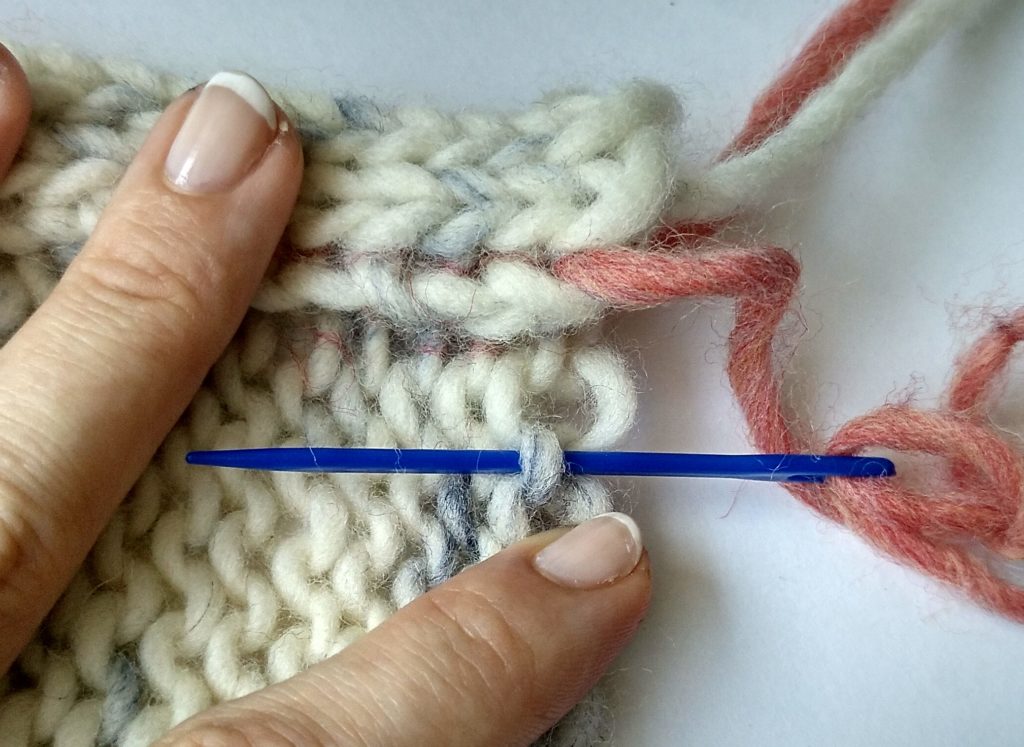
Step 3. Vuelve a introducir la aguja en el punto por el que ha salido la hebra en el paso 1 y sácala por el punto superior.
Insert the needle into the first stitch you worked in step 1 and pull it out through the stitch above.
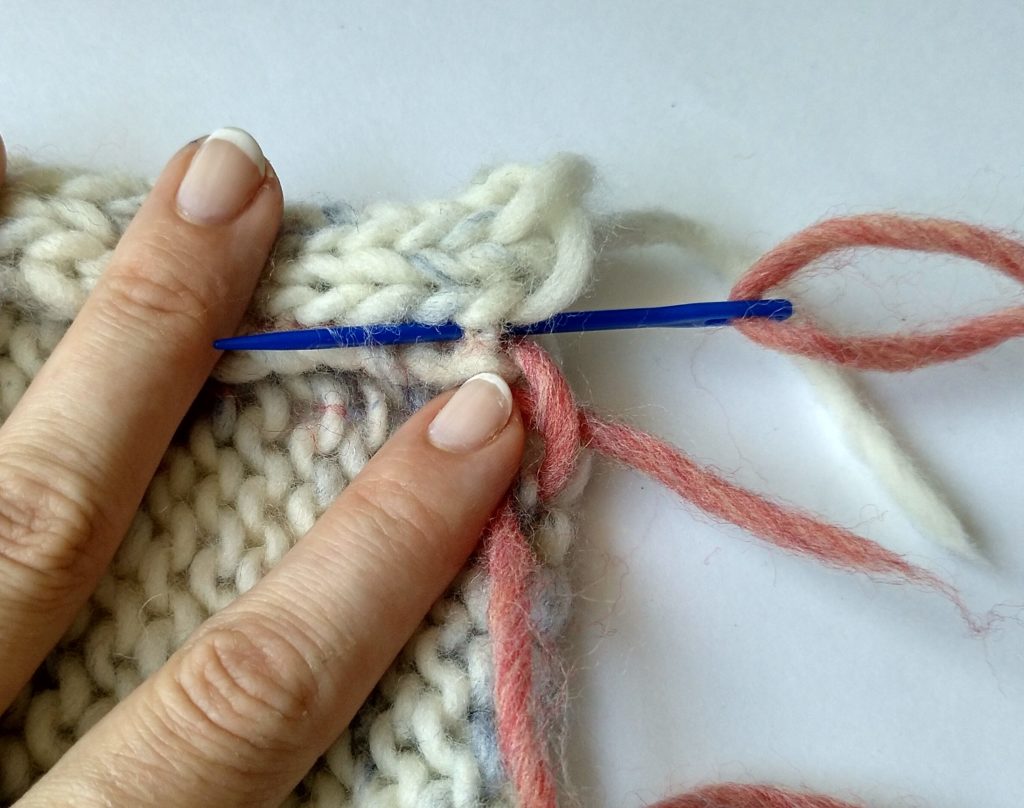
Step 4. Now, insert the needle into the next stitch on the wrong side. It’s important that you look closely here and pick up the next stitch from the same column without skipping another, or your seam will end up crooked.
Continue repeating these steps until you’ve finished the entire hem.
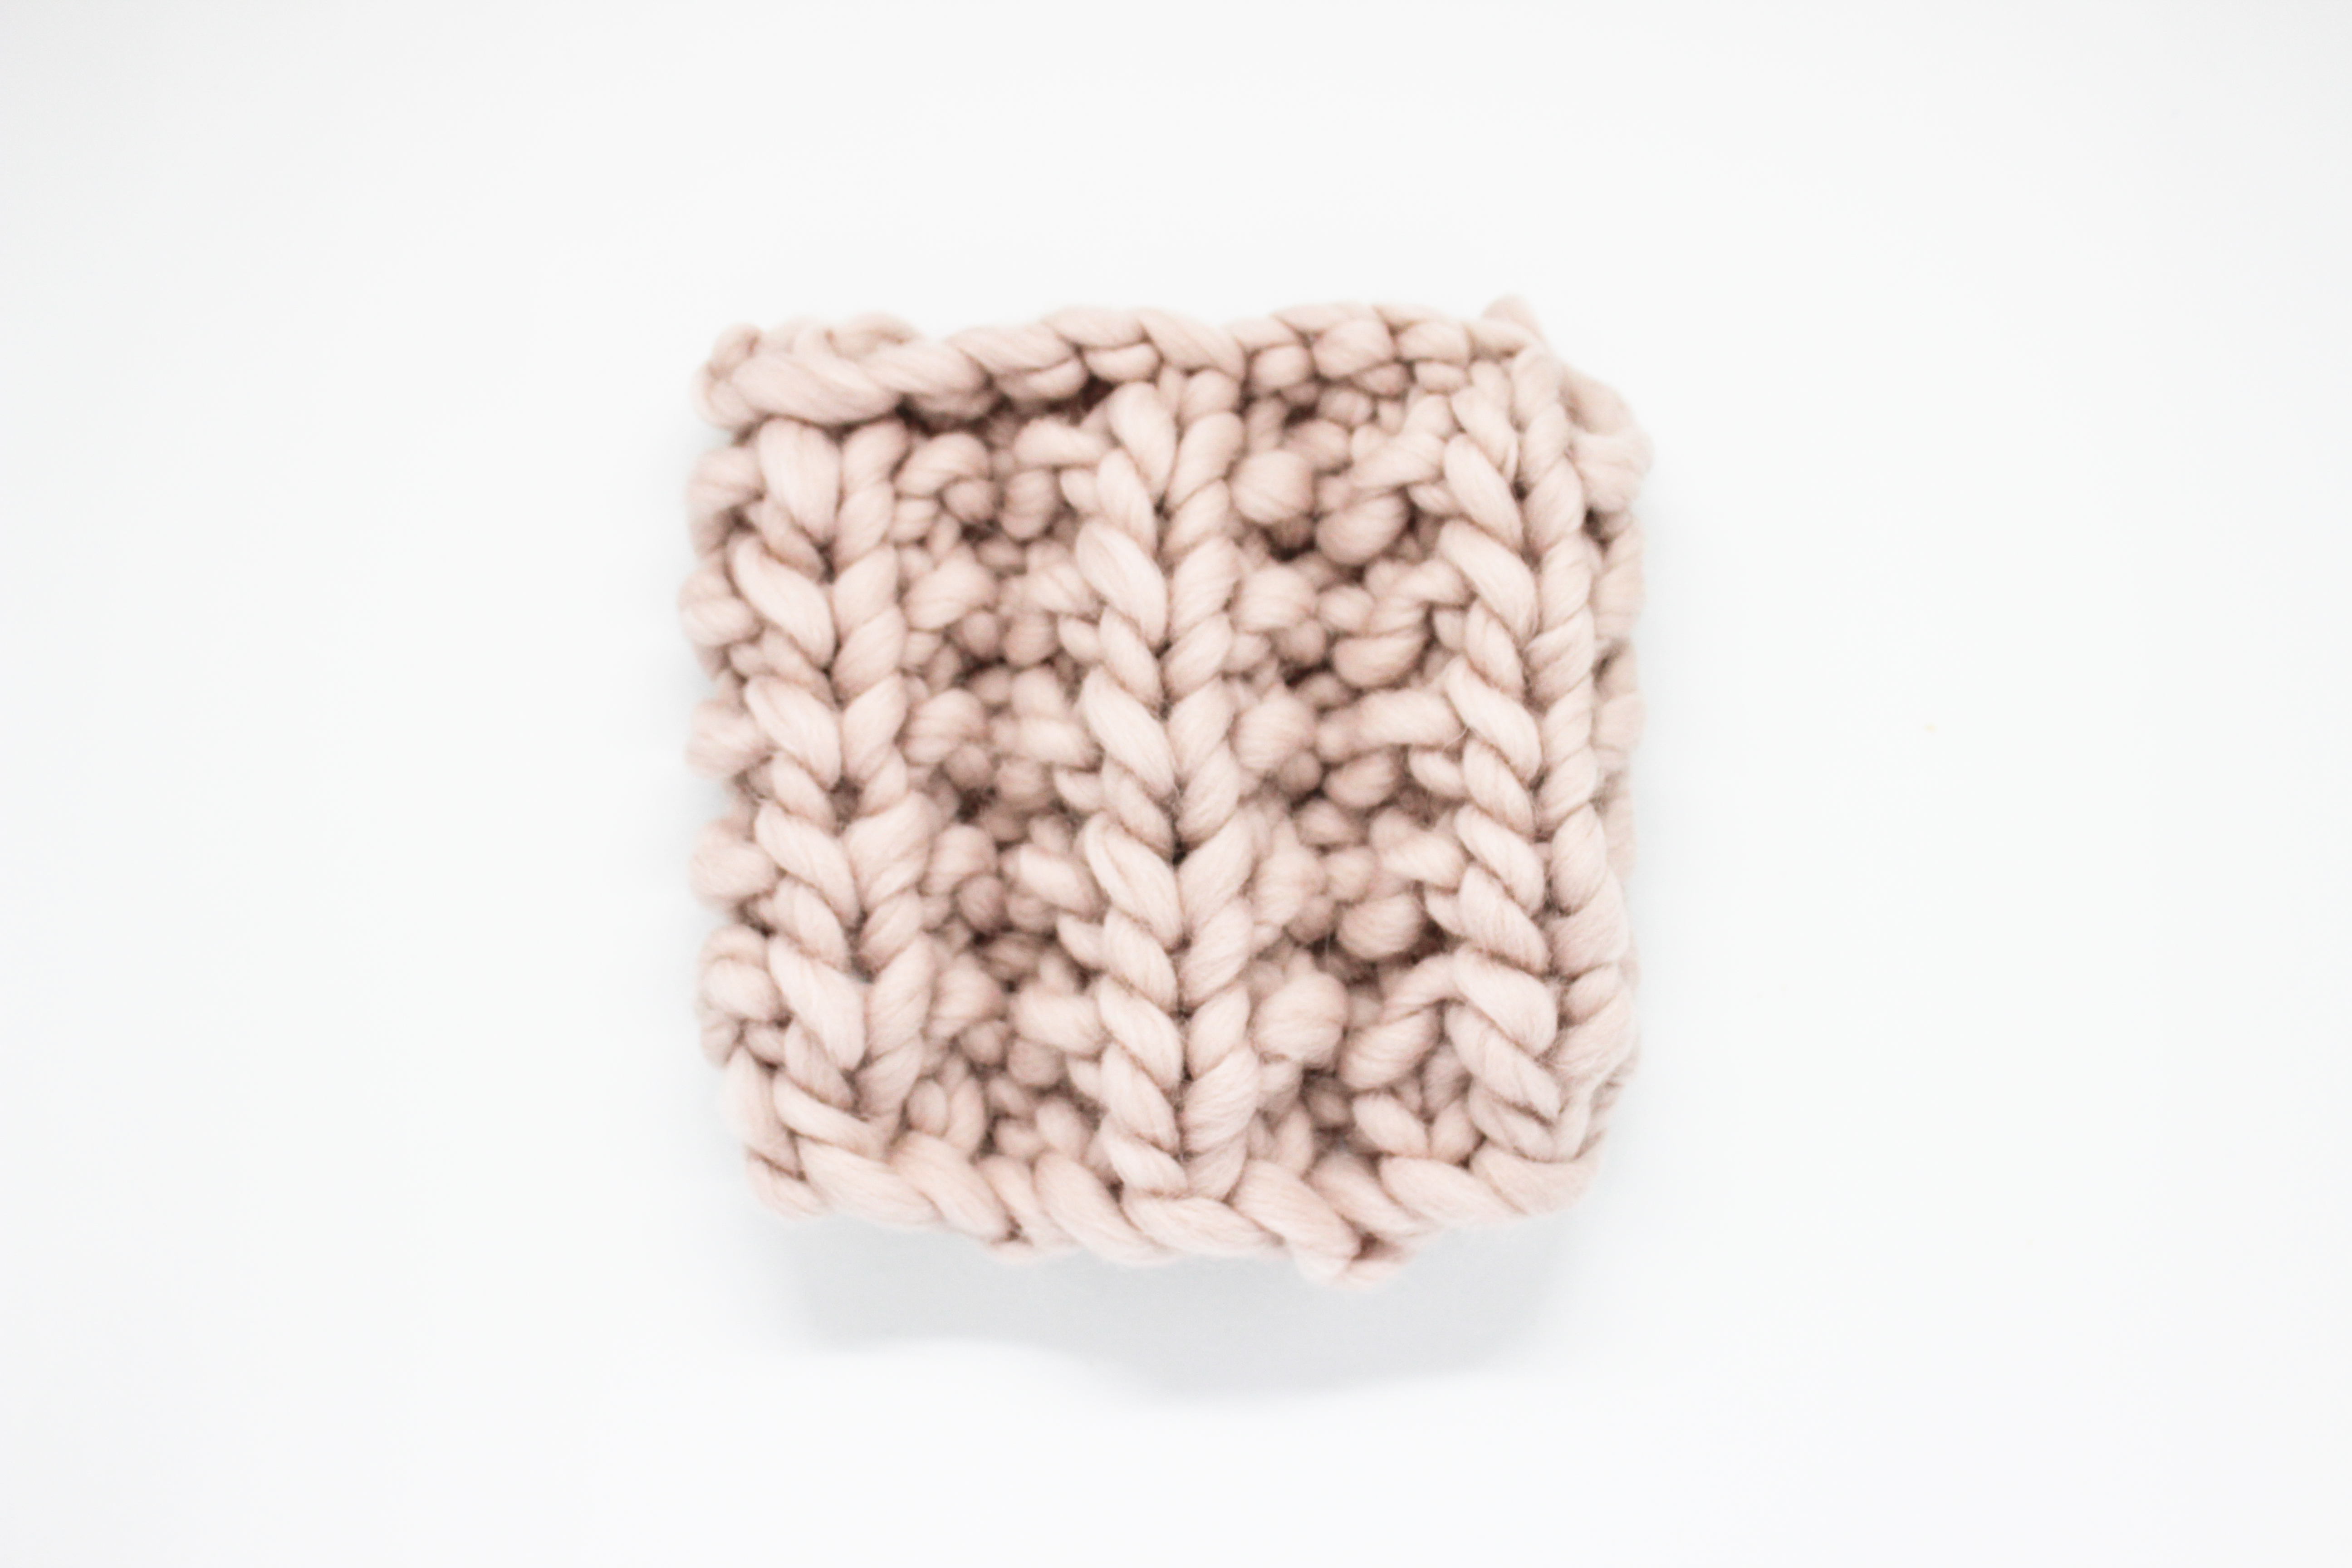
Once you’re done, weave in the loose ends, but be careful! Don’t pull the yarn too tight or the fabric will pucker.
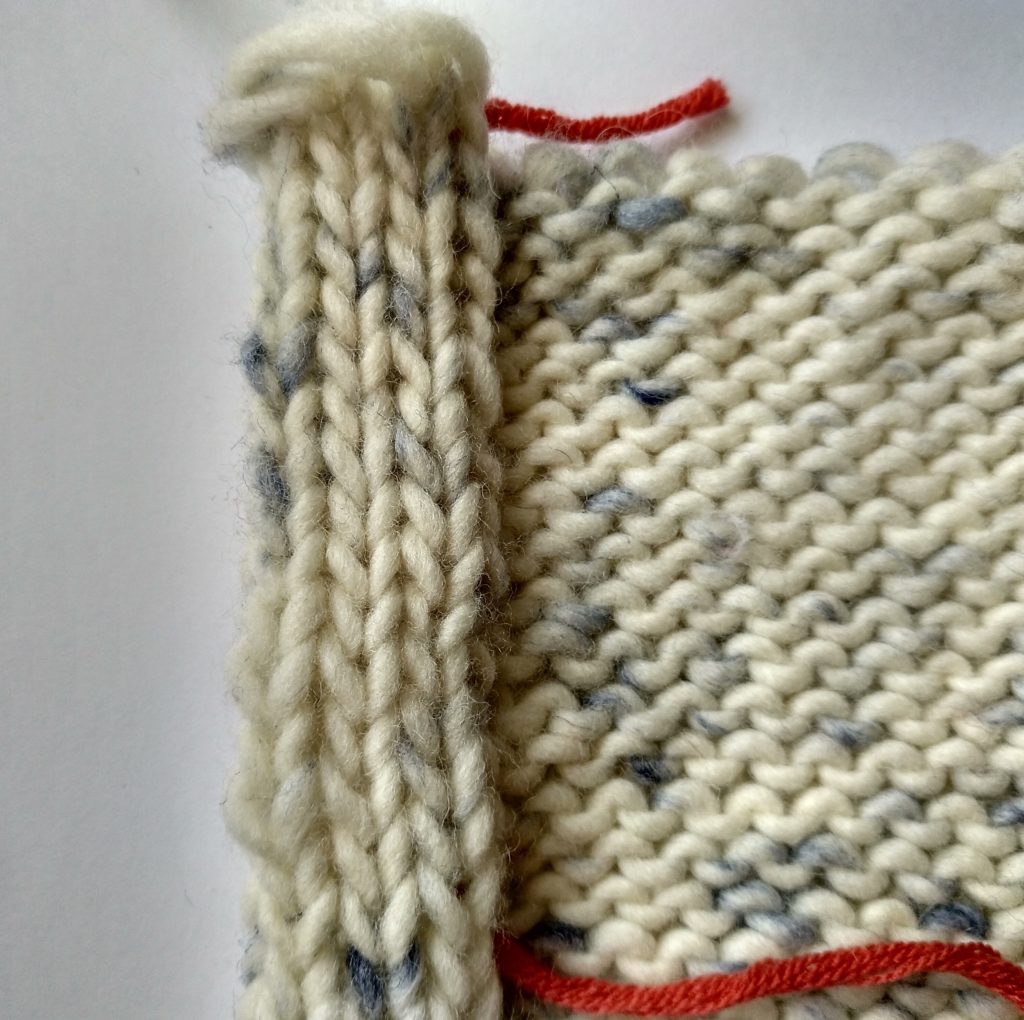
In this photo, you can see the result on the right side and on the wrong side.
Finally, here’s a video so you can see easily see the entire process.
And remember, look closely, and sew the stitches along the same row so that the hem is the same height on one side and the other.
With today’s post, you can now fix that piece that you’ve had pending for a while and just weren’t sure how to finish. Little by little, you are polishing your skills, and that we love that, so share it with us, using #WeAreKnitters for all your creations, and let’s continue learning together.