The edges of a project are very important to finish off our work. On our blog we already saw 4 ways to add crochet borders and today we are going to show you another way to crochet borders. Instead of adding a border at the end of your project we will learn how to continue working along the vertical edges, where the rows end on your project.
By crocheting along the sides of the project we create different textures and can improve the end result of our projects because sometimes a simple idea can add an original touch.
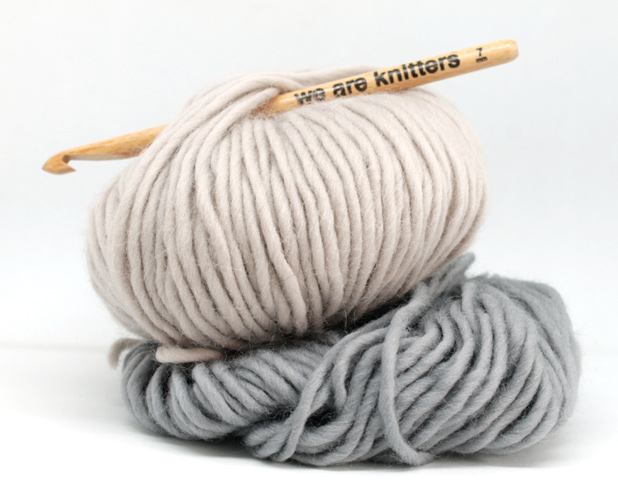
The materials needed are:

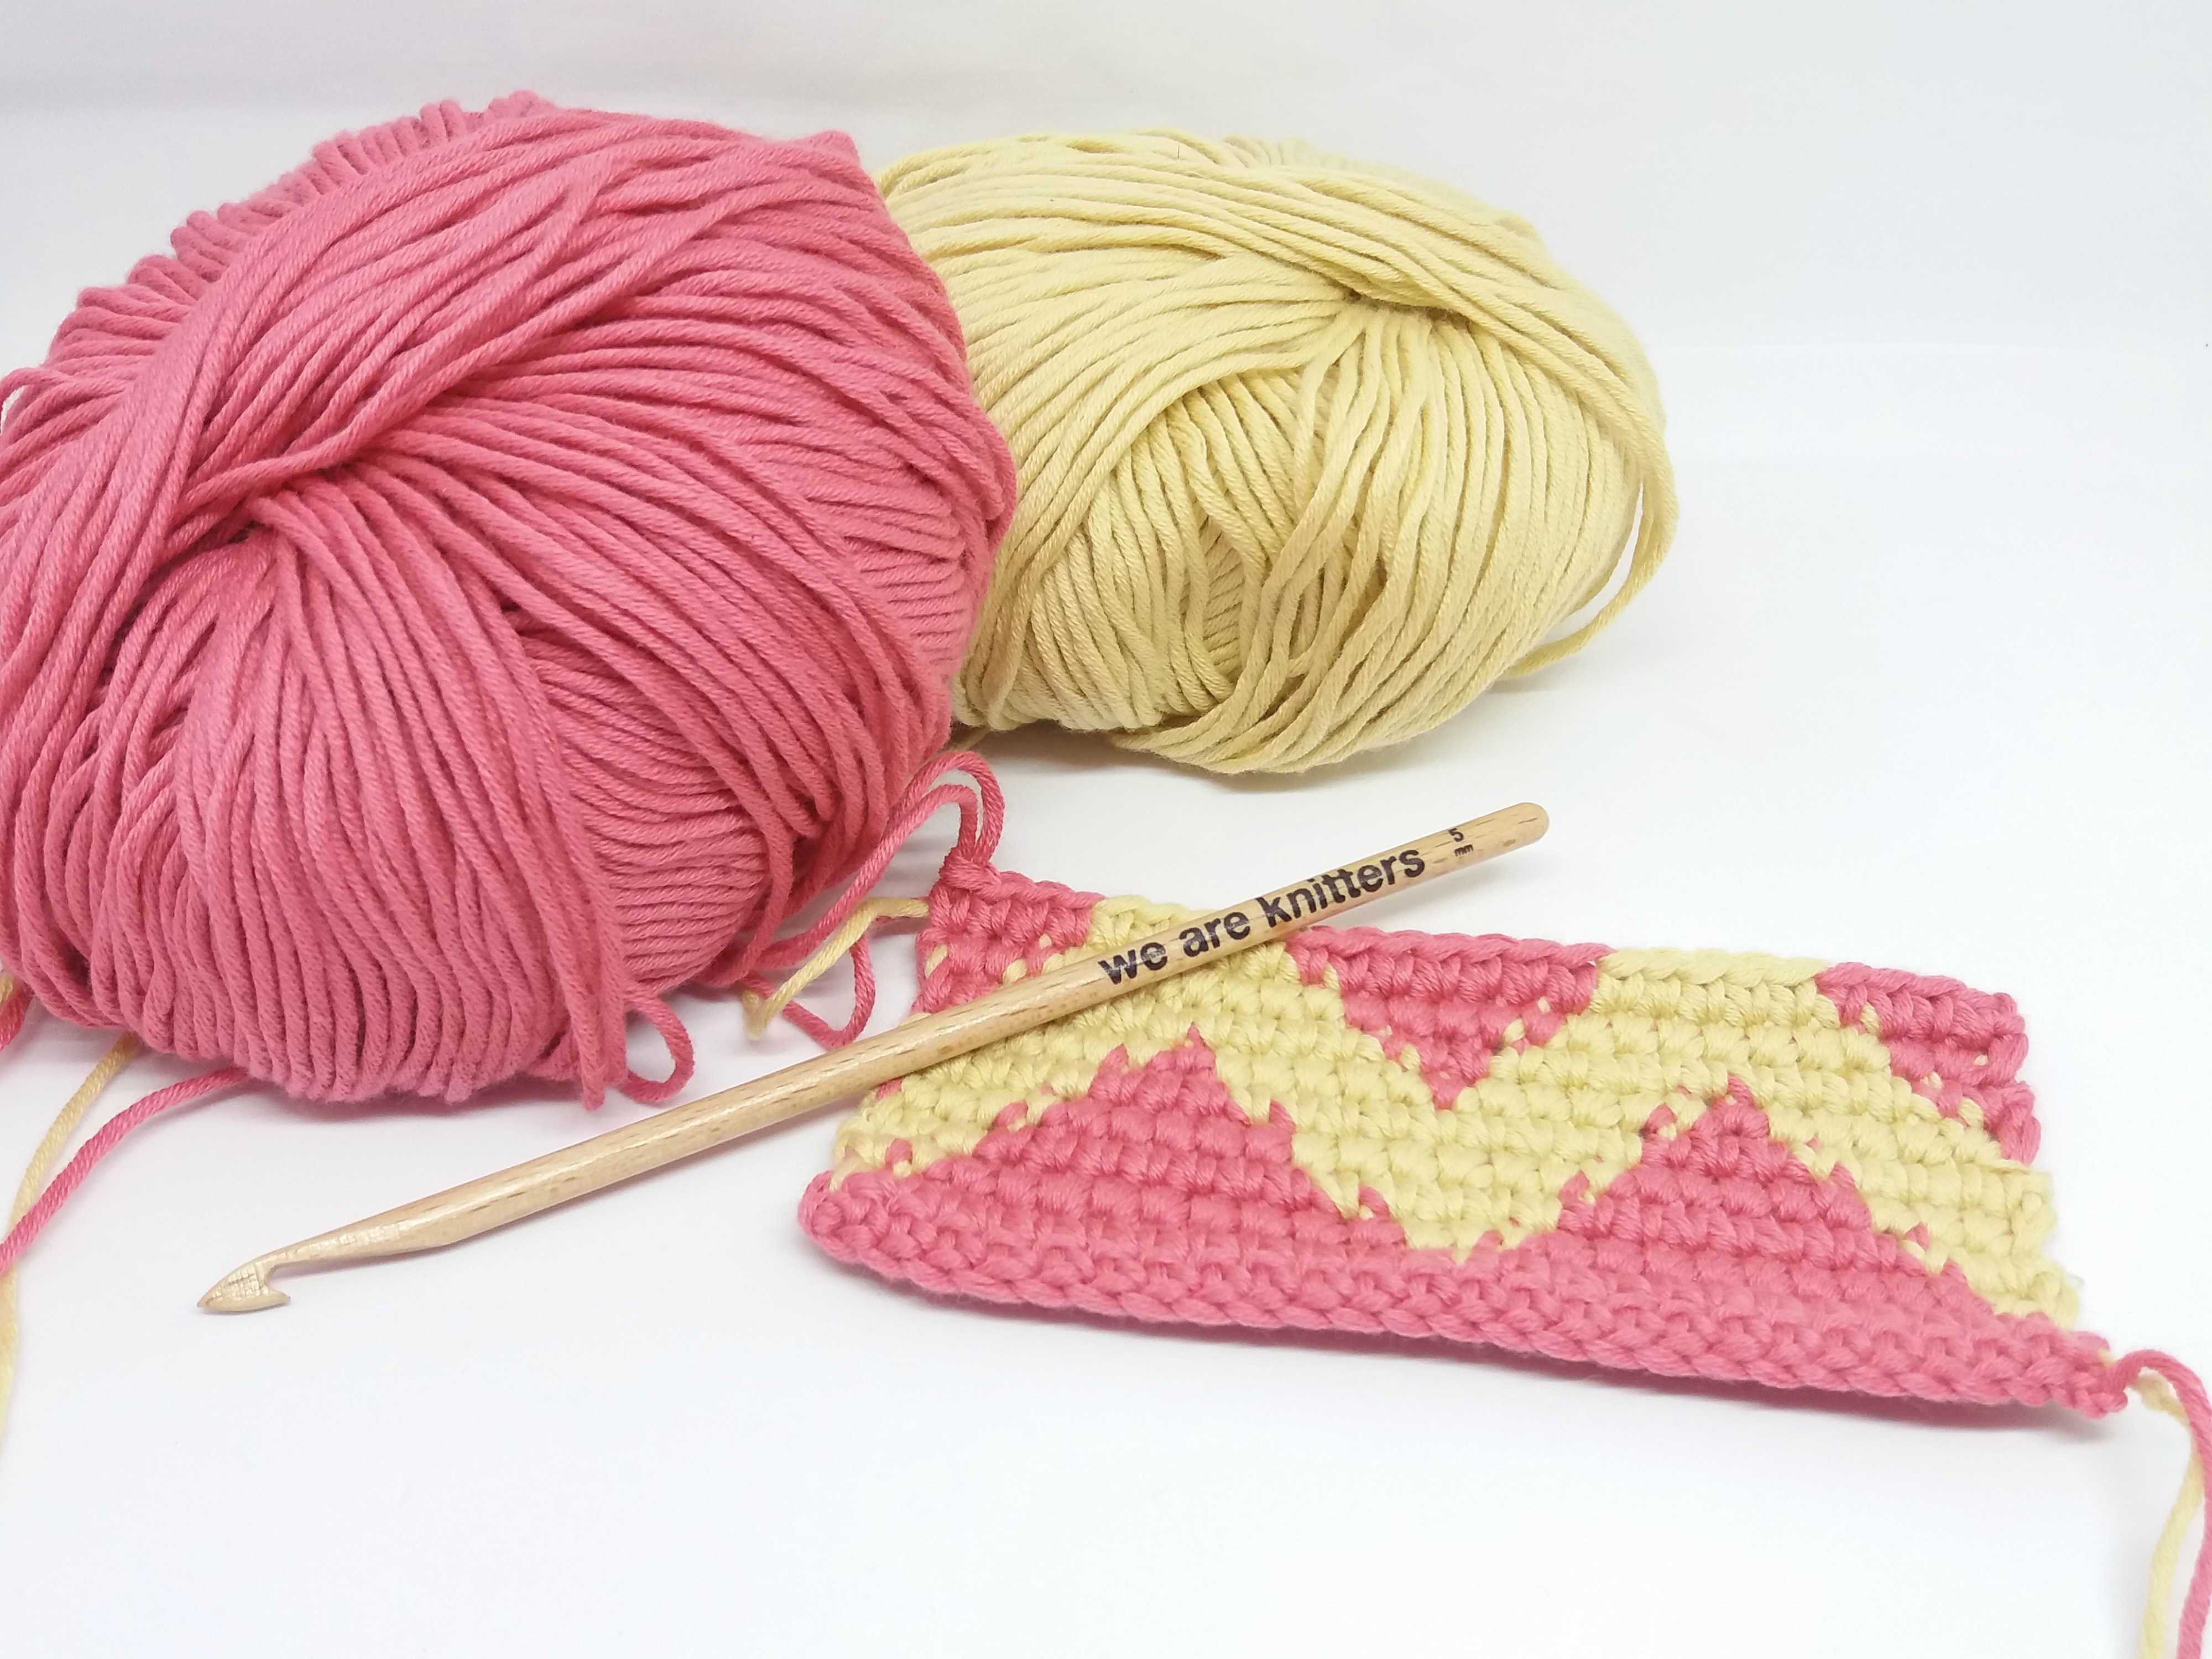
For this post we made swatches in single crochet, half double crochet, and double crochet to start to work on. This way you can see how to use this technique on the stitch you are using.
SINGLE CROCHET

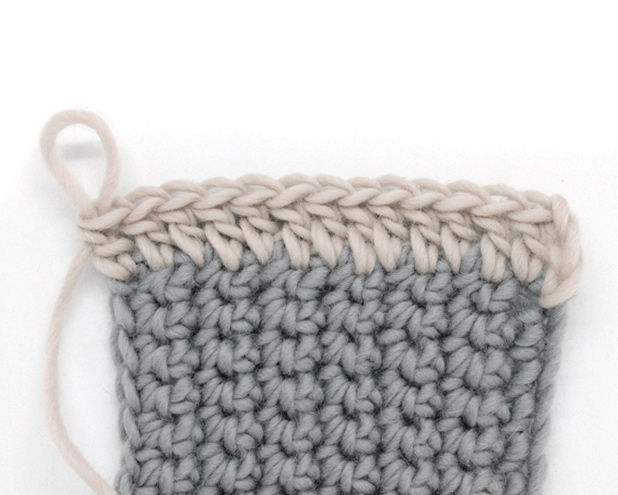
For fabrics made in single crochet start with a slip stitch and the number of turning chains that correspond to what you are making. For this example we are going to chain 3 because we are going to work in double crochet. Make one stitch for each row of your swatch wrapping the stitch instead of inserting your hook through the stitch, this way the stitches will adjust better to the space needed.
HALF DOUBLE CROCHET

When you are working with half double crochet alternate between 2 stitches and 1 stitch on alternate rows. Start with a slip stitch and chain 3 to count as the first stitch. On the first row work 2 stitches wrapping the post of the half double crochet, and on the next post work only one stitch.
DOUBLE CROCHET

Start with a slip stitch in the top of the stitch and chain 3 and count these chains as the first stitch. After that work 2 stitches wrapping the post of each double crochet.
It might seem complicated but think of it as a making a chain space. It’s very important to maintain the same tension as the swatch so that you don’t wind up making ruffles. This video shows how you would start a row. Remember that the number of chains depends upon the stitch you are going to make.
Start adding borders to your projects and share them with us on social media using the hash tag #WeAreKnitters.


