It’s always a headache for knitters to seam their knitted projects, but that was before learning tricks we share with you in our tutorials. Today we are going to show you how to sew a side seam worked in garter stitch, that comes out perfect, invisible and easy to do. Let’s get started!

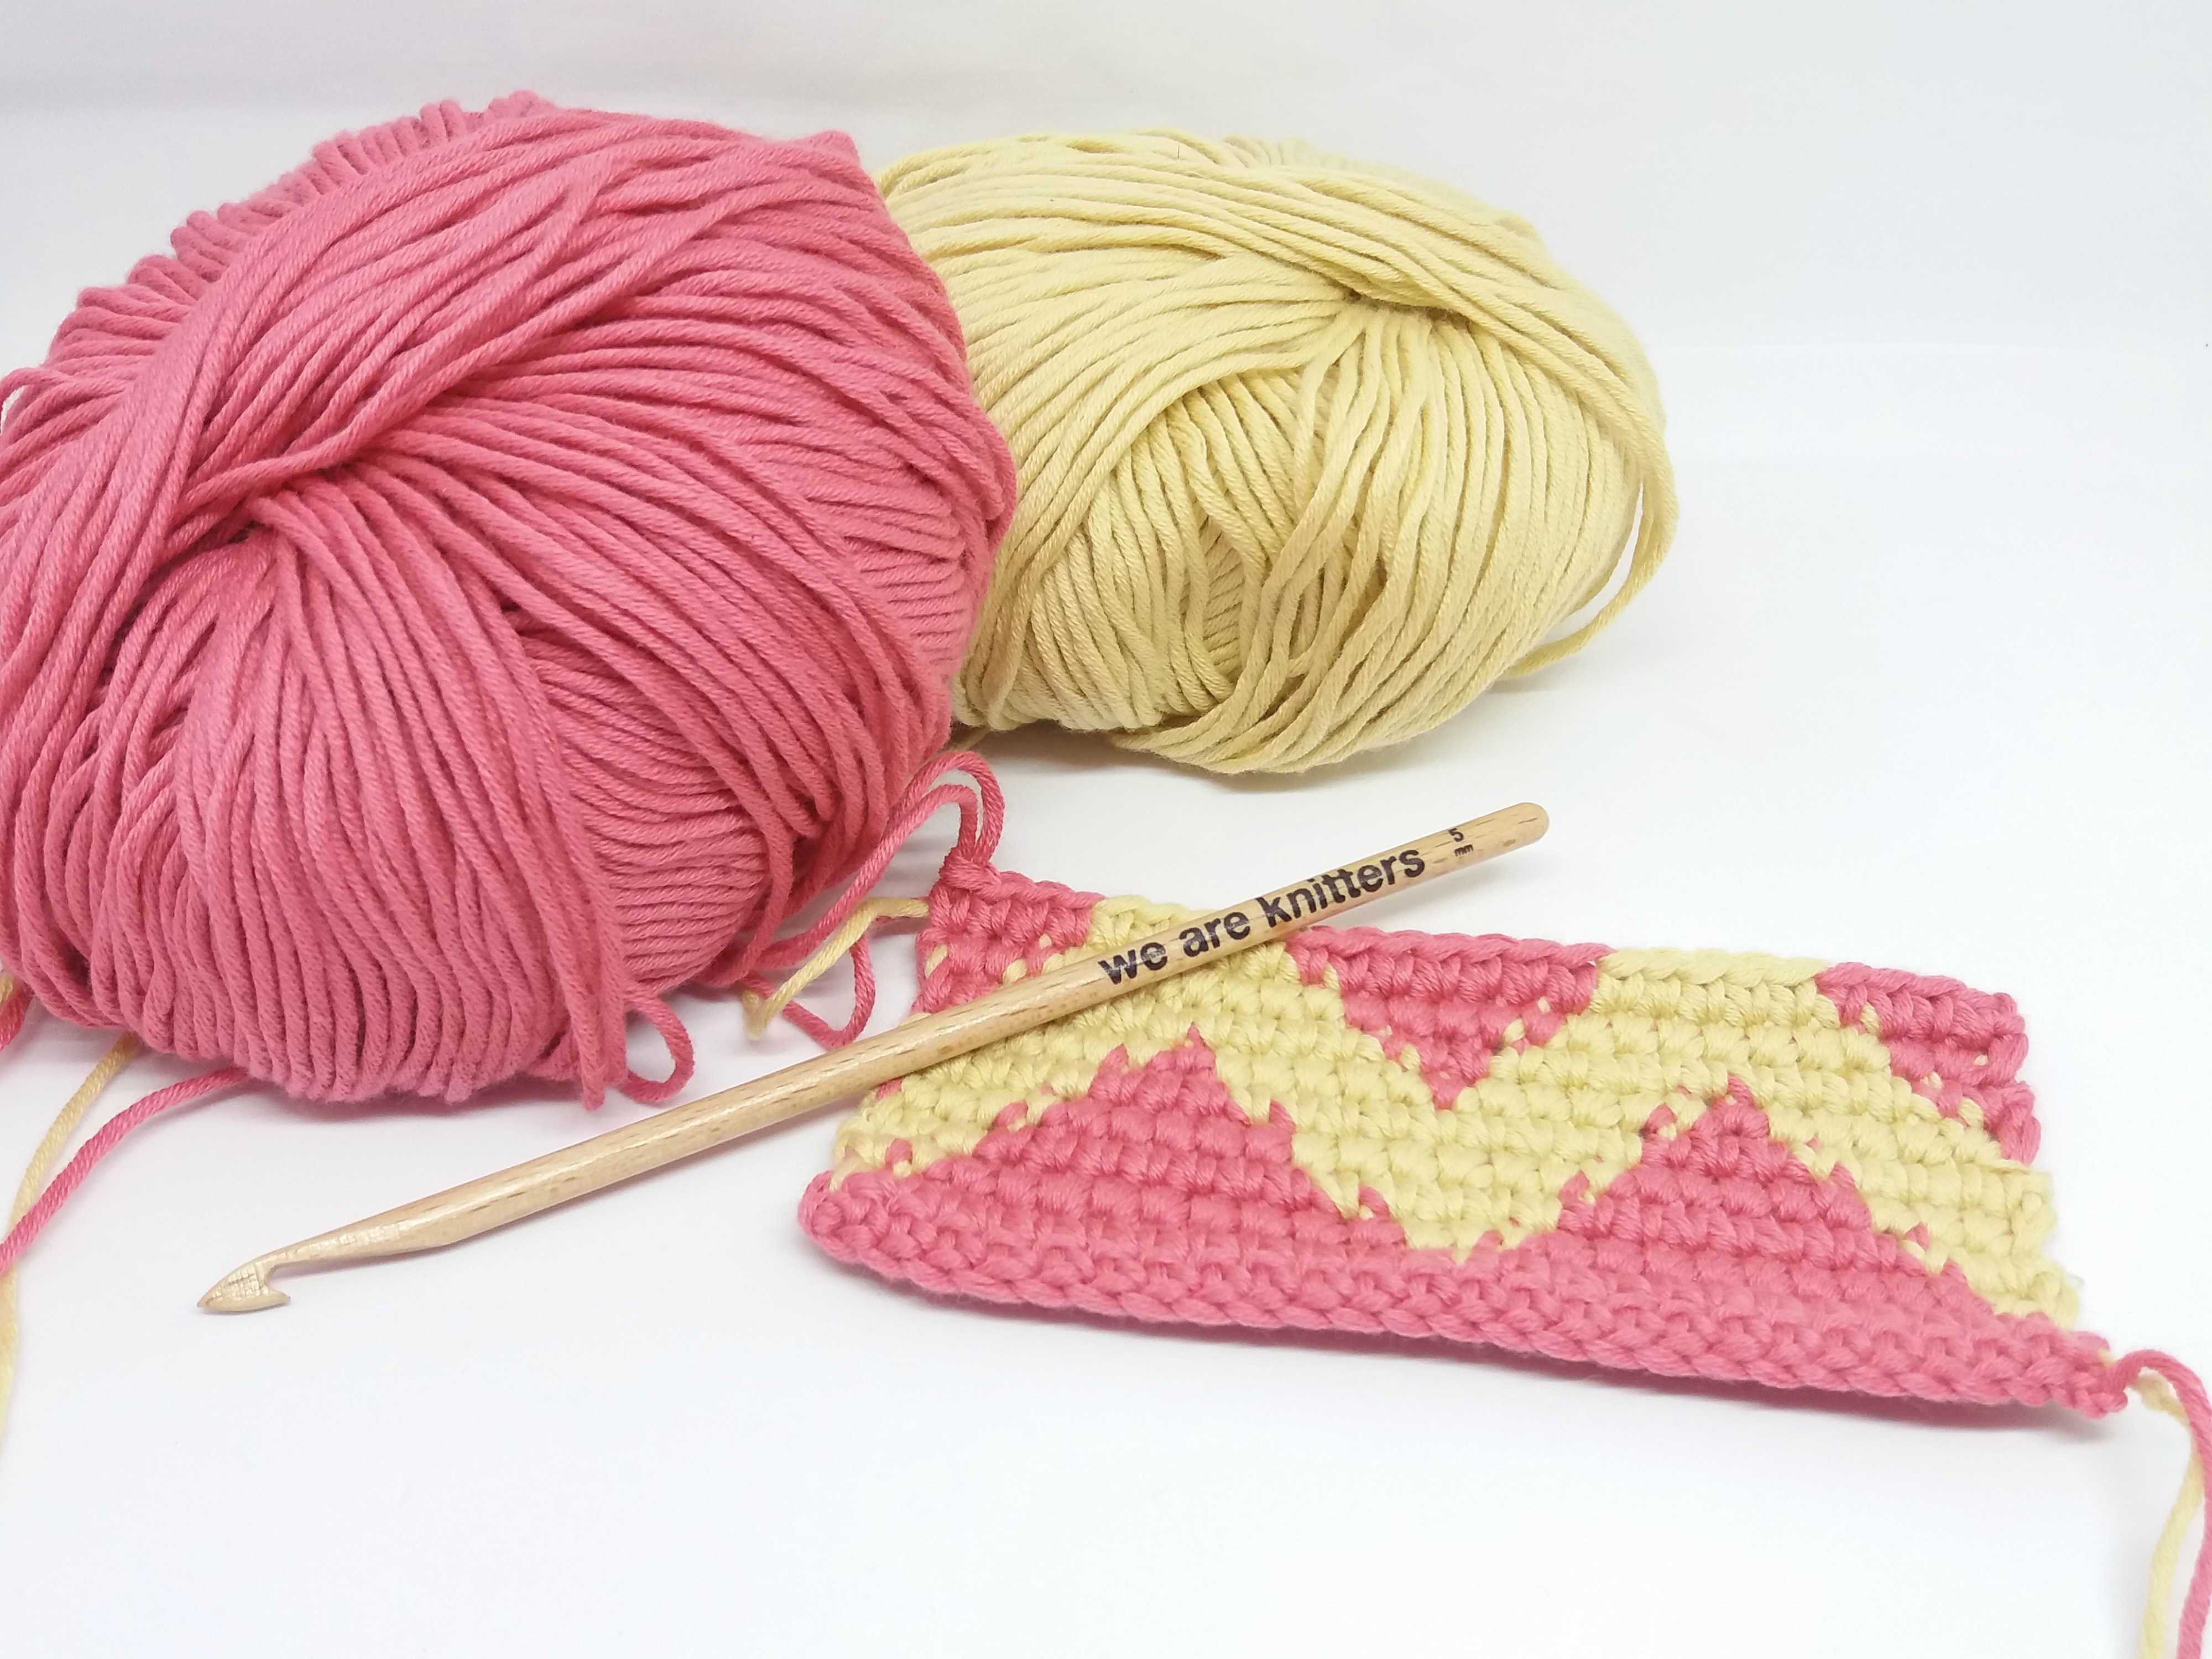
For this tutorial we used a skein a skein of our petite wool, size 11 (8 mm) wooden knitting needles and a tapestry needle to sew the seam.

To make this type of seam we have to differentiate the two parts that make up each row of garter stitch. In the image above, in the row, we can see the top part highlighted in red and the bottom in blue.

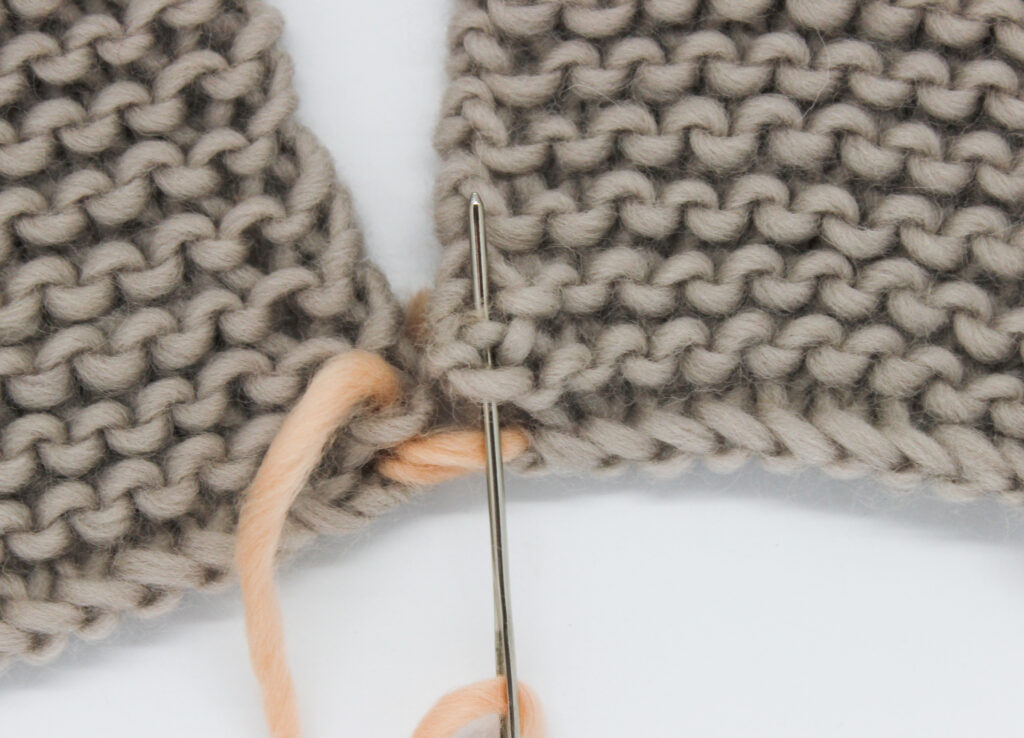
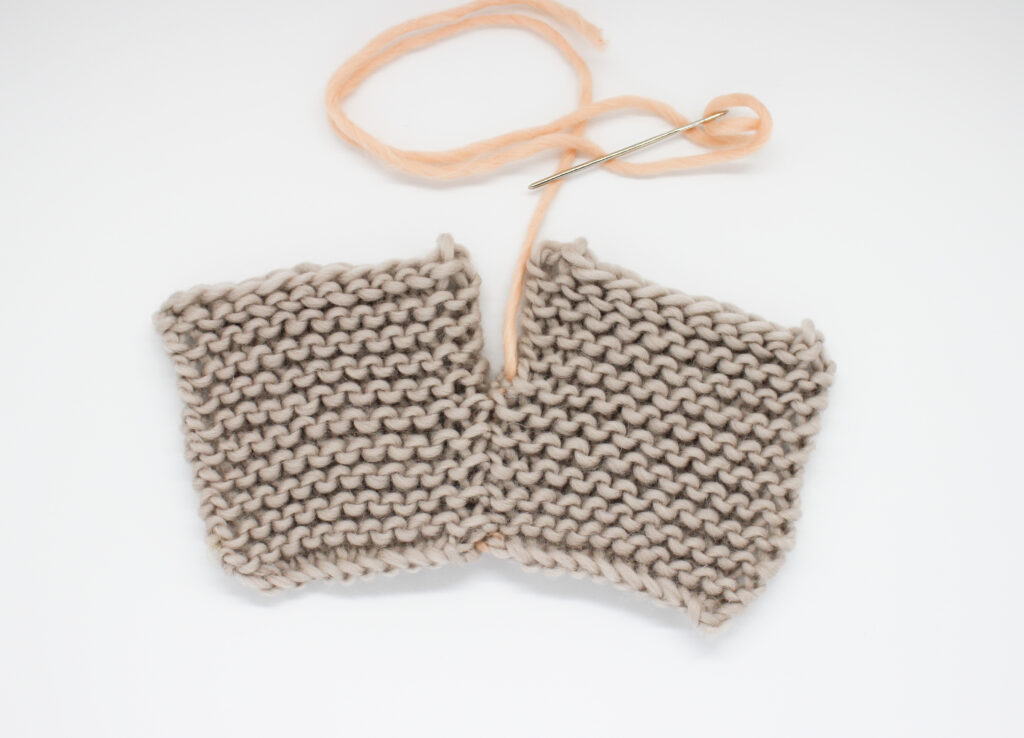
When we join the two pieces, we will insert the needle as follows: on the right piece we will pick up the bottom part of the first row and on the left piece we will pick up the top part in the same row. So that we work joining the same row of the right piece with that of the left piece. In this way the pieces are aligned, the fabric uniform, and the seam is hidden.

We will start by joining the bottoms of the two pieces, as shown in the image above.

On the right piece we will pick up the bottom part of the row with the tapestry needle and at the same time the bar that is above it. You will have to use the needle to find it.

On the left piece we will pick up the top part of the same row and the bar that is above it, just like we did the previous step.
Here is a video so you can see how it’s done:
As you can see, once you get the hang of it it’s very easy to sew the seam. We recommend adjusting the seam as you go along, each time you join a row, so that there is no yarn left over and the pieces are joined perfectly.

We hope this tutorial is helpful when it comes time to seam your projects knitted in garter stitch. We’re sure you have a cozy sweater in mind for this winter. We invite you to share your projects with us on social media using the hashtag #weareknitters


