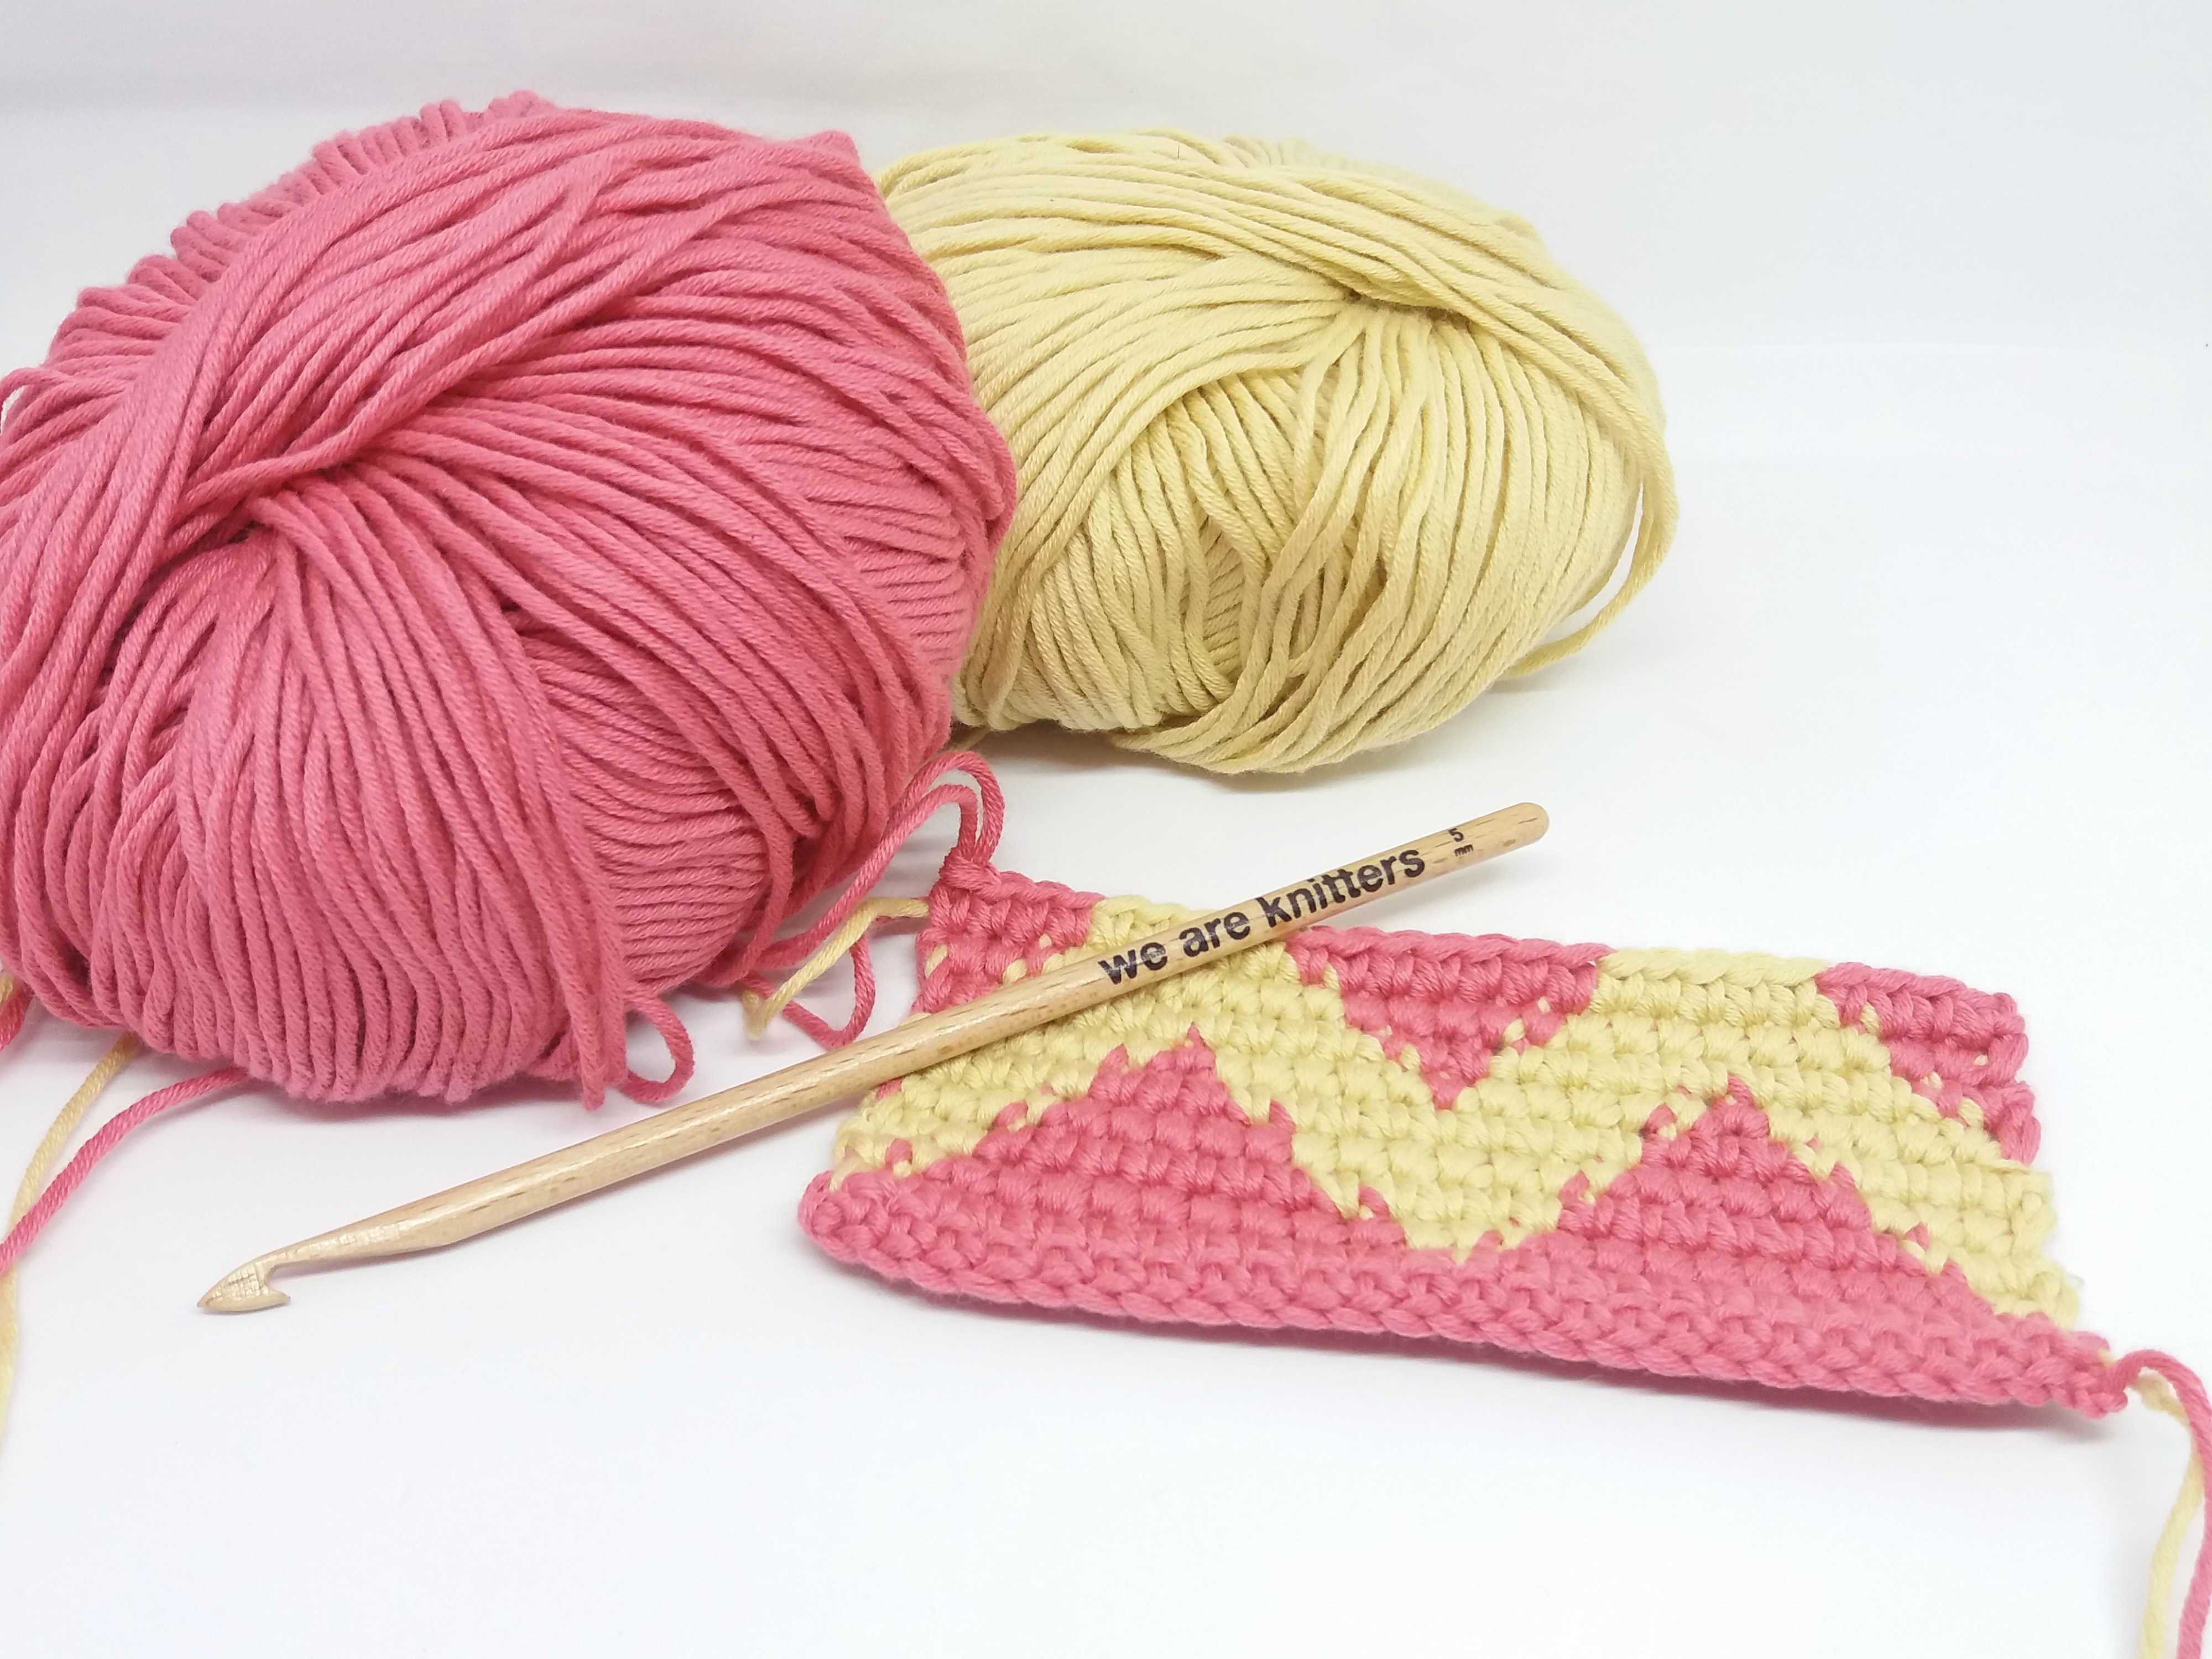
Who said cables were only for working on two knitting needles? In this tutorial we will show you an easy way to make cables with crochet too. If you are a person that loves to use this technique for your sweaters, there’s no excuse not to anymore.

For this step-by-step tutorial we used a skein of our petite wool and a size 7mm wooden crochet hook.
Before beginning, here is a list of stitches we are going to use in this tutorial:

Let’s start our sample by making the foundation chain.

We will work the next two rows in half double crochet, to reach the height to start the cable.
BEGINNING OF THE CABLE
Once you have reached the point where you want to place your cable, we are going to start working 4 treble crochet, but instead of working them in the same row that you are working now, we will work them two rows below.
We show you how in the following video:
Keep in mind that when you finish working the 4 treble crochet, you must continue by working the next stitch in the actual row, skipping the four stitches that correspond to the four treble crochet worked below, and working the next half double crochet in the fifth stitch.

After working the base of the cable, your piece will look like the above photo.
EVEN ROWS

On even rows you should work half double crochet into each stitch.
CROSSING POINT OF THE CABLE
Now we are going to work the crossing point of the cable, we made a video for you, so you can see more clearly how it is done:
Remember, that when you work the crossing point, first you have to work the third and fourth stitches (counting from right to left) and then the first and second stitches. To make it easier to work these last two stitches, you can lift them, as shown in the video.

After crossing the stitches, your cables will look like the photo above.

We will work another complete row in half double crochet.
ROWS TO LENGTHEN THE CABLE
You can repeat the next row as many times as you want so your cable grows until you make another crossing point.
In the next video we show you how:
This row is an easy one, you just have to work treble crochet into the stitches of the previous row.

After finishing this row, you will have finished the first cable repeat.

Keep repeating the process described in this section to make the separation between crossing points as tall as you wish. Remember that the even rows are always worked in half double crochet.

And there you have your cables! With a skein of wool, a crochet hook, and this tutorial you can make some cool winter garments and accessories. We hope you share your projects with us on social media with the hashtag #weareknitters. You are a source of constant inspiration!
[PW1]En biblia es ¨triple¨ y en video es ¨treble¨


