If you enjoy knitting with several colors at the same time, whether it be intarsia or jacquard, you’ve probably encountered some problems when adding a new color to your work. After joining the new color sometimes you’ll find that the stitch is looser than the others, or sometimes it appears that the strand of yarn you just worked will be dropped. If you choose to make a knot with the two colors, often the knot winds up on the right side of your work; it’s maddening!
On that subject, we bring you a simple trick to improve your color joins when working with the above techniques. You can use it on a right side row as well as a wrong side row. Now you’ll be able to add new colors to your work without even thinking about it. 😉
ADDING A NEW COLOR ON A RIGHT SIDE ROW

Knit as usual until you reach the point where you have to change colors. Insert the right needle into the next stitch (the first one with the new color) and place the strand of the new color as shown in the photo above. The strand that comes from the ball of yarn should be on the right, and the short strand, held between your index and middle fingers of your left hand. Just place it between the needles above the stitch that you’re going to knit.

Now take the yarn you were working with and place it over the strand of the new color, as in the photo.

What we want to achieve is a firm anchor for the new color we are going to start using, and we will do this with the help of the yarn we were knitting with up until now. Once you have placed the yarn as for the above step, secure it with your thumb and don’t let go until we have completed all of the steps.
If you pick up the new color while holding the first color like this, you will notice that it is firmly secured to the stitches.

Keeping the same position as in the previous step, finish knitting the next stitch using the new color. Hold the short end of the new yarn too; it should be knit into the stitch also so that the new yarn is secured as tightly.

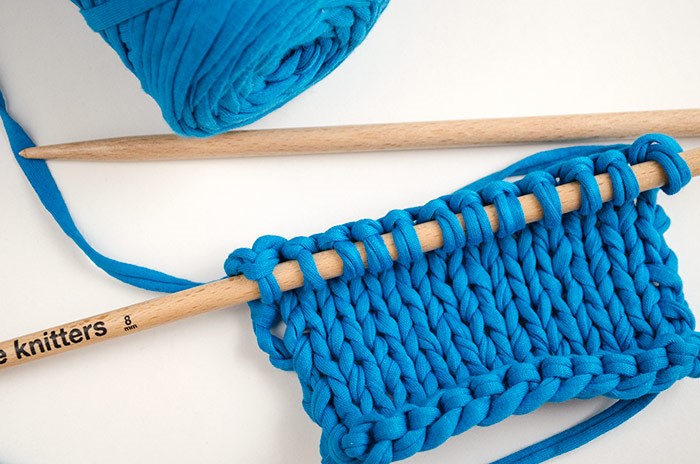
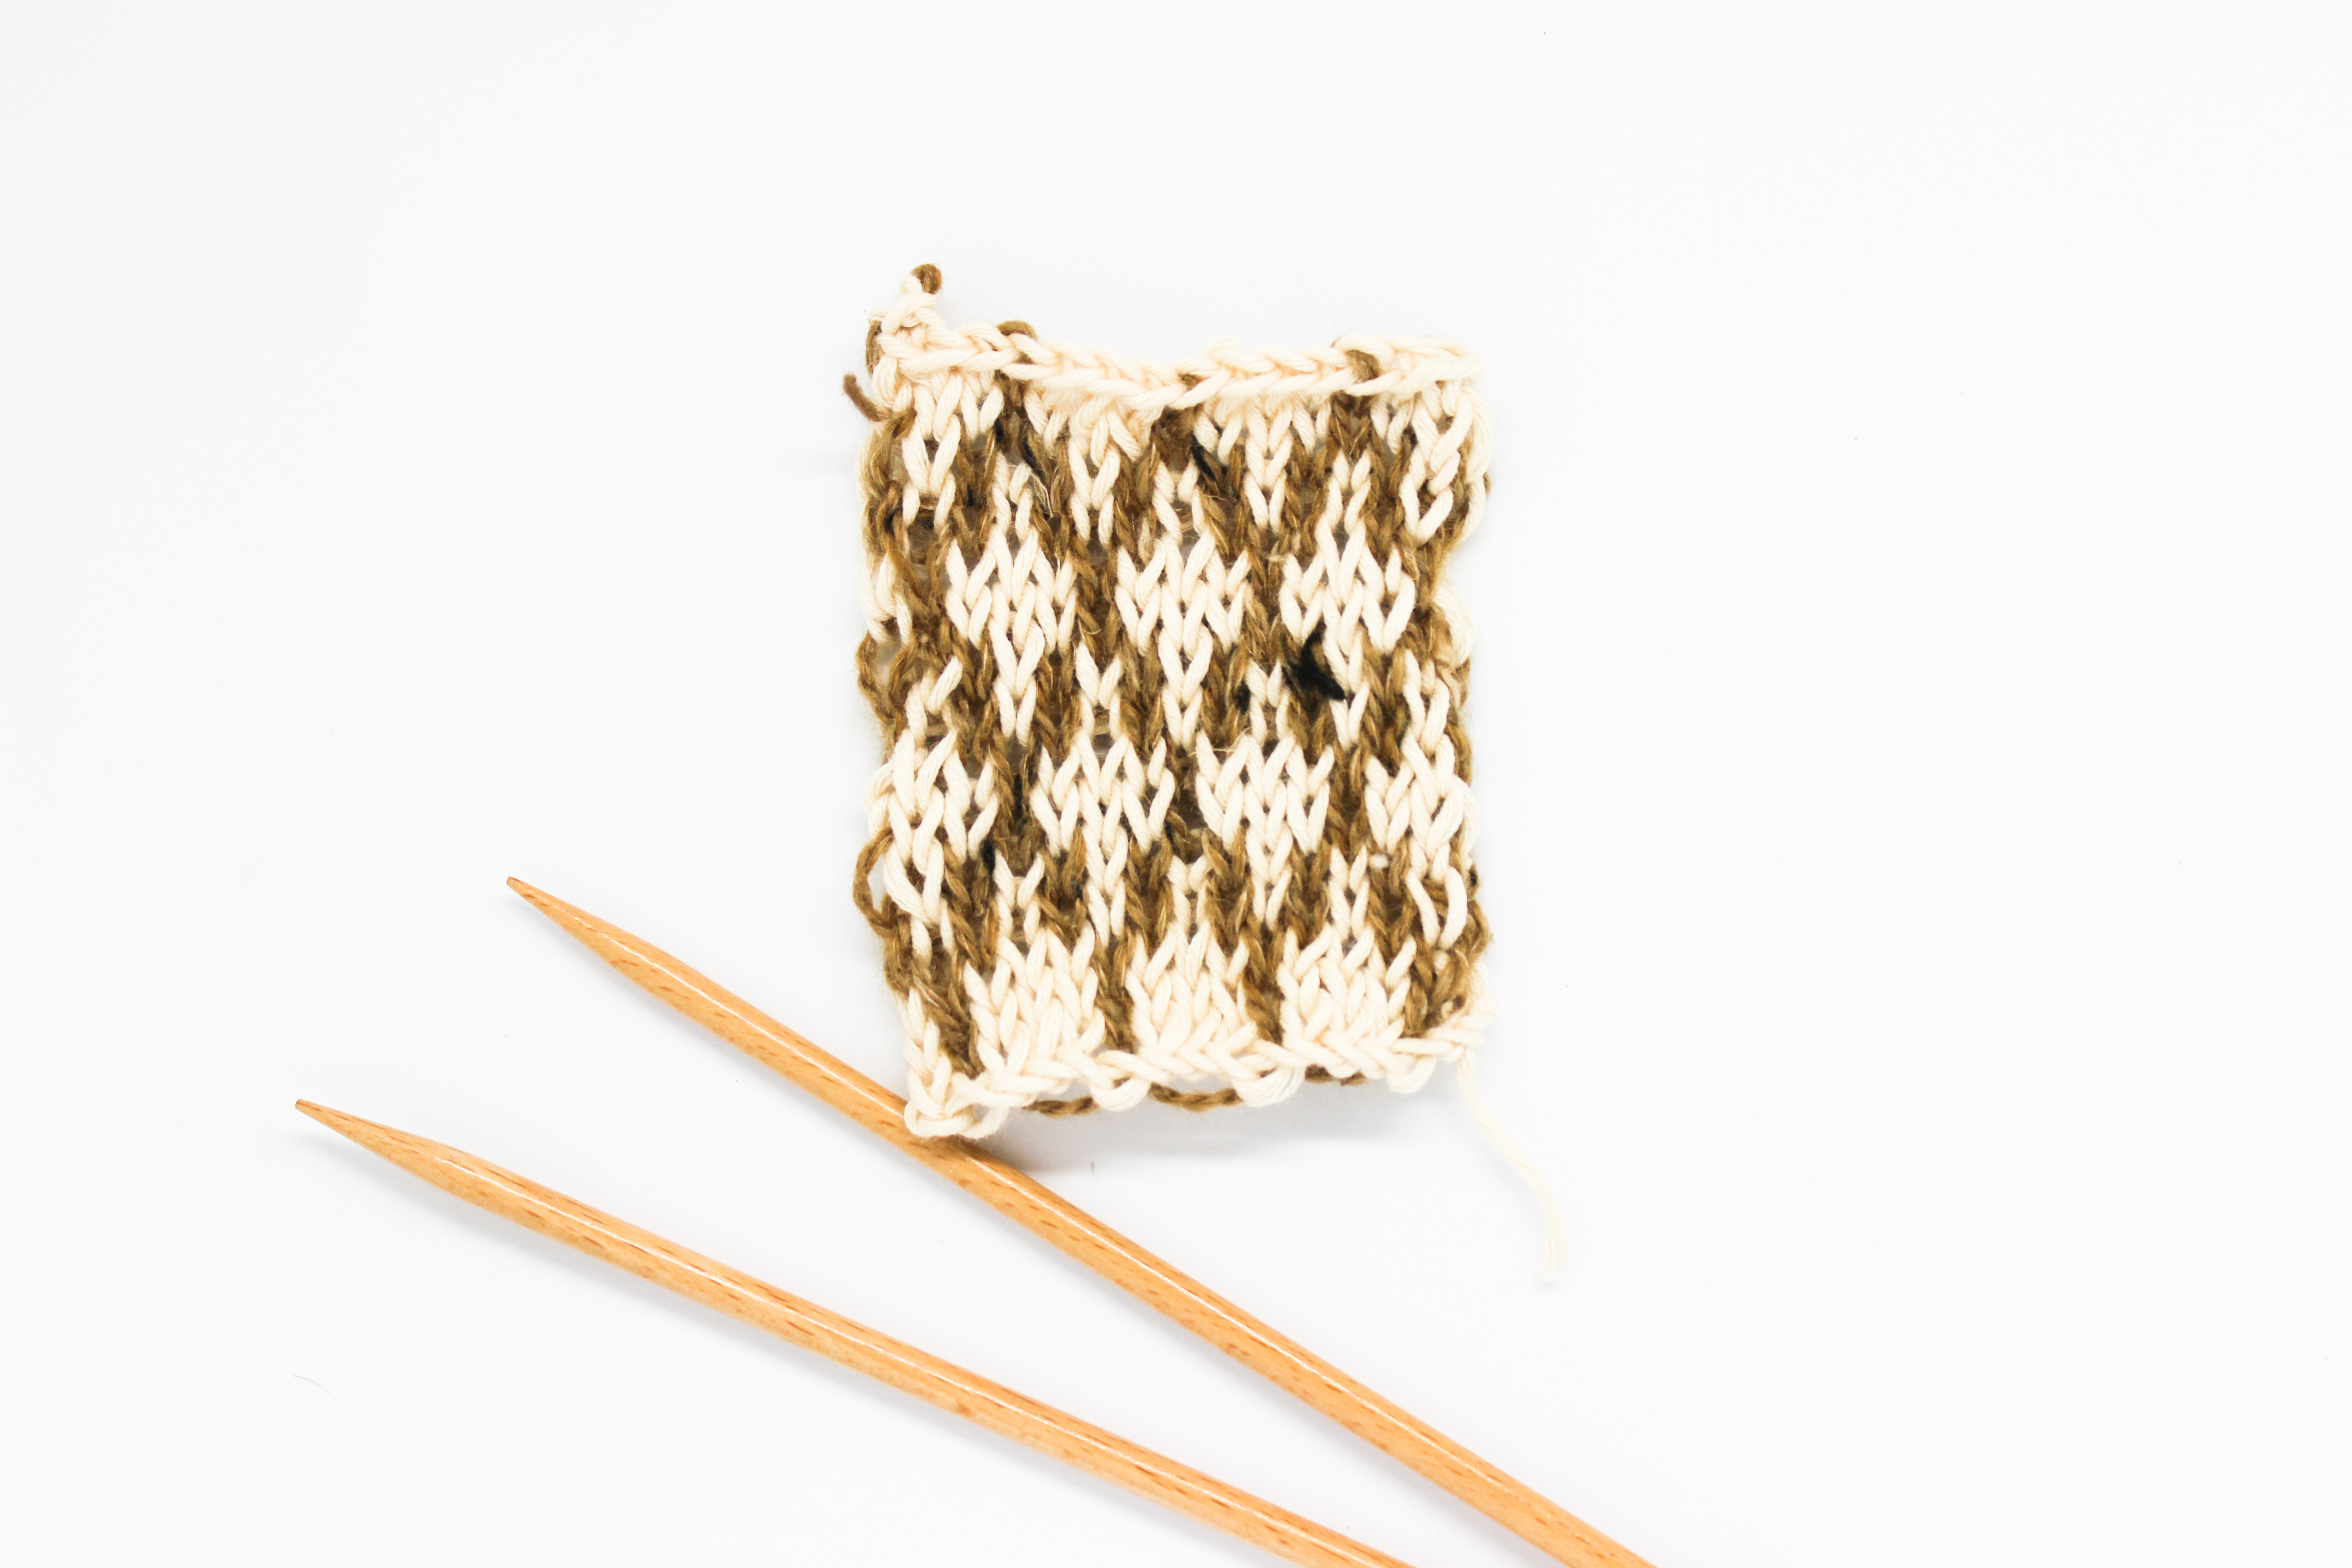
Continue knitting the rest of the stitches as usual, making sure to interweave the tail end of the new yarn so you don’t have to weave it in later. In the image above you can see how the color change is well defined and without holes between the two colors, which happens so often.
Pull both strands of yarn on the wrong side of your work to adjust the space between the last stitch of one color and the first stitch of the other.
ADDING A NEW COLOR ON THE WRONG SIDE ROW

Although it is unusual to change colors on the wrong side row, and the pattern should indicate when to change colors, we can also use this method on a wrong side row.
Start by knitting until you reach the spot where you are going to change colors, insert the needle into the next stitch and place the strand you have been working with behind your work (this means placing the yarn over your right needle, and on the right side of your work).
Now place the strand of the new color as shown in the photo. The tail end in your left hand, held between your index and middle fingers.

Place the yarn you were using in the back. It will be on top of the new yarn. Hold it firmly on top of the new yarn. It will be the anchor to start knitting with the second strand, the same as we did on the right side row.
Finish the stitch with the new color, making sure to intertwine the tail end of the yarn so that it doesn’t come loose. Then keep knitting as usual, and don’t forget to adjust the ends of the first color and the second color by pulling to get the right tension.

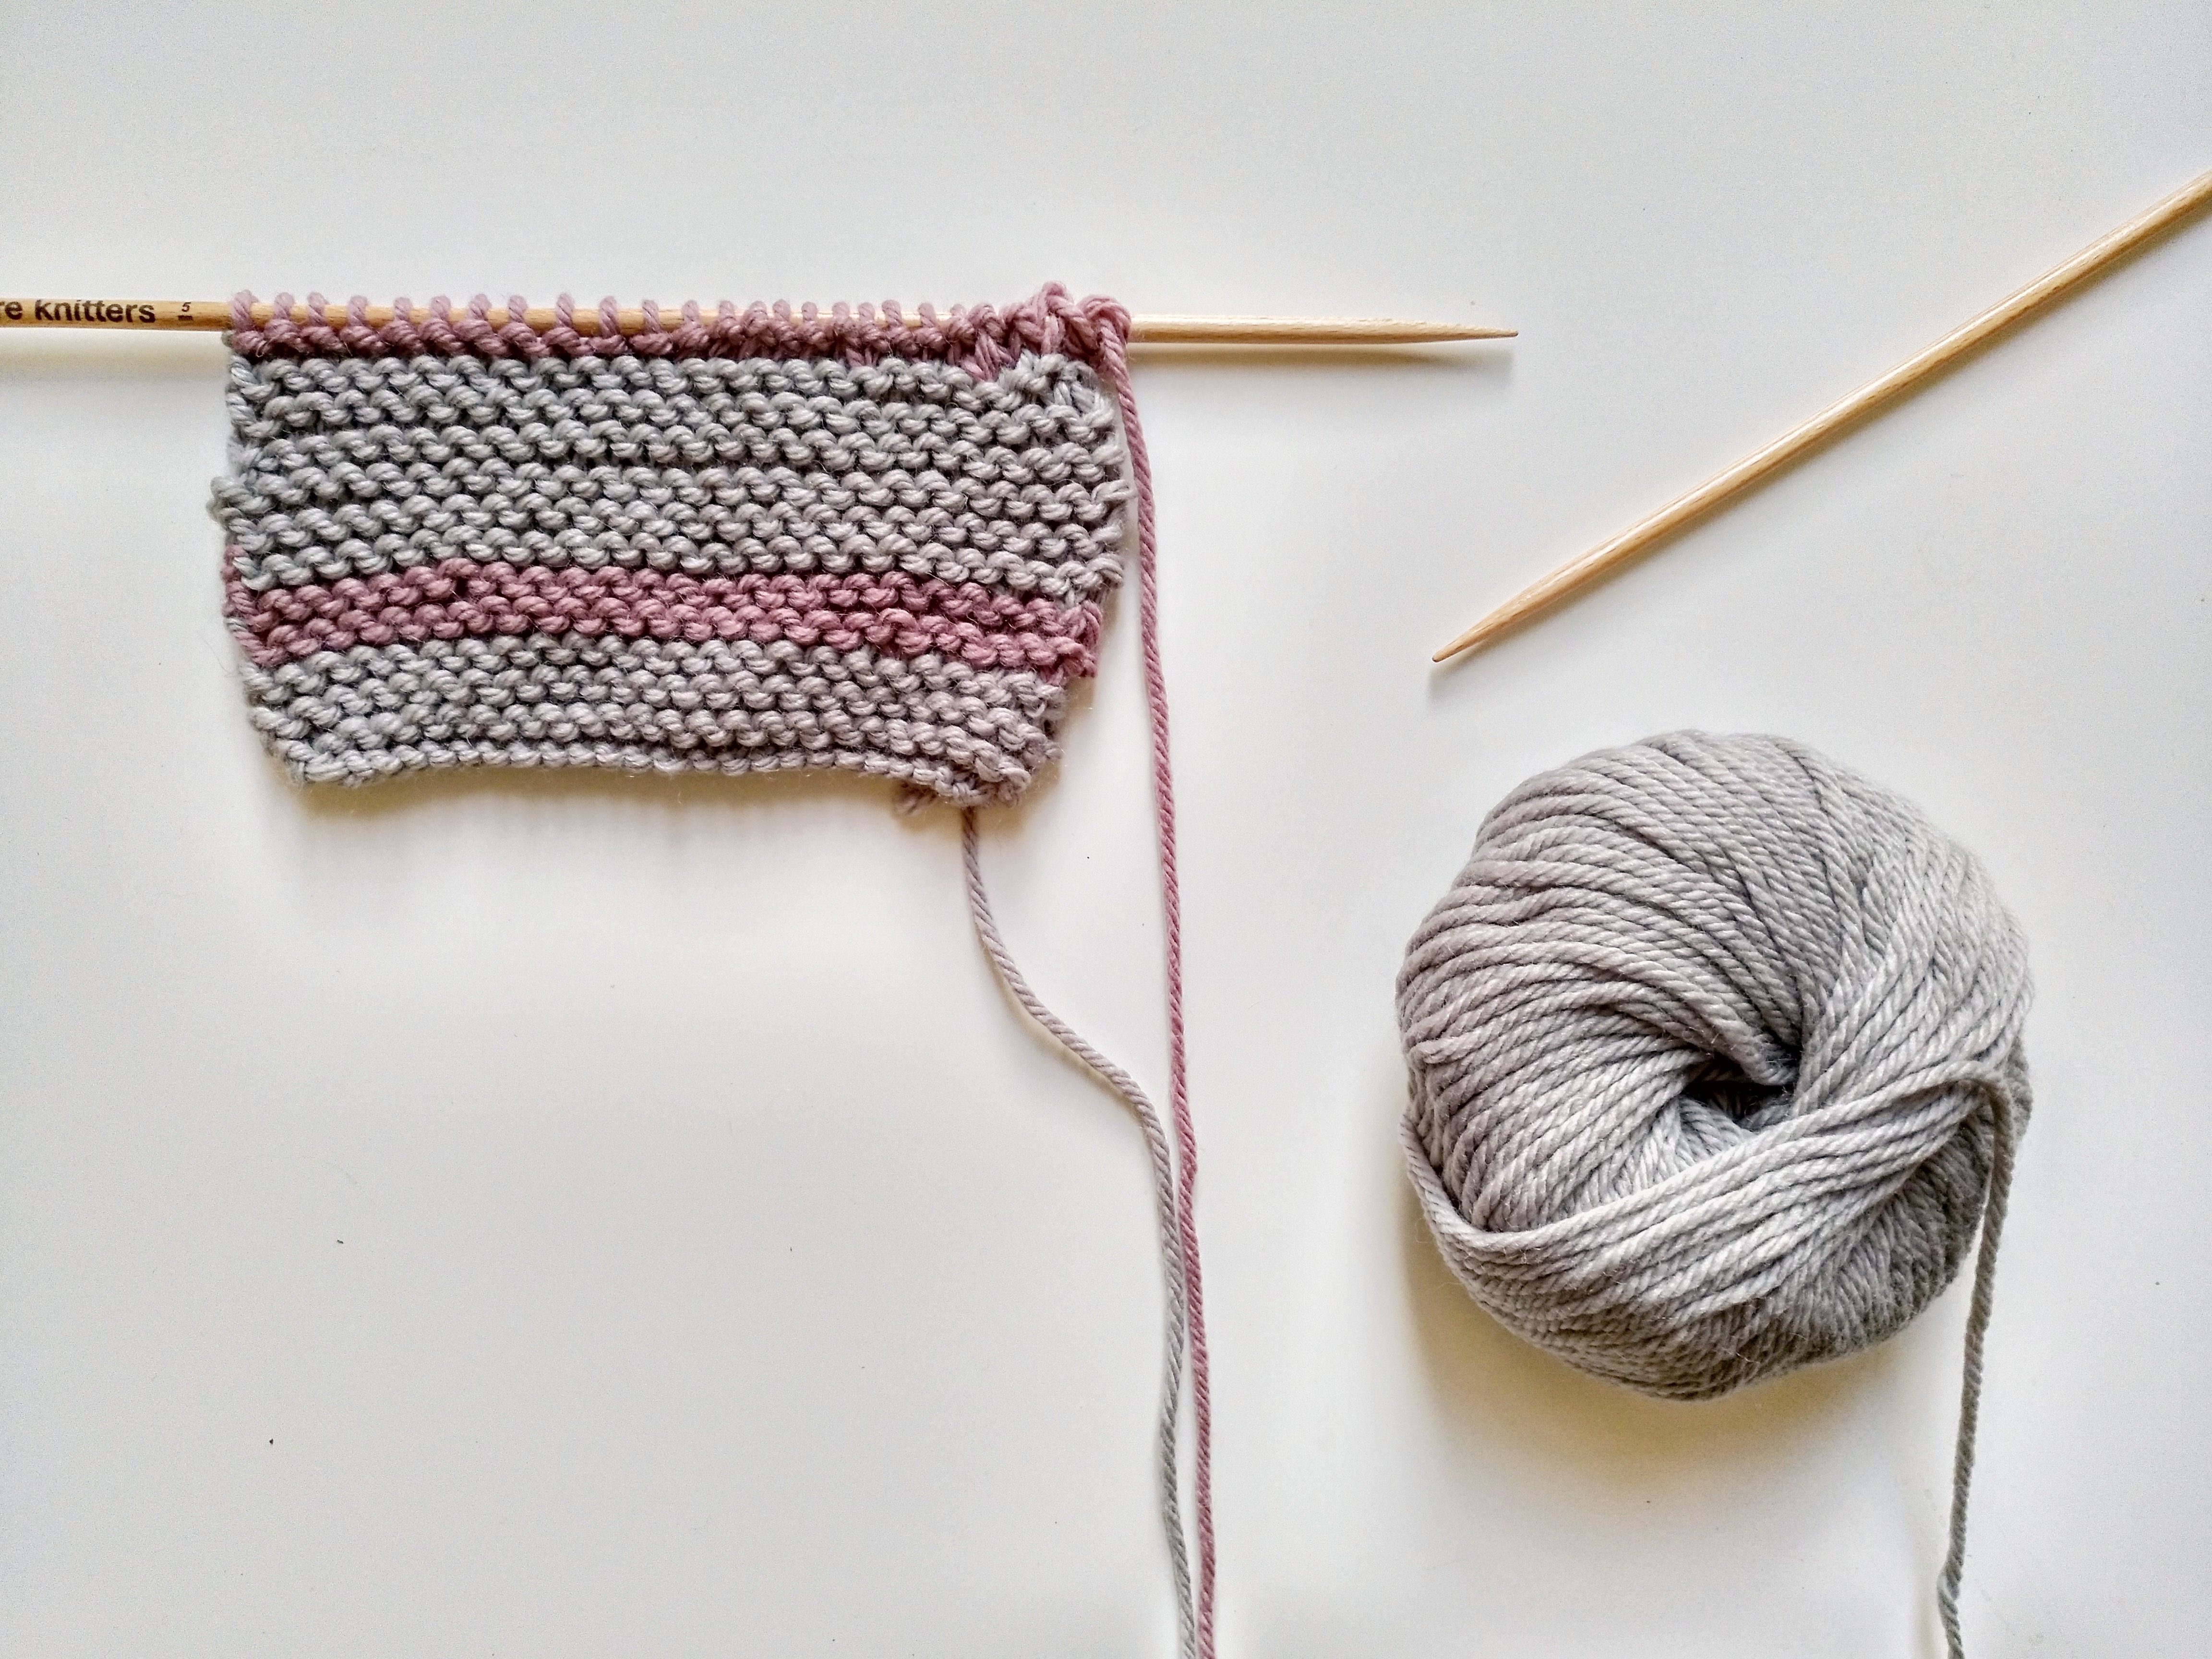
Here you can see an example of a color change made on the wrong side and what it looks like on the right side of the work.
The trick, you can see, is to intertwine both colors before knitting the first stitch with the new color, in this way you create a strong join that doesn’t let the stitches unravel later when you knit new rows over them. This isn’t only useful when changing colors, but also when knitting with one color (for example, when you finish a ball of yarn and you want to start another one). When worked in this way the join will be invisible, and you save yourself time by not having to weave in the ends later since the ends are worked into the back.
Were you familiar with this trick to improve your color changes in intarsia knitting when adding a new ball of yarn? Our cotton is perfect for this type of project and we have tons of colors to choose from. And don’t forget to pick up some beechwood knitting needles, they’re the perfect match for all of our yarns 😉